The Evolution of the 2003 YZ450F Hydraulic Clutch Conversion
The 2003 Yamaha YZ450F is a landmark machine in motocross history, renowned for its raw power and revolutionary chassis. However, its factory-equipped cable-actuated clutch system is notorious for developing heavy, inconsistent lever pull as the clutch plates wear and the cable stretches. As of 2026, converting this legendary 4-stroke to a hydraulic system remains one of the most effective performance upgrades you can perform. But the success of this conversion hinges entirely on one critical dimension: the yz450 2003 clutch master cylinder bore size.
Selecting the correct bore diameter is not a matter of guesswork; it is an exercise in fluid dynamics and mechanical leverage. If the bore is too large, the lever will feel like a rigid brake lever, failing to pull the clutch cable arm far enough to disengage the heavy 2003 clutch springs. If the bore is too small, the lever will pull effortlessly but bottom out against the handlebar grip before the clutch fully disengages, leading to missed shifts and burnt friction plates.
The Physics of Master Cylinder Bore Sizing
Hydraulic clutch systems operate on Pascal’s Principle. The hydraulic ratio is determined by the surface area of the master cylinder piston compared to the surface area of the slave cylinder piston. The formula for the piston area is A = π × r².
Because the area scales with the square of the radius, even a 1mm increase in bore size drastically changes the hydraulic ratio. A smaller master cylinder bore generates higher hydraulic pressure with less hand force, but it requires a longer lever stroke (throw) to move the same volume of fluid. Conversely, a larger bore moves more fluid per millimeter of lever travel, resulting in a shorter throw but a significantly stiffer lever feel.
Bore Size Comparison Chart for Dirt Bike Applications
| Master Bore Size | Typical Brand/Model | Lever Feel | Lever Throw | Best Application |
|---|---|---|---|---|
| 9.0 mm | Magura Hymec (OEM KTM/Husqvarna) | Very Light / Featherweight | Long | Stiff clutch springs, high slave displacement requirements |
| 10.0 mm | Nissin / Custom Brembo | Balanced / Progressive | Medium | Ideal for YZ450F conversions with standard aftermarket slaves |
| 11.0 mm | Brembo RCS11 / Standard MX Masters | Firm / Direct | Short | Low-resistance clutches, short-throw actuator arms |
Step-by-Step Guide: Sizing and Installing Your Master Cylinder
When sourcing a yz450 2003 clutch master cylinder for an aftermarket hydraulic conversion, follow this precise methodology to ensure flawless actuation and lever ergonomics.
Step 1: Measure the YZ450F Actuator Travel
Before purchasing a master cylinder, you must understand the displacement requirement of the 2003 YZ450F clutch actuator mechanism. The factory actuator arm on the right-side engine cover requires approximately 8.5mm to 10mm of linear pushrod travel to fully disengage the pressure plate against the stock clutch springs.
- Remove the factory cable and actuator arm.
- Install your chosen hydraulic slave cylinder (e.g., a TM Designworks or Magura slave pushrod setup).
- Measure the exact distance the slave pushrod must travel to achieve full clutch disengagement. If your slave cylinder has a 24mm bore, a 9mm master cylinder will require roughly 22mm of lever travel at the master piston to move the slave 8mm. If you select an 11mm master, the lever travel drops to roughly 15mm, which may feel too abrupt on the YZ450F.
Step 2: Select the 10mm Bore Sweet Spot
For the 2003 YZ450F, a 10mm bore master cylinder is widely considered the optimal choice for aftermarket conversions in 2026. It provides a progressive, modulated feel that allows you to feather the clutch out of tight berms without the excessive lever throw associated with 9mm units, while avoiding the stiff, on/off feel of an 11mm bore.
Pro Tip: If you are retaining heavy-duty aftermarket clutch springs (like Hinson or ProX) to handle big-bore torque, drop down to a 9.5mm or 9mm bore to maintain a one-finger lever pull.
Step 3: Handlebar Mounting and Torque Specifications
Dirt bike handlebars (typically 7/8" or 28.6mm at the clamp) require precise mounting to avoid crushing the master cylinder reservoir or causing stress fractures in the cast aluminum body.
- Clamp Bolts (M6x1.0): Torque to 8 - 10 Nm. Always use a calibrated torque wrench. Over-torquing will distort the master cylinder bore, causing the piston to bind and the clutch to drag.
- Lever Pivot Bolt: Torque to 4 - 6 Nm and apply blue Loctite (243).
- Banjo Bolt (M10x1.0): When connecting the hydraulic line, use two new crush washers (one above, one below the banjo fitting). Torque the banjo bolt to 10 - 12 Nm.
Step 4: The Bottom-Up Bleeding Procedure
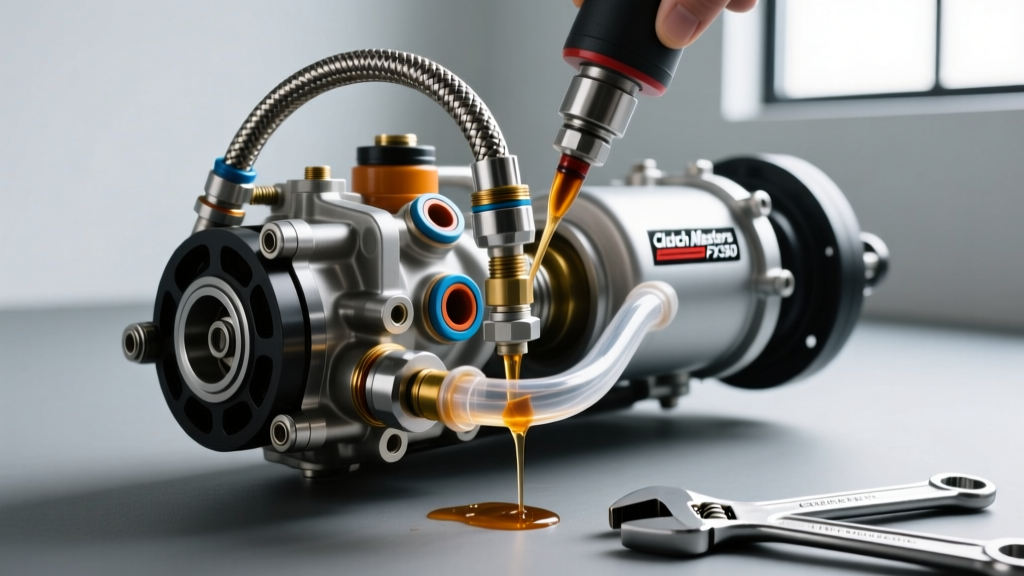
Dirt bike hydraulic clutch lines route upward from the slave cylinder, over the steering stem, and into the master cylinder. This upward trajectory creates natural air traps, making traditional top-down bleeding notoriously frustrating. To achieve a rock-solid lever feel, use the bottom-up syringe method:
- Fill a large 60ml syringe with the correct hydraulic fluid.
- Attach a piece of clear vinyl tubing to the syringe and connect it to the slave cylinder bleeder nipple.
- Open the bleeder nipple and slowly inject fluid upward, forcing air out of the master cylinder reservoir.
- Once fluid flows bubble-free into the reservoir, close the nipple.
- The Zip-Tie Trick: Pull the clutch lever to the handlebar and secure it with a zip-tie. Leave it overnight. Micro-bubbles trapped in the master cylinder valve port will rise to the reservoir surface by morning. Release the lever, top off the reservoir, and your lever will be perfectly firm.
Critical Warning: Fluid Compatibility and Seal Materials
WARNING: Never mix DOT fluid with Mineral Oil. The internal seals of hydraulic master cylinders are manufactured from specific elastomers. DOT fluid systems use EPDM (Ethylene Propylene Diene Monomer) seals, while Mineral Oil systems use NBR (Nitrile Butadiene Rubber) seals. Introducing DOT fluid into a Magura Mineral Oil master cylinder will cause the NBR seals to swell, dissolve, and catastrophically fail within hours, locking your clutch and potentially damaging the YZ450F's internal actuator.
When selecting your yz450 2003 clutch master cylinder, verify the fluid requirement before purchasing fluid. Modern Brembo and Nissin units require DOT 4 or DOT 5.1, which is hygroscopic (absorbs moisture) and requires annual flushing. Magura systems require Magura Blood or a high-grade synthetic mineral oil, which is hydrophobic and boasts a significantly longer service life, making it a favorite for off-road and motocross applications where mud and water are prevalent.
Final Tuning: Lever Ratio and Reach
Once the system is bled and mounted, fine-tune the lever ergonomics. The 2003 YZ450F has a relatively aggressive riding position. Adjust the lever reach so that the bite point (where the clutch begins to engage) occurs when the lever is roughly 1.5 inches from the grip. If your master cylinder features an adjustable leverage ratio (like the Brembo RCS series), set it to the "18" position for a softer, more progressive pull, or the "20" position for a firmer, faster-engaging feel.
By meticulously matching the master cylinder bore size to your slave cylinder displacement and clutch spring rate, your 2003 YZ450F will gain the precise, effortless clutch modulation required to dominate modern motocross tracks. For further technical documentation on hydraulic ratios and seal compatibility, consult the engineering resources at Magura and Brembo, or engage with the aftermarket conversion community at ThumperTalk.