The Role of the Master Cylinder in Hydraulic Maintenance
The clutch master cylinder is the hydraulic heart of your manual transmission's actuation system. By converting the mechanical force of your foot into hydraulic pressure, it actuates the slave cylinder to disengage the clutch disc from the flywheel. Over time, internal cup seals degrade, bore surfaces pit, and hygroscopic brake fluid absorbs moisture, leading to internal bypassing or external leaks. Understanding exactly how to remove a clutch master cylinder is a foundational skill for any drivetrain maintenance regimen. This technical deep-dive covers the precise extraction, inspection, and bench-bleeding protocols required for modern hydraulic clutch systems.
Diagnostic Preconditions: Confirming Master Cylinder Failure
Before tearing into the firewall, verify that the master cylinder is indeed the culprit. Misdiagnosing a worn clutch pressure plate or a failing concentric slave cylinder (CSC) as a master cylinder issue is a common and costly mistake.
Common Failure Modes
- Internal Bypass (Spongy Pedal): Fluid leaks past the primary cup seal inside the bore. The pedal sinks to the floor under constant pressure, but no external fluid drips are visible.
- External Leaks (Firewall Drip): The rear pushrod seal fails, allowing DOT 3 or DOT 4 fluid to run down the firewall and onto the driver's side carpet. Glycol-based fluids will aggressively strip automotive paint and clear coats.
- Reservoir Starvation: A blocked compensation port or failing reservoir grommet prevents fluid from returning to the system, causing the clutch to drag upon release.
For comprehensive OEM failure analysis and system schematics, referencing technical documentation from major suppliers like FTE Automotive Clutch Systems is highly recommended before beginning teardowns.
Essential Tools and Safety Protocols
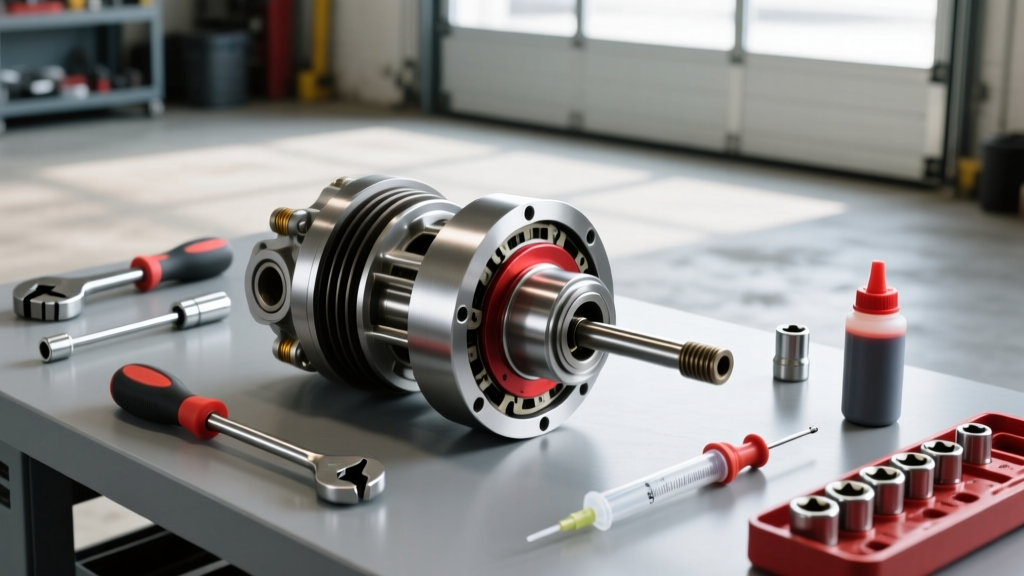
Hydraulic line fittings and firewall nuts are notoriously prone to rounding. Gather the following specialized tools before starting:
- Flare Nut Wrenches: 10mm, 11mm, and 12mm (critical for soft-line hard-line junctions).
- Quick-Connect Disconnect Tools: 3/8-inch and 1/2-inch collar release tools (mandatory for modern GM and Ford platforms).
- Fluid Extraction Syringe: To remove corrosive glycol fluid from the reservoir prior to line removal.
- Needle-Nose Pliers & Clevis Pin Clips: For cabin-side pushrod disconnection.
- Shop Towels & Fender Covers: DOT 4 fluid has a dry boiling point of 446°F (230°C) but is highly corrosive to painted surfaces and electrical connectors.
Step-by-Step: How to Remove a Clutch Master Cylinder
The removal process is split into two distinct zones: the cabin-side pushrod linkage and the engine-bay hydraulic connections. Always disconnect the negative battery terminal before working near the clutch pedal position switch (CPPS) wiring.
Phase 1: Cabin-Side Disconnection
1. Dash Panel Removal: Remove the lower driver-side knee bolster. This typically requires a 7mm or 8mm hex socket. Disconnect the OBD-II port and hood release cable if they obstruct access to the pedal box.
2. Switch Disconnection: Unplug the CPPS and cruise control cancel switches. These are usually twist-lock or tab-lock connectors.
3. Clevis Pin Extraction: Locate the clevis pin connecting the master cylinder pushrod to the clutch pedal arm. Use needle-nose pliers to remove the retaining hairpin clip. Slide the clevis pin out. Pro Tip: If the pin is seized due to galvanic corrosion between the steel pin and aluminum pedal arm, apply penetrating fluid and use a small punch to drift it out rather than stressing the pedal box welds.
Phase 2: Engine Bay Extraction
1. Fluid Evacuation: Open the reservoir and use a fluid syringe to extract as much DOT fluid as possible. This prevents a massive spill when the hard line is disconnected.
2. Line Disconnection: Trace the hard line from the reservoir to the firewall. If your vehicle uses a threaded flare nut (common on Honda K-Series and older platforms), use an 11mm or 12mm flare nut wrench to break the fitting loose. If your vehicle uses a plastic quick-connect fitting (common on the Ford MT82 Mustang or GM Tremec T56 applications), slide the specialized collar-disconnect tool into the fitting to release the internal retaining tangs, then pull the line straight out.
3. Firewall Nut Removal: Locate the two mounting nuts securing the master cylinder to the firewall studs. These are typically 13mm flange nuts. Apply penetrating oil to the studs, as they are exposed to engine bay heat cycles and road salt. Torque required to break these loose is usually around 20-30 lb-ft.
4. Extraction: Once the nuts and line are free, pull the master cylinder body forward, out of the engine bay, feeding the pushrod through the firewall hole.
Platform Specifications: Torque and Fluid Data
When reinstalling or upgrading, adhering to precise torque specifications prevents firewall cracking and fluid leaks. Below is a reference table for popular manual transmission platforms.
| Platform / Transmission | Firewall Nut Torque | Line Fitting Torque | Recommended Fluid | System Capacity |
|---|---|---|---|---|
| Ford MT82 (2011-2023 Mustang) | 12-15 lb-ft | N/A (Quick-Connect) | DOT 4 LV | ~1.2 Liters |
| GM Tremec T56 Magnum | 15-18 lb-ft | 15-20 lb-ft (11mm Flare) | DOT 3 / DOT 4 | ~1.0 Liters |
| Honda K-Series (Civic Si / TSX) | 10-12 lb-ft | 12-15 lb-ft (10mm Flare) | DOT 3 | ~0.8 Liters |
| BMW ZF S6-53 (E46 M3) | 14-17 lb-ft | N/A (Quick-Connect) | DOT 4 Low Viscosity | ~1.1 Liters |
Bench Bleeding and Component Inspection
One of the most frequently skipped steps in clutch hydraulic maintenance is bench bleeding the master cylinder prior to installation. Installing a dry master cylinder introduces air into the primary bore, which is nearly impossible to purge using standard pedal-pumping methods due to the steep angle of the firewall mounting.
The Bench Bleed Procedure:
- Secure the new or rebuilt master cylinder in a vise by its mounting flange (never clamp the plastic reservoir or aluminum bore directly).
- Fill the reservoir with fresh, unopened DOT fluid.
- Attach a clear rubber hose to the outlet port, routing the other end back into the reservoir, submerged beneath the fluid level.
- Use a blunt punch to slowly depress the pushrod. Watch for air bubbles escaping through the clear tube. Release the pushrod slowly to allow the return spring to draw fluid back in.
- Repeat until the fluid stream is completely devoid of micro-bubbles.
For further reading on hydraulic system evacuation and brake/clutch fluid dynamics, the technical articles at Hagerty Media Maintenance and Tech offer excellent visual breakdowns of fluid hygroscopy and boiling point degradation.
Reinstallation and Pushrod Adjustment
When learning how to remove a clutch master cylinder, understanding the reinstallation pushrod geometry is equally critical. The pushrod length dictates the 'free play' between the pushrod and the internal piston.
The 1mm Free-Play Rule:
There must be a slight amount of free play (typically 0.5mm to 1.5mm) at the clevis pin before the pushrod begins to depress the master cylinder piston. If the pushrod is adjusted too long, or if the aftermarket unit has a non-adjustable pushrod that is slightly out of spec, the piston will never fully return to its resting position. This covers the compensation port, trapping fluid in the line. As the engine bay heats up, the trapped fluid expands, applying unintended pressure to the slave cylinder and causing premature clutch disc wear or total drivetrain lockup.
If installing an adjustable unit (such as those from Tilton or Wilwood), measure the free play at the pedal arm with a feeler gauge before tightening the clevis locknut.
System Evacuation and Final Maintenance
Once the unit is bolted back to the firewall (torqued to spec) and the hard line is reconnected, the system must be bled. While gravity bleeding works in a pinch, reverse pressure bleeding (injecting fluid from the slave cylinder bleeder screw up toward the master reservoir) is the industry standard for manual transmissions. It forces air upward, naturally following the path of least resistance.
To maintain your newly installed clutch master cylinder, flush the hydraulic fluid every 24 months. You can source OEM and high-performance aftermarket replacements (like Sachs, LuK, or Exedy) through verified databases such as the RockAuto Auto Parts Catalog to ensure you are getting precise OE-matching components. Regular maintenance of the hydraulic circuit ensures crisp pedal feel and protects your expensive transmission internals from incomplete disengagement shifts.