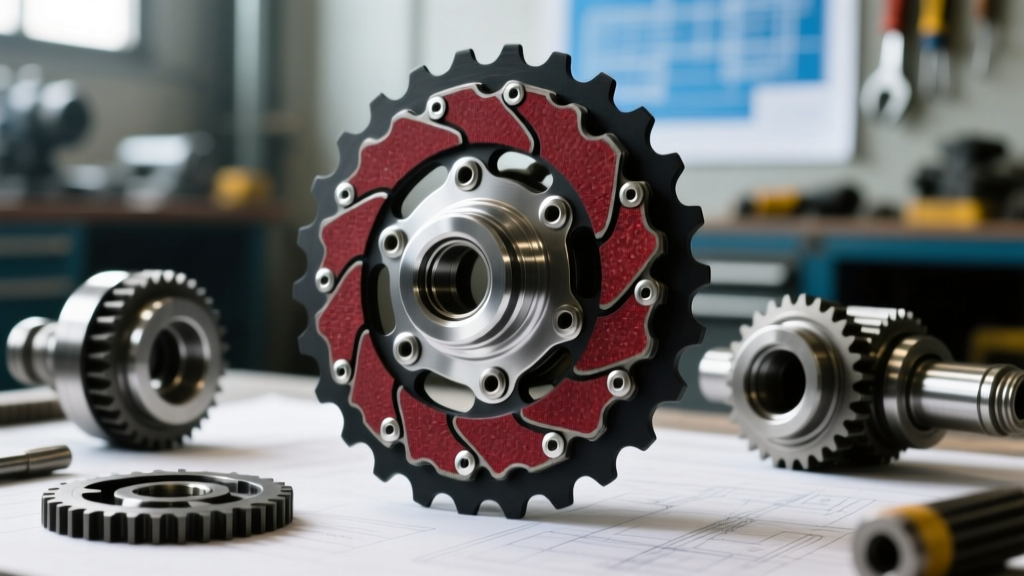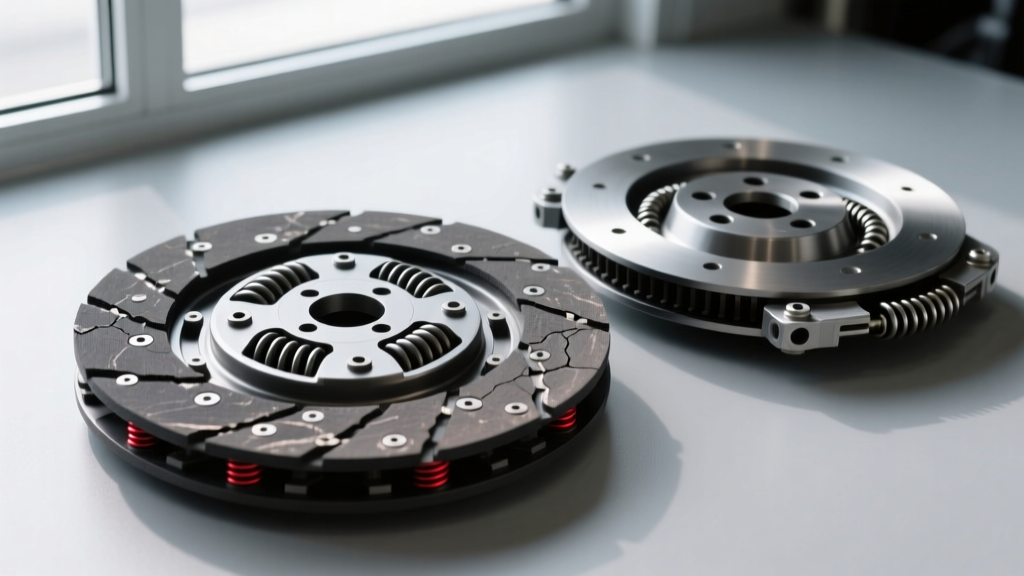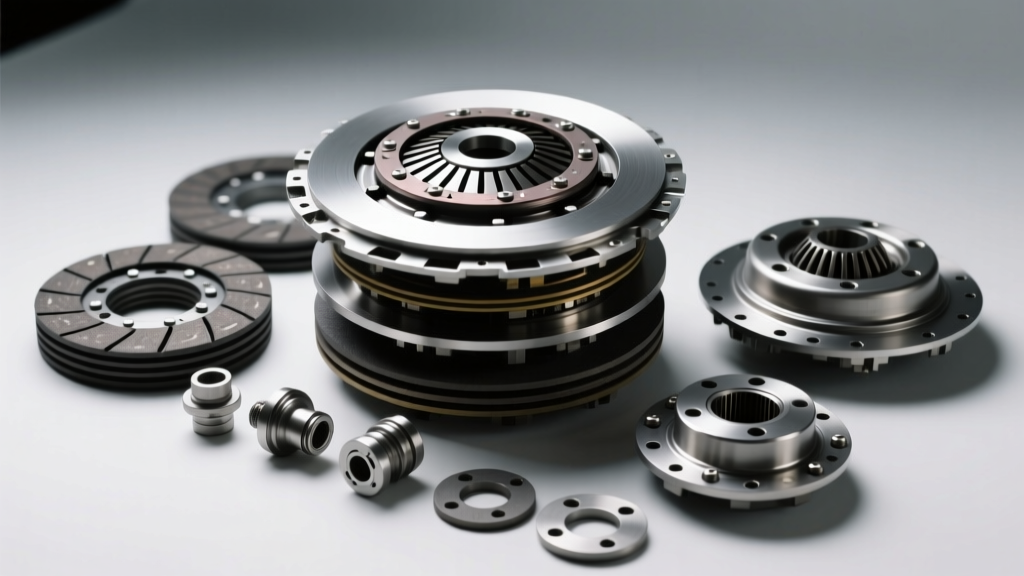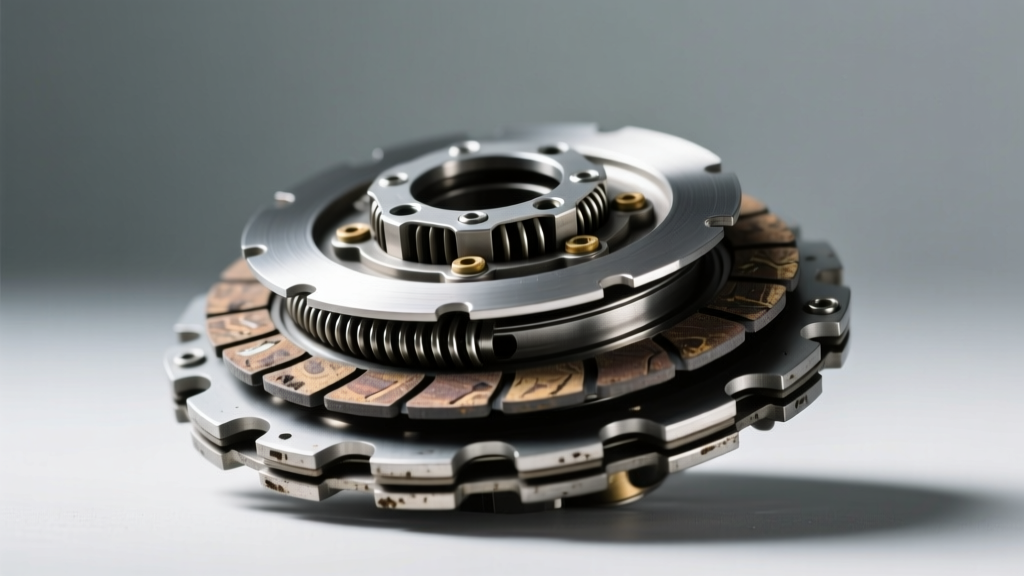
The Anatomy of the YZF-R6 Multi-Disc Wet Clutch
The Yamaha YZF-R6 (2006-2020) remains a benchmark in the 600cc supersport category, largely due to its high-revving engine and precise chassis dynamics. At the heart of its drivetrain is a wet multi-disc clutch system designed to handle immense torque loads while remaining compact enough for aggressive cornering clearances. Unlike dry single-plate automotive clutches, this motorcycle multi-disc setup relies on a bath of shared engine oil to manage thermal dissipation and lubricate the alternating friction and steel plates.
A standard R6 clutch pack consists of 7 friction plates, 7 steel drive plates, 1 judder spring, and 1 judder plate. The judder assembly is critical; it acts as a progressive damper to smooth out engagement and prevent the aggressive "grabbing" that can upset chassis balance mid-corner. When these components wear, the stack height compresses, leading to slippage under hard acceleration or a failure to fully disengage, resulting in clunky downshifts and stalled launches.
Diagnosing Slippage vs. Drag: When Do You Need New Motorcycle Clutch Kits?
Before tearing into the right-side engine casing, you must accurately diagnose the failure mode. Multi-disc wet clutches typically fail in one of two ways: friction material degradation (slippage) or steel plate warping (drag). As of 2026, advanced friction materials in modern motorcycle clutch kits have extended service life, but track-day abuse and improper oil choices still accelerate wear.
Slippage is usually felt as a sudden spike in RPMs without a corresponding increase in road speed, particularly in 4th or 5th gear under wide-open throttle. Drag, conversely, manifests as the motorcycle creeping forward with the lever fully pulled in, or a harsh "clunk" when shifting into first gear from a stop. To confirm your diagnosis, a complete teardown and micrometer measurement is mandatory.
Factory Service Manual Specifications and Wear Limits
Do not rely on visual inspection alone. Friction plates can look perfectly intact while being compressed beyond their functional limit. Use a digital micrometer and dial indicator to measure your components against these Yamaha factory specifications:
| Component | Standard Measurement | Service Limit (Replace) |
|---|---|---|
| Friction Plate Thickness | 3.00 mm | 2.80 mm |
| Steel Plate Warp | 0.00 mm (Flat) | 0.10 mm |
| Clutch Spring Free Length | 45.20 mm | 42.90 mm |
| Total Pack Stack Height | 38.20 - 39.80 mm | Below 37.50 mm |
Note: Always measure friction plates at the center of the friction material, avoiding the tangs or edges where wear is uneven.
Selecting the Right Replacement Components
When shopping for motorcycle clutch kits, you are generally presented with three tiers: OEM Yamaha, premium aftermarket (like EBC or Barnett), and heavy-duty racing kits. For a street-driven R6 that sees occasional track days, a premium aftermarket kit offers the best balance of bite, longevity, and cost.
- OEM Yamaha Kit (Part #2C0-W0025-00): Priced around $180-$220. Excellent for smooth, linear engagement and guaranteed factory fitment. Best for pure street riders.
- EBC Brakes CK Series (e.g., CK3264): Priced around $110-$140. Uses a high-density cork/Kevlar blend that provides excellent initial bite and resists fading in high-heat track environments. According to EBC Brakes technical data, their impregnated cork materials swell slightly in oil to maintain consistent stack height.
- Barnett Carbon Fiber/Kevlar Kits: Priced around $160-$200. Barnett's carbon-fiber friction plates are incredibly durable and handle extreme heat, but they require heavier clutch springs to prevent slippage, which will increase lever pull effort. Refer to Barnett Clutches Technical Information for specific spring pairing recommendations.
Expert Warning: Never mix and match friction materials from different manufacturers within the same clutch basket. The varying coefficients of friction will cause uneven loading, leading to premature steel plate warping and clutch basket notching.
Step-by-Step Teardown Protocol
Extracting the clutch pack requires precision and the correct tooling. Attempting to remove the clutch boss locknut with an impact wrench without a proper holding tool will likely crack the aluminum clutch basket or damage the transmission input shaft.
- Drain the Engine Oil: Run the engine for 3 minutes to warm the oil, then drain it completely. Remove the right-side engine cover (15 bolts, 10mm heads).
- Remove the Pressure Plate: Unthread the six 8mm pressure plate bolts in a crisscross pattern to release spring tension evenly. Remove the plate and the five clutch springs.
- Extract the Pack: Pull out the friction and steel plates. Keep them in the exact order they were removed if you are diagnosing a specific localized wear issue (e.g., a single warped steel plate).
- Secure the Clutch Boss: Install a universal motorcycle clutch holding tool (spanning the basket teeth) to lock the assembly in place.
- Remove the Locknut: Use a 24mm or 27mm socket (depending on the exact year) and a long breaker bar to remove the center locknut. Note the flat washer and thrust washer behind it.
Reassembly: Soaking, Stacking, and Torquing
The most common mistake made during multi-disc wet clutch reassembly is installing dry friction plates. Dry plates will instantly glaze and burn upon the first clutch engagement, ruining the new kit before you leave the driveway.
The Soaking Process
Submerge all new friction plates in a pan of the exact JASO MA/MA2-rated engine oil you plan to run in the motorcycle. Let them soak for a minimum of 2 hours, though overnight is highly recommended. This allows the porous friction material to become fully saturated, ensuring immediate lubrication upon startup.
Stacking Order and Orientation
Install the components into the clutch basket in the following precise order:
- Judder Spring (ensure the tapered end faces outward/towards you).
- Judder Plate (the slightly dished steel plate).
- Friction Plate.
- Steel Plate.
- Repeat the Friction/Steel alternating pattern until all 7 of each are installed. The final plate inserted must be a friction plate.
Pro Tip: Inspect the inner aluminum clutch basket and outer bell for "notching." If the aluminum tangs have deep grooves worn into them by the steel plates, the new plates will hang up, causing clutch drag. Lightly file the notches smooth with a flat mill bastard file, or replace the basket if the grooves exceed 0.5mm in depth.
Torque Specifications
Reinstall the center locknut and torque it to 58 Nm (43 lb-ft). You must use a punch and hammer to stake the edge of the new locknut into the groove on the input shaft. Never reuse an old, previously staked locknut. Reinstall the pressure plate and torque the six 8mm bolts to 10 Nm (7.2 lb-ft) in a star pattern to ensure even clamping force.
Post-Installation Fluid Dynamics and Break-In
The multi-disc wet clutch shares its lubricant with the engine and transmission. Therefore, fluid selection is not just about engine protection; it is vital for clutch friction. As highlighted by industry experts at CycleWorld's maintenance guides, using standard automotive oil containing friction modifiers (like molybdenum) will coat the clutch plates and cause immediate, catastrophic slippage.
Always use a high-quality 10W-40 or 20W-40 motorcycle-specific oil certified to JASO MA or MA2 standards. Fill the R6 to the upper sight-glass mark (approximately 2.6 liters with a filter change).
For the break-in procedure, avoid aggressive launches or wide-open-throttle pulls for the first 100 miles. Ride the motorcycle through stop-and-go traffic, using the clutch frequently to generate mild, controlled heat. This thermal cycling helps the friction material bed into the micro-pores of the steel plates, establishing the optimal coefficient of friction for the life of the motorcycle clutch kit.