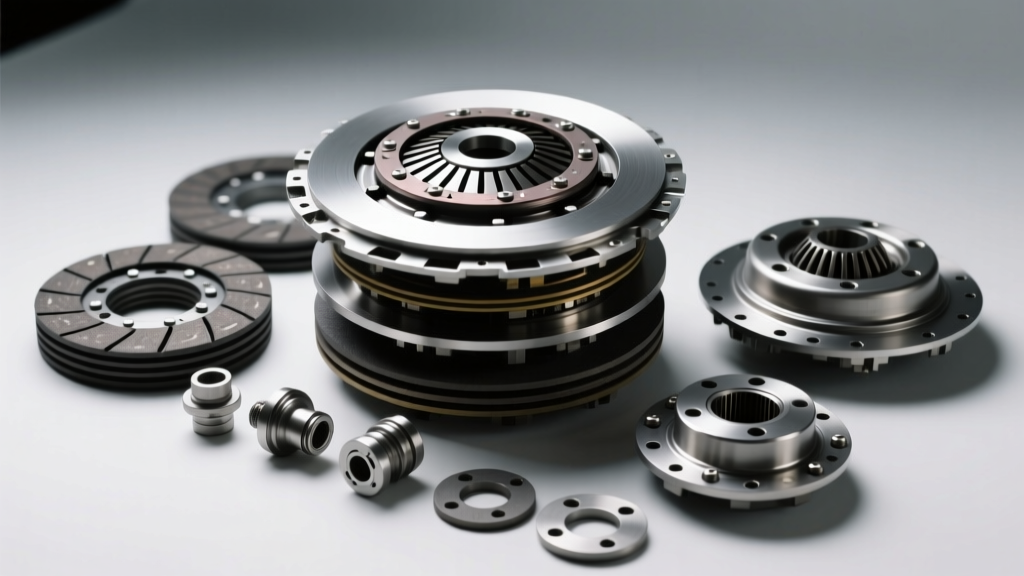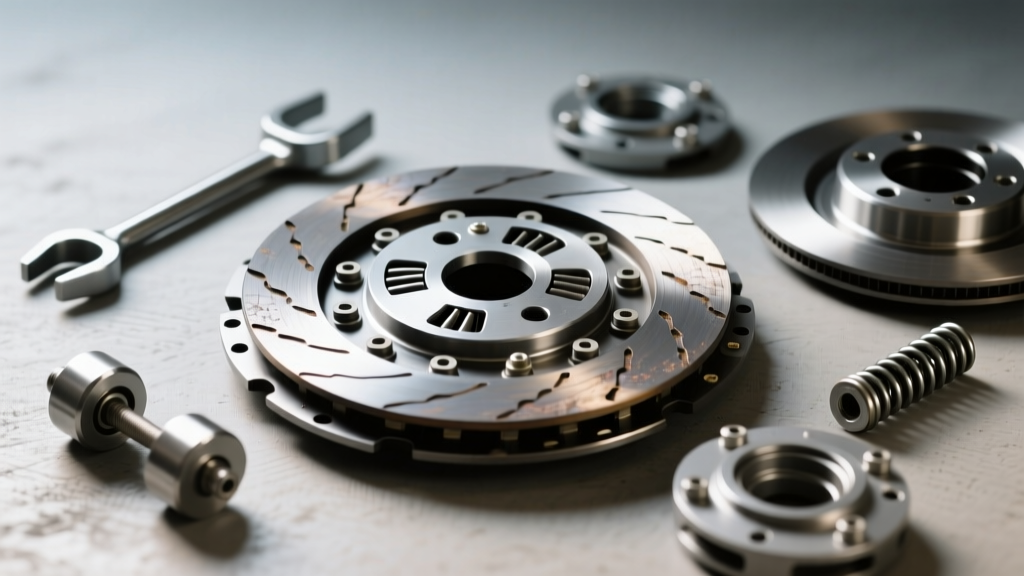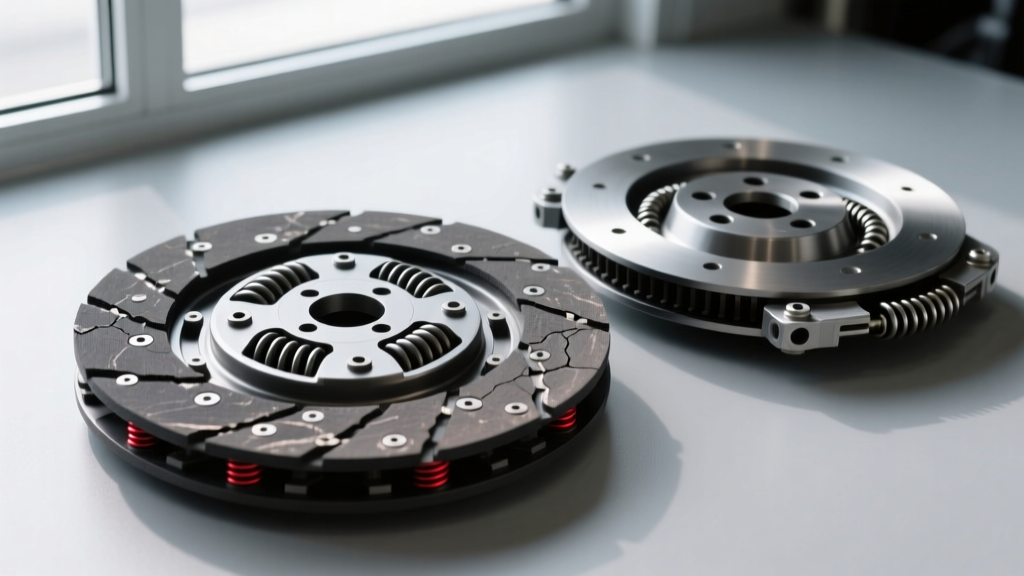
Introduction: Why Precision Matters in Heavy-Duty Clutch Systems
When dealing with heavy-duty diesel trucks—whether it is a Ram 3500 pushing a 6.7L Cummins or a Ford F-350 with a 6.7L Powerstroke—the drivetrain endures immense stress. Modern tuned diesels routinely generate over 1,000 lb-ft of torque at the crank. In these high-load environments, a proper truck clutch disc and pressure plate inspection is not just a routine check; it is a critical diagnostic procedure that prevents catastrophic driveline failure. Unlike passenger vehicles, HD trucks utilize massive 12-inch to 13-inch clutch assemblies, often paired with Dual Mass Flywheels (DMF) or heavy-duty Single Mass Flywheels (SMF) equipped with complex torsional dampers.
This comprehensive, step-by-step guide will walk professional technicians and advanced DIYers through the exact measurement protocols, wear limits, and reassembly torque specifications required for heavy-duty manual transmissions like the G56, ZF S6-750, and Eaton Fuller 10-speeds.
Pre-Teardown: Symptoms of a Failing Truck Clutch Disc
Before dropping the transmission, document the vehicle's operational behavior. A failing truck clutch disc or warped pressure plate will typically exhibit one or more of the following edge-case symptoms:
- Highway Slip Under Load: RPMs surge without a corresponding increase in vehicle speed while pulling a grade in 5th or 6th gear. This indicates friction material glazing or loss of clamp load.
- Low-RPM Chatter: Violent shuddering when engaging the clutch from a dead stop, often pointing to broken marcel (wave) springs, oil contamination from a leaking rear main seal, or uneven pressure plate diaphragm fingers.
- Pedal Pulsation: A rhythmic throbbing in the clutch pedal during engagement usually signifies excessive flywheel runout or a warped pressure plate housing.
Step 1: Safe Removal and Flywheel Surface Evaluation
Once the transmission (e.g., Aisin AS69RC or ZF S6-750) is removed and the pressure plate is unbolted, the inspection begins at the mating surface: the flywheel. You cannot accurately assess a truck clutch disc without first verifying the flywheel's integrity.
Measuring Flywheel Runout
Mount a magnetic dial indicator to the engine block and position the needle on the friction surface of the flywheel. Rotate the crankshaft two full revolutions. According to Schaeffler Aftermarket (LuK) engineering guidelines, maximum allowable Total Indicator Reading (TIR) for heavy-duty truck flywheels is generally 0.004 inches (0.10 mm). If runout exceeds this, the flywheel must be resurfaced (if SMF and within thickness limits) or replaced. Installing a new clutch disc on a warped flywheel will cause immediate localized hot-spotting and premature disc failure.
Dual Mass Flywheel (DMF) Free-Play Check
If the truck utilizes an OEM DMF, check the rotational free-play. Using a specialized DMF protractor or a marked degree wheel, measure the rotational backlash between the primary and secondary masses. While specifications vary by manufacturer, a general rejection threshold for HD diesel DMFs is >20mm of rotational free-play or any audible metallic clunking when rocking the secondary mass.
Step 2: Measuring the Truck Clutch Disc
With the flywheel evaluated, shift your focus to the truck clutch disc itself. This component takes the brunt of the thermal and mechanical abuse. Use a digital micrometer and calipers to perform the following checks.
Friction Material Thickness
Measure the thickness of the friction material from the rivet head to the outer surface. A brand-new 13-inch HD clutch disc typically measures between 0.310" and 0.335" (approx. 8mm). The absolute wear limit is generally 0.040" (1.0 mm) above the rivet heads. If the friction material is flush with the rivets, the disc has reached the end of its service life and risks scoring the flywheel.
Torsional Damper and Hub Spline Inspection
Heavy-duty trucks rely on torsional damper springs housed within the clutch disc hub to absorb the violent torsional vibrations inherent to diesel combustion. Inspect the hub for grease leakage, which indicates blown internal seals. Next, slide the disc onto the transmission input shaft. Attempt to rock the disc radially and rotationally. Any perceptible rotational backlash or 'clunk' indicates worn internal splines, which will cause gear rattle in neutral and harsh engagement.
| Inspection Parameter | New Specification (Typical 13" HD) | Service Wear Limit | Failure Consequence |
|---|---|---|---|
| Friction Thickness (Above Rivet) | 0.315" (8.0 mm) | 0.040" (1.0 mm) | Flywheel scoring, sudden slip |
| Marcel (Wave) Spring Height | 0.080" - 0.100" wave variance | Flattened / Zero wave | Harsh engagement, driveline shock |
| Lateral Runout (Disc Edge) | < 0.020" (0.5 mm) | > 0.040" (1.0 mm) | Clutch drag, failure to release |
| Hub Spline Rock (on Input Shaft) | Zero perceptible play | Any rotational clunk | Neutral gear rattle, spline shearing |
Step 3: Pressure Plate and Release Bearing Inspection
The pressure plate provides the clamping force necessary to lock the truck clutch disc against the flywheel. Inspect the friction ring for heat checking (small hairline cracks) and bluing. Minor heat checking is acceptable on heavy-duty sintered iron setups, but deep radial cracks or missing chunks of friction material mandate immediate replacement.
Examine the diaphragm spring fingers. On a 13-inch HD pressure plate, the fingers should exhibit uniform wear patterns. If some fingers are deeply grooved while others are barely touched, it indicates a misaligned release bearing or a warped clutch housing. According to Eaton Vehicle Group service literature, diaphragm finger height variation should not exceed 0.020 inches across the assembly. Use a straight edge and feeler gauge to verify this.
Step 4: Reassembly and Critical Torque Specifications
Proper reassembly is just as critical as the inspection. Heavy-duty diesel engines produce massive rotational mass, and improper torque sequencing will warp the pressure plate housing or distort the flywheel. Always use a clutch alignment tool matched to the exact spline count and inner diameter (e.g., 1.25" x 10-spline for many Dodge/Cummins applications) to center the truck clutch disc before tightening.
Pro-Tip: Never use an impact wrench to install pressure plate bolts. The sudden shock loads can stretch the bolts unevenly and warp the pressure plate cover. Always use a calibrated torque wrench and follow a star-pattern sequence, tightening in 3 incremental steps.
| Application / Component | Fastener Size | Torque Specification | Notes |
|---|---|---|---|
| Cummins 6.7L (SMF Conversion) | M12 Flywheel Bolts | 95 lb-ft (129 Nm) | Use new bolts; apply medium threadlocker |
| Cummins 6.7L (OEM DMF) | M12 Flywheel Bolts | 105 lb-ft + 90° turn | Torque-to-yield; MUST replace bolts |
| 12" / 13" HD Pressure Plate | 5/16" or 8mm Bolts | 37 lb-ft (50 Nm) | Star pattern, 3-step incremental tightening |
| Powerstroke 6.7L ZF S6-750 | M10 Flywheel Bolts | 66 lb-ft (89 Nm) | Verify OEM TSB for updated torque specs |
Common Failure Modes and Edge Cases
When performing a truck clutch disc inspection, technicians must look beyond the friction material to identify the root cause of failure. Replacing a clutch without addressing the underlying issue will result in a comeback within 10,000 miles.
- Rear Main Seal Contamination: If the friction material is dark, glossy, and smells of burnt oil, the engine rear main seal or transmission input shaft seal is leaking. Oil destroys the porous friction material, causing irreversible glazing. The seal must be replaced, and the flywheel must be baked and resurfaced or replaced to remove embedded oil.
- Pilot Bearing Failure: A seized or worn pilot bearing allows the transmission input shaft to droop, causing the truck clutch disc to wobble at high RPMs. This leads to uneven friction wear and severe clutch chatter. Always replace the pilot bearing (preferably with a heavy-duty roller bearing rather than a porous bronze bushing) during every clutch job.
- Towing Overload & Thermal Overrun: If a truck frequently tows near its GCWR (Gross Combined Weight Rating) in mountainous terrain, standard organic friction materials will overheat and fade. For these applications, recommend upgrading to a ceramic or sintered iron truck clutch disc, which can withstand surface temperatures exceeding 800°F without fading, albeit with slightly harsher engagement characteristics.
Cost Considerations and Component Selection
Pricing for heavy-duty truck clutch components varies wildly based on the application and duty cycle. OEM-equivalent 13-inch HD clutch kits (such as the LuK RepSet) typically range from $650 to $950. However, for modified trucks or severe-duty towing, multi-disc sintered iron setups from manufacturers like South Bend or Valair can push the budget from $1,400 to over $2,500. While the initial investment is higher, the lifespan of a sintered iron setup under heavy load often triples that of an organic disc, making it the more economical choice for commercial fleets and dedicated haulers.
Conclusion
A meticulous truck clutch disc and pressure plate inspection separates professional drivetrain technicians from parts-changers. By adhering to strict measurement tolerances, verifying flywheel runout, and applying precise torque specifications, you ensure the drivetrain can handle the immense torque output of modern heavy-duty diesel engines. Always consult the latest OEM service manuals and utilize high-quality alignment tools to guarantee a flawless engagement and a long service life.