The WRX and STI Hydraulic Dilemma: Slave vs. Master Failures
For owners of the 2002-2021 Subaru WRX and STI, the hydraulic clutch system is a notorious weak point. Whether you are daily driving a 5-speed manual (5MT) or tracking a 6-speed (6MT), the infamous 'Subaru pedal drop' eventually rears its head. When the clutch pedal sinks to the floor or gear engagement becomes crunchy, most enthusiasts immediately assume they need a full system replacement. However, a targeted clutch slave cylinder repair combined with an evaluation of clutch master cylinder repair kits can often save you hundreds of dollars while restoring factory pedal feel.
In this model-specific guide, we break down the exact diagnostics, OEM part numbers, torque specifications, and edge-case mechanical failures that plague the EJ and FA powertrain platforms. Before you throw an expensive aftermarket master cylinder assembly at the car, you need to understand the root cause of your hydraulic failure.
Diagnosing the Failure: Is it the Slave, Master, or Fork?
A common mistake in the Subaru community is misdiagnosing a mechanical failure as a hydraulic one. The 5MT clutch fork pivot ball is notorious for wearing down, which mimics the symptoms of a blown slave cylinder. Use the diagnostic matrix below to isolate your issue before ordering parts.
| Symptom | Primary Suspect | Secondary Suspect | Verification Method |
|---|---|---|---|
| Fluid pooling near the starter / downpipe | Slave Cylinder Seal Blowout | Cracked hard line | Inspect rubber boot on slave cylinder for fluid |
| Pedal drops slowly under sustained pressure | Master Cylinder Internal Bypass | Air in the system | Hold pedal down at stoplight; if it sinks, master is bad |
| Slave piston over-extends and pops out | Clutch Fork Pivot Ball Wear | Worn throw-out bearing | Measure fork travel; check pivot ball for grooving |
| Fluid dripping onto driver side floor mat | Master Cylinder Rear Seal Failure | Loose pushrod clevis | Peel back firewall rubber boot inside cabin |
Sourcing Parts: OEM Rebuild Kits vs. Full Assemblies
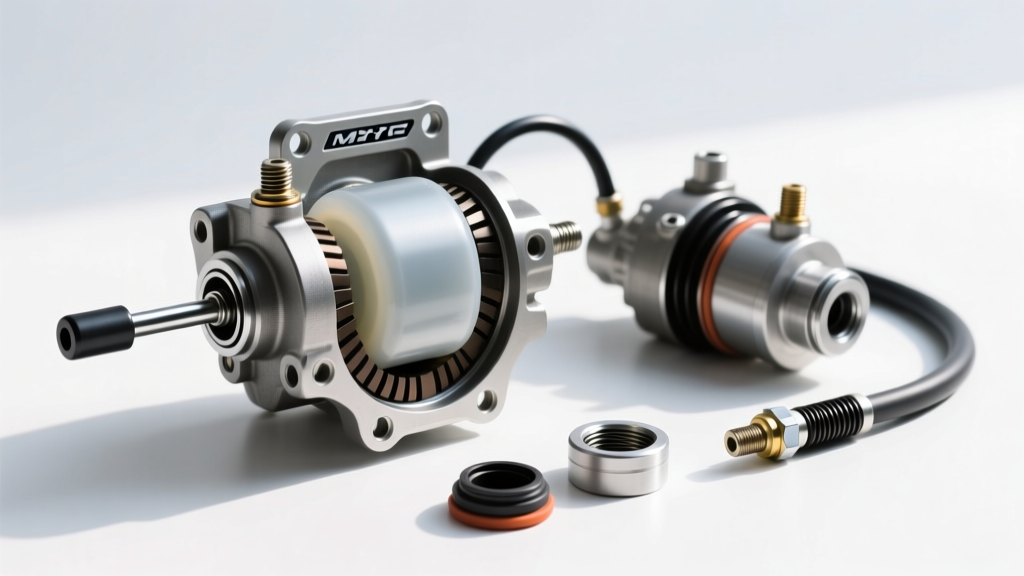
When tackling a clutch master cylinder repair, you have two distinct routes: utilizing an OEM seal kit to rebuild your existing unit, or replacing the entire assembly. Subaru offers master cylinder repair kits (seal kits) for many older WRX models, which are vastly superior to cheap, no-name aftermarket full assemblies found on eBay or Amazon. The bore finish on OEM Subaru masters is honed to exact tolerances; if your bore is free of deep scoring, a seal kit is the most reliable path.
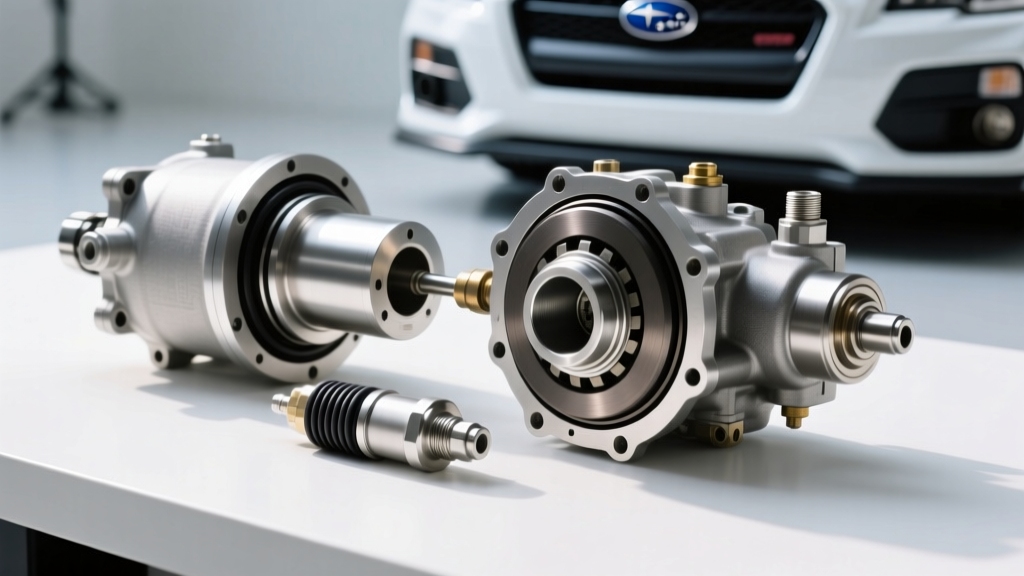
For the slave cylinder, rebuild kits are generally not recommended due to the low cost of the complete OEM slave unit and the difficulty of properly seating the internal spring and cup seals in the tight engine bay.
Essential Part Numbers and 2026 Pricing Estimates
| Component | OEM / Premium Part Number | Application | Est. Price Range |
|---|---|---|---|
| Slave Cylinder Assembly | Subaru 41120AA131 | 2002-2021 WRX 5MT | $85 - $115 |
| Slave Cylinder Assembly | Subaru 41120AA090 | 2004-2021 STI 6MT | $130 - $160 |
| Master Cylinder Seal Kit | Subaru 41119AA000 | Early WRX / Impreza 5MT | $15 - $25 |
| Full Master Cylinder Assy | Exedy EX041 (OEM Supplier) | Most 5MT Applications | $70 - $95 |
| Clutch Fork Pivot Ball | Subaru 807005150 | 5MT / 6MT Transmissions | $8 - $12 |
Note: Always cross-reference your VIN on RockAuto's Subaru WRX clutch hydraulics catalog to ensure fitment, as Subaru made running changes to the master cylinder bore sizes between the EJ205, EJ255, and FA20DIT engines.
Step-by-Step WRX Clutch Slave Cylinder Repair
Performing a clutch slave cylinder repair on a WRX requires navigating the tight space between the engine block and the firewall, directly above the starter and near the turbocharger downpipe. Heat is the enemy of the slave cylinder's rubber seals. If your aftermarket downpipe lacks proper heat shielding, your new slave will cook and fail prematurely.
Removal and Installation Procedure
- Prep and Safety: Disconnect the negative battery terminal. Remove the intercooler (on TMIC setups) or the battery and intake piping (on FMIC setups) to gain top-down access to the slave cylinder.
- Fluid Line Removal: Place a catch pan under the transmission. Use a 10mm flare nut wrench to break loose the hard line fitting. Never use an open-end wrench here; the soft brass flare nut will round off instantly.
- Unbolting the Slave: Remove the two 12mm (8mm thread) mounting bolts securing the slave to the transmission bell housing.
- The Pivot Ball Check: Before installing the new slave, reach into the inspection cover or use a borescope to check the clutch fork pivot ball. If the ball is grooved or the fork pad is worn through, replace the pivot ball (Part # 807005150). Failing to do this will cause the new slave piston to over-extend and blow its seal within 5,000 miles.
- Installation and Torque Specs: Mount the new OEM slave cylinder. Torque the mounting bolts to 18 Nm (13.3 lb-ft). Reconnect the hard line flare nut and torque to 15 Nm (11 lb-ft). Do not overtighten, or you will crack the aluminum housing of the slave cylinder.
Pro-Tip: Wrap the new slave cylinder in reflective heat-shield wrap or fabricate a small aluminum heat shield between the slave and the downpipe. This single modification can double the lifespan of the slave cylinder seals on modified WRXs.
Rebuilding the Master Cylinder with a Repair Kit
If your diagnosis points to internal master cylinder bypass (pedal sinking under load) and your bore is pristine, utilizing a clutch master cylinder repair kit is a highly cost-effective solution. If the bore is pitted from moisture contamination, skip the kit and install an Exedy EX041 full assembly.
Bench Rebuilding and Pushrod Adjustment
Accessing the master cylinder requires working under the dashboard. Remove the driver's side lower knee panel and locate the clevis pin connecting the pedal arm to the master pushrod. Pop the cotter pin and slide the clevis pin out. Unbolt the two 12mm nuts holding the master to the firewall (torque spec for reinstallation is 13 Nm / 9.6 lb-ft).
Once on the bench, disassemble the master cylinder, noting the order of the internal snap rings, springs, and cup seals. Clean the aluminum bore with brake cleaner and a lint-free cloth. Inspect for scoring. If clear, lubricate the new seals from your repair kit with fresh DOT fluid and reassemble using a snap-ring plier.
Critical Step - Pushrod Adjustment: The WRX is incredibly sensitive to master cylinder pushrod free-play. If the pushrod is adjusted too tight, the fluid return port will remain blocked, causing the clutch to drag and making gear engagement impossible when the fluid heats up and expands. Adjust the clevis so there is exactly 0.04 inches (1mm) of free-play at the pedal pad before you feel resistance from the master cylinder piston.
Fluid Selection and System Bleeding
Subaru originally specifies DOT 3 fluid for the clutch hydraulic system, but DOT 3 is highly hygroscopic and boils easily under the high ambient temperatures of a turbocharged engine bay. Upgrading to a high-quality DOT 4 fluid is mandatory for any WRX that sees spirited driving or track use. We highly recommend Motul RBF 600 or Castrol SRF for their high dry boiling points and resistance to vapor lock.
The Gravity vs. Pressure Bleed Debate
The WRX clutch circuit holds roughly 0.35 liters of fluid, but the hard line routing features a high-point loop near the firewall that traps air bubbles. Traditional pedal-pumping bleeding methods often fail to clear this air pocket, resulting in a spongy pedal.
- Pressure Bleeding (Recommended): Using a motive power bleeder at 15-20 PSI on the master reservoir forces fluid through the system, pushing trapped air out of the slave bleeder valve effortlessly.
- Reverse Bleeding: Injecting fluid from the slave bleeder valve upward to the master reservoir is highly effective for the Subaru platform, as air naturally rises to the highest point (the reservoir).
- Gravity Bleeding: If you lack specialized tools, open the slave bleeder, top off the reservoir with fresh DOT 4, and let it drip overnight. Ensure the reservoir never runs dry.
Final Verification and Break-In
After completing your clutch slave cylinder repair and master cylinder service, cycle the pedal 50 times by hand with the engine off to seat the new seals and verify line integrity. Start the engine, depress the clutch, and attempt to shift into first and reverse. There should be zero gear crunch, and the pedal should return crisply. For further community-verified troubleshooting and drivetrain discussions, the NASIOC Transmission & Drivetrain Forums remain an invaluable resource for Subaru-specific torque sequences and aftermarket fitment quirks.
By focusing on precise diagnosis, utilizing OEM repair kits where applicable, and adhering to factory torque specifications, you can eliminate the dreaded WRX pedal drop and ensure your hydraulic system survives the rigors of both daily commuting and track abuse.