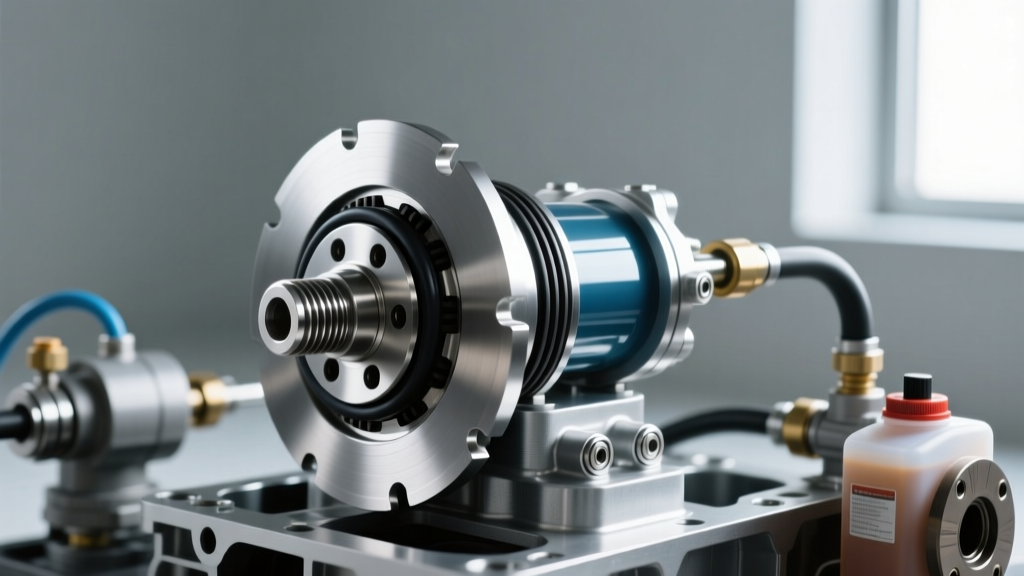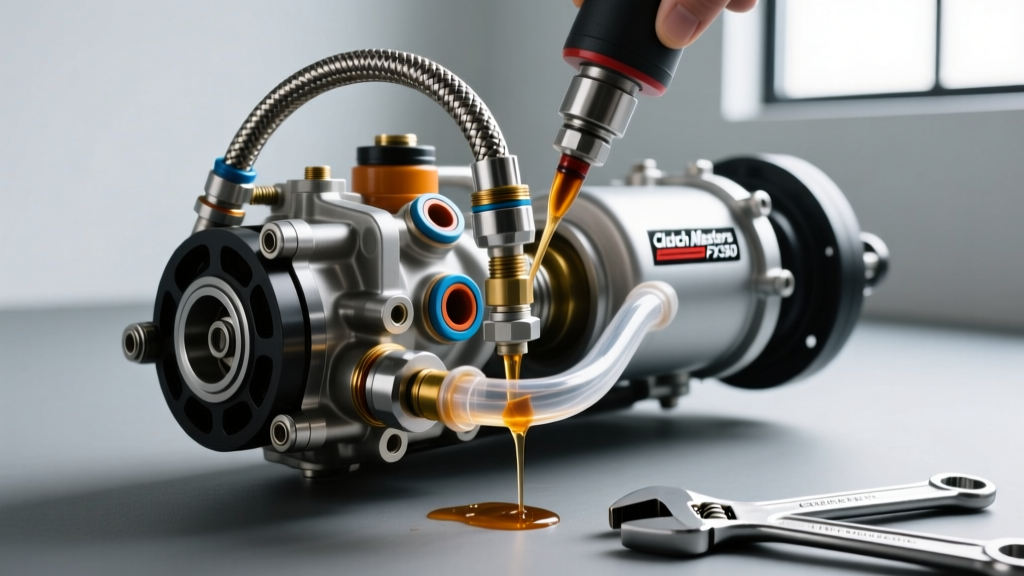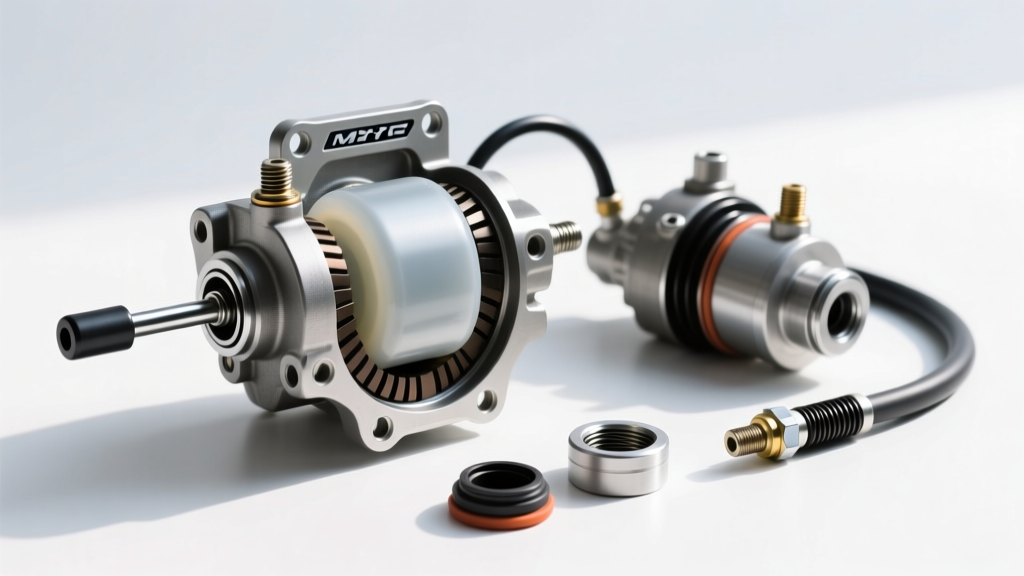
The Ford Mustang’s Getrag MT-82 (and later MT-82D1) 6-speed manual transmission is a staple of the S197 and S550 generations. While the gearbox itself is robust, the hydraulic actuation system is a well-documented weak point. As we navigate the 2026 aftermarket landscape, addressing hydraulic deficiencies early is critical to saving your synchros. In this model-specific guide, we break down the exact signs of clutch master cylinder failure, evaluate the best clutch master cylinder repair kits and upgrades, and provide dealership-level torque specs for a flawless installation.
Recognizing the Signs of Clutch Master Cylinder Failure on the MT-82
The MT-82 relies on a hydraulic Concentric Slave Cylinder (CSC) mounted inside the bell housing. When the master cylinder on the firewall begins to fail, it doesn't always leak externally; internal bypassing is incredibly common. Watch for these specific symptoms:
- 2nd-to-3rd Gear Crunching: The MT-82's carbon-fiber lined synchros are sensitive to drag. If the master cylinder bypasses fluid internally, the CSC fails to fully disengage the clutch, causing RPM hang and gear grinding during fast shifts.
- Pedal Sponginess and 'Half-Clutching': A pedal that feels mushy or slowly sinks to the floor while holding the car in gear at a stoplight indicates failing internal piston cup seals.
- Firewall Weeping: Inspect the carpet and insulation under the dash. Fluid pooling near the pedal box means the rear pushrod seal has catastrophically failed.
- Pedal Sticking to the Floorboard: Often confused with a failed return spring, a sticking pedal usually points to severe bore scoring inside the plastic OEM master cylinder, causing the piston to bind.
The 'Repair Kit' Dilemma: Rebuilds vs. Upgrades
Historically, cast-iron master cylinders could be rebuilt using a $15 seal kit containing new O-rings, a piston cup, and a return spring. However, the OEM Ford MT-82 master cylinder (Part # 7R3Z-7A564-A) features a crimped, glass-filled nylon plastic body. You cannot safely rebuild the OEM plastic unit. Attempting to hone or reseal a scored plastic bore will result in immediate failure.
Therefore, in the modern Mustang ecosystem, 'clutch master cylinder repair kits' refer to comprehensive hydraulic upgrade kits that replace the failing plastic unit with a billet aluminum cylinder, a braided stainless steel line, and an adjustable firewall bracket.
MT-82 Master Cylinder Kit Comparison Chart
| Kit Type | Part Number | Approx. Cost (2026) | Material & Features | Best Application |
|---|---|---|---|---|
| OEM Replacement | Motorcraft CM-6519 | $85 - $110 | Plastic bore, fixed pushrod, OE quick-connect | Budget daily drivers, stock clutch |
| Ford Performance Kit | M-7A564-A | $160 - $190 | Revised OEM-style, improved seal materials | OEM+ restorations, mild bolt-ons |
| Steeda Billet Upgrade | 555-7011 | $219 - $249 | 6061-T6 Aluminum bore, adjustable pushrod | Track cars, upgraded clutch pressure plates |
| McLeod Hydraulic Kit | 140103 | $280 - $320 | Billet aluminum, braided line, adjustable rod |
Step-by-Step MT-82 Master Cylinder Replacement
Replacing the master cylinder on the S197/S550 requires working in the tight confines of the driver's side footwell and the rear of the engine bay. Here is the professional procedure.
1. Under-Dash Disassembly
Remove the driver's side knee bolster by taking out the four 7mm screws. Disconnect the hood release cable and the OBD-II port bracket (10mm nut) to gain clear access to the pedal box. Locate the clevis pin connecting the clutch pedal to the master cylinder pushrod. Remove the retaining clip with needle-nose pliers, slide the clevis pin out, and discard the old pin (always use a new one to prevent pedal slop).
2. Engine Bay Extraction
Open the hood and locate the master cylinder mounted to the firewall. Disconnect the fluid reservoir hose and plug it to prevent draining the brake system (the clutch and brake share the same reservoir on the Mustang). Use a specialized quick-connect disconnect tool to release the hydraulic line from the master cylinder. Pro Tip: If you lack the tool, gently push the line inward, press the retaining collar toward the cylinder, and pull the line out.
Remove the two 13mm nuts securing the cylinder to the firewall studs.
Critical Torque Spec Warning: When installing the new unit, the firewall nuts must be torqued to exactly 15 Nm (11 lb-ft). Overtightening these nuts on the S550 will crack the plastic firewall reinforcement bracket, leading to catastrophic pedal flex under heavy braking.
3. Bench Bleeding and Installation
Before mounting the new aluminum master cylinder, bench bleed it. Clamp the cylinder in a vise, fill the reservoir port with DOT 4 fluid, and use a blunt punch to stroke the piston until no air bubbles exit the output port. Connect the hydraulic line, ensuring the quick-connect clicks securely. Reinstall the firewall nuts and torque to 15 Nm. Reconnect the pushrod clevis pin under the dash.
Bleeding the MT-82 Concentric Slave Cylinder (CSC)
The MT-82 hydraulic system holds approximately 1.2 liters of fluid. Because the CSC is located inside the bell housing at the lowest point of the system, air traps easily in the hard line routing over the transmission tunnel.
Recommended Fluids for 2026
For street and occasional track use, Motorcraft DOT 4 LV (PM-20) is the factory standard. For dedicated track cars running heavy clutches (like a McLeod RST twin-disc), step up to Castrol SRF or Motul RBF 660 to prevent fluid boil, which mimics the signs of clutch master cylinder failure by introducing vapor into the lines.
The Pressure Bleeding Protocol
- Attach a pressure bleeder to the shared brake/clutch reservoir.
- Set the regulator to 15-20 PSI. Never exceed 25 PSI. High pressure can invert the internal rubber seals of the CSC, forcing you to drop the transmission to replace a $90 slave cylinder.
- Locate the bleeder valve on the top of the bell housing (requires a 10mm wrench and a 6-foot extension to reach from above the engine on 5.0L Coyote applications).
- Open the valve and let fluid flow until it is completely free of micro-bubbles. Close the valve, remove the pressure bleeder, and top off the reservoir to the MAX line.
Final Thoughts on Hydraulic Longevity
Ignoring the early signs of clutch master cylinder failure is a fast track to destroying the MT-82's 2nd and 3rd gear synchros. By upgrading to a billet aluminum repair and upgrade kit from trusted manufacturers like Steeda Autosports or sourcing revised components directly from Ford Performance Parts, you eliminate the plastic bore wear issue entirely. For those running aggressive aftermarket clutches, pairing your new master cylinder with a braided hydraulic line and a firewall adjuster will ensure crisp, consistent disengagement for the life of your Mustang. For further reading on heavy-duty clutch actuation, consult the engineering guidelines at McLeod Racing to ensure your hydraulic volume matches your pressure plate's diaphragm spring rate.