Understanding Clutch Slave Cylinder Types and Failure Modes
When a clutch pedal drops to the floor, feels spongy, or refuses to disengage the transmission, the hydraulic slave cylinder is the prime suspect. However, before you wrench on the drivetrain or search for instructions on how to install a clutch slave cylinder, you must accurately identify which type of slave cylinder your vehicle utilizes. As of 2026, the automotive landscape is dominated by two distinct architectures: the External Slave Cylinder (ESC) and the Concentric Slave Cylinder (CSC). Misdiagnosing the failure mode based on the wrong cylinder type leads to wasted labor, contaminated bellhousings, and repeat failures.
This guide breaks down the specific diagnostic procedures, common failure points, and installation nuances for both ESC and CSC systems, ensuring you apply the correct fix for your manual transmission platform.
External Slave Cylinder (ESC): Diagnostics & Troubleshooting
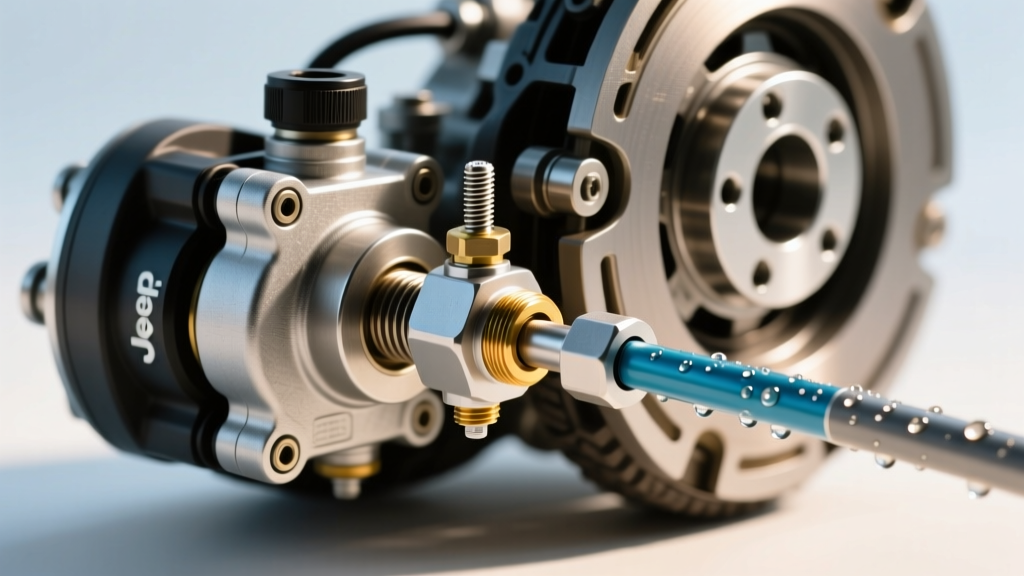
The External Slave Cylinder is mounted on the exterior of the transmission bellhousing and actuates the clutch fork via a mechanical pushrod. This setup is prevalent in older rear-wheel-drive platforms, heavy-duty trucks (such as those equipped with the NV4500 or G56 transmissions), and specific performance applications like the Ford Mustang MT-82.
Common ESC Failure Symptoms
- External Weeping: Fluid pooling at the pushrod boot or dripping onto the bellhousing exterior. This indicates a failed internal piston seal.
- Clicking Pedal Feel: A metallic clicking sound when depressing the clutch. This is rarely a hydraulic failure; instead, it points to wear in the clevis pin, the pushrod eyelet, or the clutch fork pivot ball.
- Incomplete Disengagement: If the pedal feels firm but the transmission grinds going into gear, the ESC pushrod may be misadjusted, or the cylinder bore is bypassing fluid due to internal scoring.
Troubleshooting the ESC Pushrod & Clevis
Before replacing the ESC, measure the pushrod free-play. Most factory service manuals dictate between 1.0mm and 2.0mm of free-play at the clevis. If the pushrod is adjusted too tightly against the clutch fork, the hydraulic fluid cannot fully return to the master cylinder, causing the clutch to slip under load. Conversely, excessive free-play results in a low pedal engagement point and poor gear engagement.
Concentric Slave Cylinder (CSC): Diagnostics & Failure Modes
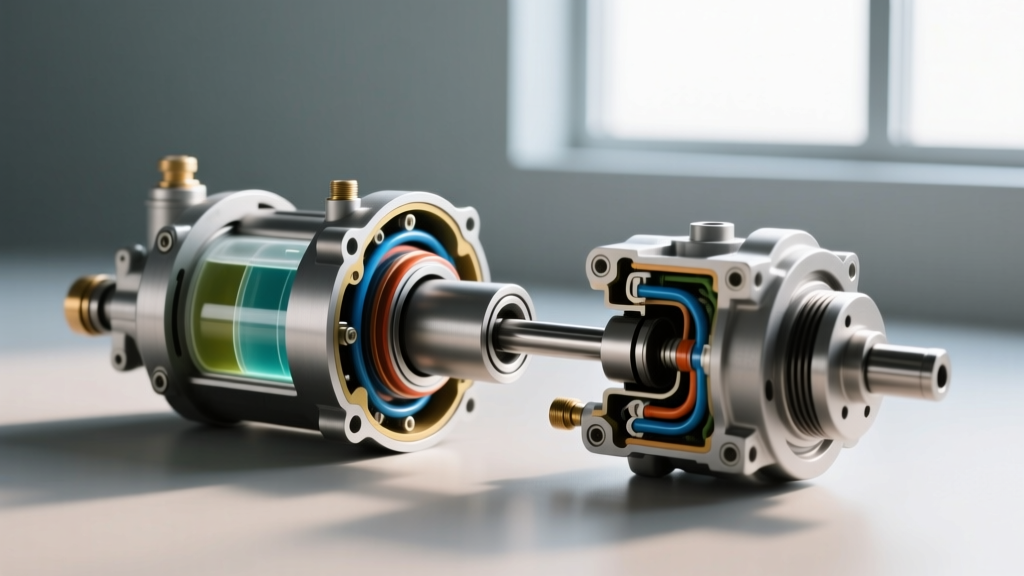
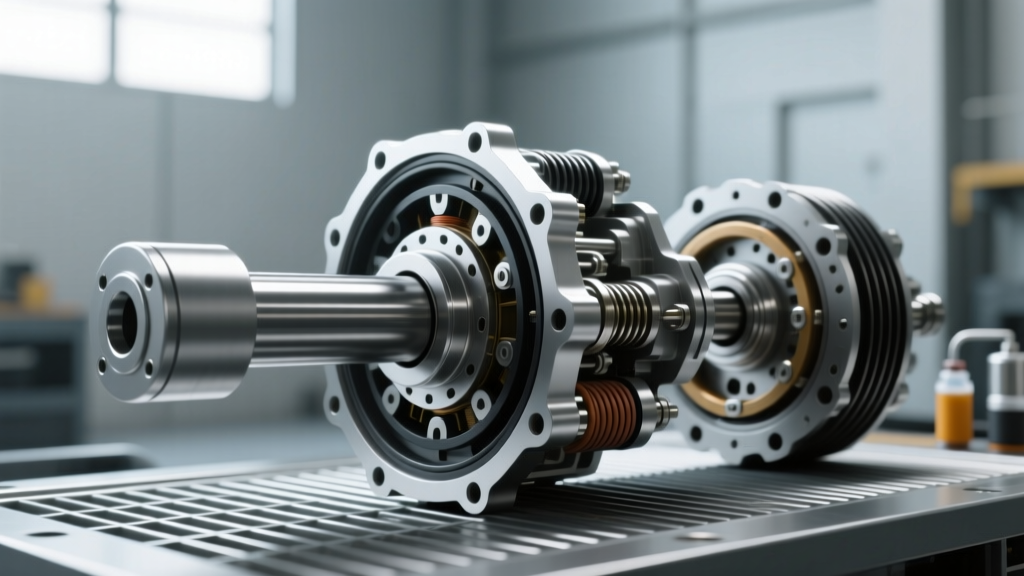
The Concentric Slave Cylinder integrates the hydraulic piston and the throwout bearing into a single unit that mounts directly over the transmission input shaft. This design eliminates the clutch fork, pivot ball, and external pushrod, reducing moving mass and improving pedal feel. CSCs are standard on modern front-wheel-drive vehicles, the GM LS/LT platforms (T56 Magnum and TR-6060 applications), and most modern Porsche and BMW manual transmissions.
Identifying Internal CSC Leaks vs. Bearing Failure
Because the CSC resides entirely inside the bellhousing, diagnosing its failures requires a different approach. According to engineering guidelines from Schaeffler (LuK), CSC failures generally manifest in two ways:
- Hydraulic Bypass/Leak: If your clutch fluid reservoir is dropping but your driveway is completely dry, the CSC is leaking internally into the bellhousing. Fluid will eventually weep out of the bottom bellhousing inspection cover or weep hole. Note: Fluid on the clutch friction disc will cause severe chatter and slipping, requiring a full clutch replacement.
- Mechanical Bearing Failure: If you hear a grinding or whirring noise that changes pitch with engine RPM, but the pedal pressure remains consistent, the CSC's integrated throwout bearing has failed. This is a mechanical failure, not a hydraulic one, but requires the exact same labor (transmission removal) to rectify.
Diagnostic Matrix: ESC vs. CSC
| Symptom | ESC Probability | CSC Probability | Primary Diagnostic Test |
|---|---|---|---|
| Fluid on driveway / exterior bellhousing | High (Piston Seal) | Low (Line fitting) | Visual inspection of pushrod boot |
| Fluid dropping, driveway dry | Low (Master Cylinder) | High (Internal CSC Leak) | Borescope through bellhousing weep hole |
| Pedal clicking / mechanical noise | High (Clevis / Fork wear) | High (Bearing failure) | Stethoscope on bellhousing vs. firewall |
| Spongy pedal, no visible leaks | Medium (Air in system) | Medium (Air in system) | Reverse bleed and check quick-connects |
How to Install a Clutch Slave Cylinder: Type-Specific Procedures
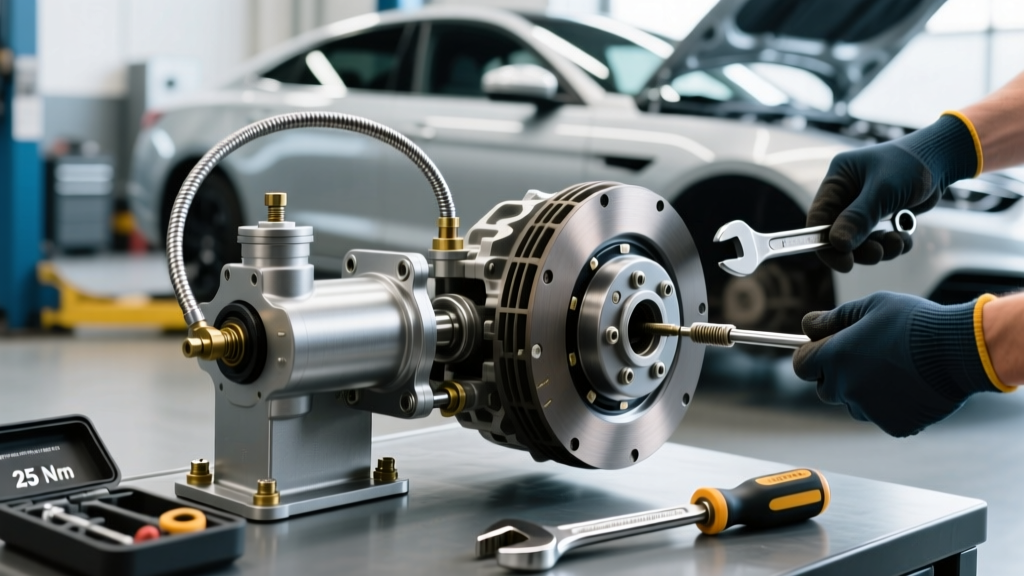
Understanding how to install a clutch slave cylinder requires strict adherence to type-specific protocols. The labor and torque specifications vary wildly between an external mount and an internal concentric mount.
ESC Installation & Bleeding Specs
When installing a new ESC (such as the common GM part number 19209406), bench-bleeding is highly recommended before mounting it to the transmission. Clamp the cylinder in a vise, fill it with fluid, and cycle the pushrod until no air bubbles emerge.
- Mounting Torque: Secure the ESC to the bellhousing using the factory nuts. Torque to 35 Nm (26 lb-ft) for M10 studs.
- Pushrod Adjustment: Reinstall the clevis pin and secure with a new cotter pin. Verify the 1.5mm free-play specification.
- Quick-Connect Fittings: On GM LS platforms, the plastic quick-connect fitting at the firewall is notorious for cracking due to heat cycling. If you are replacing the slave, upgrade the factory plastic line to an aftermarket AN3 braided stainless line or an aluminum reinforced fitting to prevent future hydraulic loss.
CSC Installation & Alignment Protocols
Installing a CSC (like the Sachs SH5000 for GM applications) is a high-stakes procedure. Because the unit slides over the transmission input shaft, improper installation will destroy the internal retaining clips and rubber wiper seals.
Critical Warning: Never use the transmission-to-engine bellhousing bolts to "draw" the transmission into place if the input shaft is not perfectly aligned with the CSC. This will crack the CSC plastic housing and instantly ruin the new part. Always use a clutch alignment tool and support the transmission with a precision jack.
- Pre-Installation: Do NOT compress the CSC piston on the bench. Most modern CSCs feature a break-away retaining strap that holds the piston extended. This strap is designed to snap automatically the first time the clutch pedal is depressed after installation. Compressing it manually will render the unit useless.
- Mounting Torque: The CSC is typically secured to the bellhousing or transmission case with two or three M8 bolts. When threading into an aluminum bellhousing, torque these bolts to exactly 22 Nm (16 lb-ft). Over-torquing will strip the aluminum threads or warp the CSC mounting flange, leading to uneven bearing wear.
- Bleeder Screw Torque: The bleeder valve on a CSC is often made of soft brass or plastic. Torque to a maximum of 10 Nm (88 in-lb) to prevent snapping the valve stem.
Fluid Selection and High-Temperature Troubleshooting
The hydraulic fluid you choose directly impacts the longevity of both ESC and CSC internal seals. Standard DOT 3 fluid absorbs moisture rapidly, lowering its boiling point and promoting internal corrosion within the slave cylinder bore.
For performance applications or vehicles subjected to heavy stop-and-go traffic, upgrading to a high-quality DOT 4 fluid is mandatory. According to fluid engineering data from ATE Brakes, fluids like ATE Type 200 offer a dry boiling point of 536°F (280°C), vastly outperforming generic DOT 3. This prevents vapor lock in the slave cylinder when exhaust heat radiates through the bellhousing.
Note: Never mix DOT 5 (Silicone-based) with DOT 3 or DOT 4. Silicone fluid will swell the EPDM rubber seals inside the CSC and ESC, causing catastrophic hydraulic failure within miles.
The Reverse Bleeding Advantage
Gravity bleeding a CSC is notoriously difficult because air bubbles naturally rise, and the CSC bleeder valve is often positioned lower than the master cylinder or the hydraulic line routing. To properly bleed a CSC system, utilize a reverse pressure bleeder (such as the Motive Products 0107). By forcing fluid from the slave cylinder bleeder valve up into the master cylinder reservoir, you push trapped air pockets out of the high-points in the firewall hydraulic lines, resulting in a rock-solid pedal feel on the first attempt.
Final Verification
After completing the installation and bleeding process, cycle the clutch pedal 20 times with the engine off. Check for leaks at the ESC pushrod boot or the CSC bellhousing weep hole. Start the engine, depress the clutch, and verify that the transmission engages into 1st and Reverse without gear clash. For further drivetrain integration specs, consult the Tremec service documentation for your specific manual transmission model to ensure the hydraulic throwout bearing clearance aligns with the clutch diaphragm spring fingers.