The Compensating Port Trap: Why Pushrod Adjustment Dictates Bleed Success
When swapping a manual transmission into an LS-platform vehicle or servicing a factory Tremec T56 Magnum, enthusiasts frequently hit a wall: a spongy pedal that refuses to firm up, no matter how many times they pump the clutch. If you are researching how to bleed clutch master cylinder by yourself, you must first understand the hidden culprit that ruins 90% of DIY clutch bleeds: the master cylinder pushrod air gap.
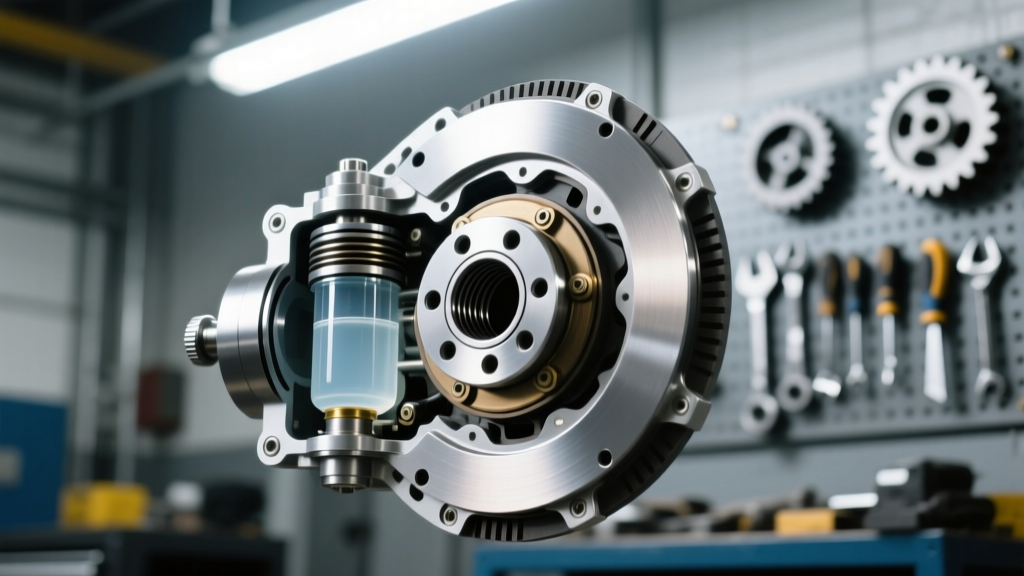
The hydraulic clutch master cylinder (whether a GM OEM unit or an aftermarket Wilwood 3/4-inch bore) relies on a tiny internal compensating port. This port connects the high-pressure chamber to the fluid reservoir. When the clutch pedal is fully released, the piston must retract just enough to expose this port. This allows fluid to return to the reservoir, compensates for thermal expansion, and provides an escape route for microscopic air bubbles during the bleeding process.
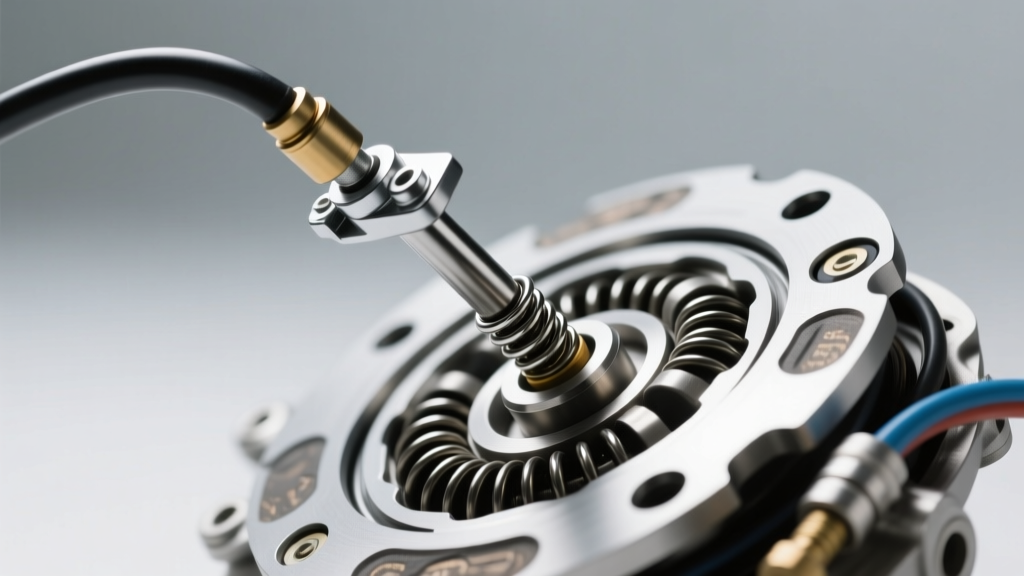
If your pushrod is adjusted too tightly—leaving zero air gap between the pushrod tip and the piston—the master cylinder piston is held slightly forward. This covers the compensating port. Not only will this cause the clutch to slip under heavy load as the fluid expands and applies constant pressure to the slave cylinder, but it also makes bleeding the system nearly impossible. Air trapped in the master cylinder junction cannot escape into the reservoir, and the slave cylinder bleeder screw is often too small to pull the bubble through. Proper pushrod adjustment is the mandatory prerequisite to a successful hydraulic bleed.
T56 Magnum & LS-Swap Hydraulic Specs
Before touching a wrench, familiarize yourself with the exact specifications for the most common manual swap and factory configurations. The following data applies to standard GM LS/T56 Magnum external slave setups and popular aftermarket bellhousing configurations (e.g., Quick Time RM-6064).
| Parameter | Specification / Measurement | Notes |
|---|---|---|
| Pushrod Air Gap | 0.010" - 0.030" (0.25mm - 0.75mm) | Critical for compensating port clearance |
| Pedal Freeplay | 0.25" - 0.50" at the pedal pad | Measured before hydraulic resistance begins |
| Master Cyl. Firewall Nuts | 11 lb-ft (15 Nm) | Use blue Loctite on aluminum firewalls |
| Slave Bleeder Screw Torque | 6 - 8 lb-ft | Extremely fragile brass/aluminum threads |
| Recommended Fluid | DOT 4 (e.g., Motul RBF 600) | Higher dry boiling point (626°F) prevents vapor lock |
Step 1: Dialing in the Master Cylinder Pushrod Air Gap
To achieve the correct air gap, you need a set of standard feeler gauges and two 1/2-inch or 9/16-inch wrenches (depending on whether your pushrod uses standard 5/16"-24 or metric M8x1.25 jam nuts). As of 2026, most premium aftermarket pushrods feature a built-in Allen key hex in the center of the rod to prevent it from spinning while you tighten the jam nut.
The Feeler Gauge Method
- Locate the Gap: Crawl under the dash or look through the engine bay firewall access. You need to measure the gap between the spherical tip of the pushrod and the indentation in the master cylinder piston.
- Loosen the Jam Nut: Break the jam nut loose from the clevis or pedal arm. Thread the pushrod to adjust its length.
- Set the Clearance: Stack a 0.015" and a 0.010" feeler gauge together (totaling 0.025"). Insert the stack between the pushrod tip and the piston. The piston should be fully seated in its resting position (pedal fully up against the bump stop).
- Adjust for Drag: Thread the pushrod in or out until you feel a slight drag on the 0.025" feeler gauge stack when you pull it out. The pushrod should just barely kiss the piston without applying forward pressure.
- Lock it Down: Hold the pushrod stationary with an Allen key or wrench, and tighten the jam nut securely. Re-check the gap, as the rod can sometimes turn slightly during tightening.
Expert Insight: Never rely on 'counting threads' from the end of the pushrod. Manufacturing tolerances in aftermarket pedals and master cylinder casting depths vary wildly. The feeler gauge method is the only way to guarantee the compensating port will open.
Step 2: How to Bleed Clutch Master Cylinder by Yourself
Once the pushrod is correctly adjusted, the compensating port is open, and you can successfully purge the system. Because clutch hydraulic lines are often routed high over the transmission bellhousing, air bubbles naturally rise to the highest point, getting trapped. Standard pedal-pumping often fails to generate enough velocity to drag these bubbles down to the slave cylinder. Here are the two most effective DIY methods.
The Reverse-Syringe Injection Method (Highly Recommended)
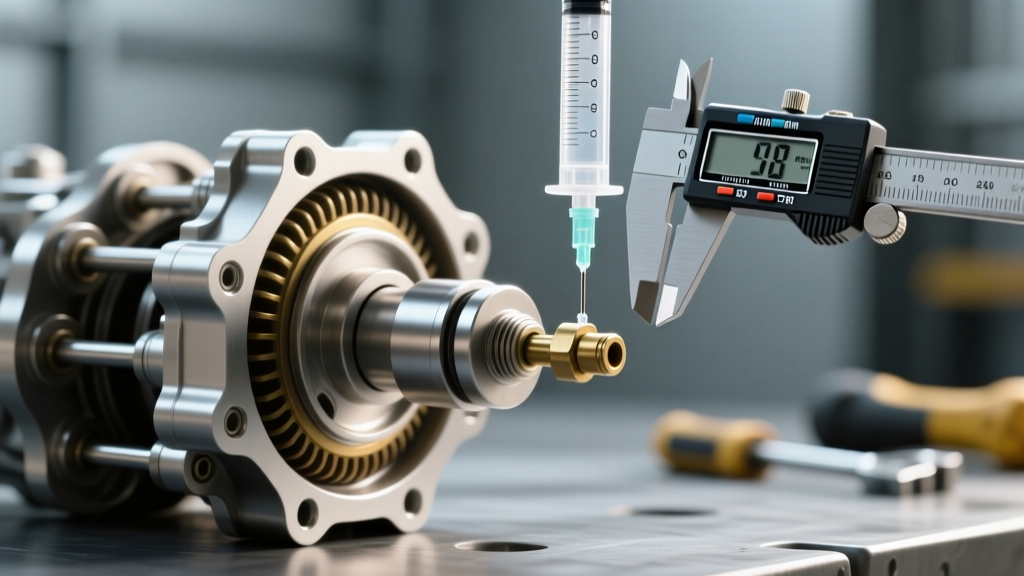
Reverse bleeding forces fluid from the lowest point (the slave cylinder) upward, naturally carrying air bubbles with it into the master cylinder reservoir. This is the gold standard for learning how to bleed clutch master cylinder by yourself without specialized vacuum pumps.
- Prepare the Syringe: Purchase a large 60cc or 100cc veterinary syringe and a length of clear vinyl tubing that fits snugly over the slave cylinder bleeder screw.
- Fill the Syringe: Draw 60cc of fresh DOT 4 fluid into the syringe. Tap the syringe to remove any air bubbles trapped inside the barrel.
- Attach to Slave: Place a wrench on the slave bleeder screw. Open the screw exactly one-half turn. Quickly push the vinyl tubing over the bleeder nipple.
- Inject the Fluid: Slowly and steadily push the syringe plunger. Watch the master cylinder reservoir under the hood. You will see the fluid level rise, accompanied by a stream of air bubbles escaping into the reservoir.
- Monitor the Reservoir: Stop injecting before the reservoir overflows. Close the bleeder screw immediately before removing the tubing to prevent air from being sucked back into the slave cylinder.
- Top Off and Test: Suck out excess fluid from the master cylinder reservoir using the syringe so it sits at the 'MAX' line. Secure the cap and test the pedal. It should feel rock-solid within one or two pumps.
The Gravity-Feed & Pedal-Pump Fallback
If you do not have a syringe, gravity bleeding is a viable, albeit slower, alternative that relies on the open compensating port to feed fluid down the line.
- Fill the master cylinder reservoir to the brim with fresh fluid.
- Open the slave cylinder bleeder screw and attach a clear hose routing into a catch bottle.
- Allow gravity to pull the fluid through the system. This can take 20 to 45 minutes. Keep a close eye on the master cylinder; never let it run dry, or you will introduce a massive air pocket and have to start over.
- Once a steady, bubble-free stream of fluid exits the hose, close the bleeder screw.
- Perform three slow, full-stroke pedal pumps to seat the slave cylinder piston, then check the pedal feel.
Diagnostic Checklist: Slipping vs. Dragging Clutches
If you have completed the pushrod adjustment and the bleeding process, but the clutch still misbehaves, use this diagnostic framework to identify the failure point:
- Clutch Slips Under Load (RPMs rise, speed doesn't): Your pushrod air gap is too small (less than 0.010"). The master cylinder piston is blocking the compensating port, causing hydraulic pressure to build as the fluid heats up, effectively riding the clutch pedal for you. Fix: Shorten the pushrod to increase the air gap.
- Clutch Drags / Hard to Shift into Gear: Your pushrod air gap is too large (greater than 0.050"), or there is still air in the system. The piston does not travel far enough to fully disengage the pressure plate. Fix: Lengthen the pushrod or repeat the reverse-bleed procedure.
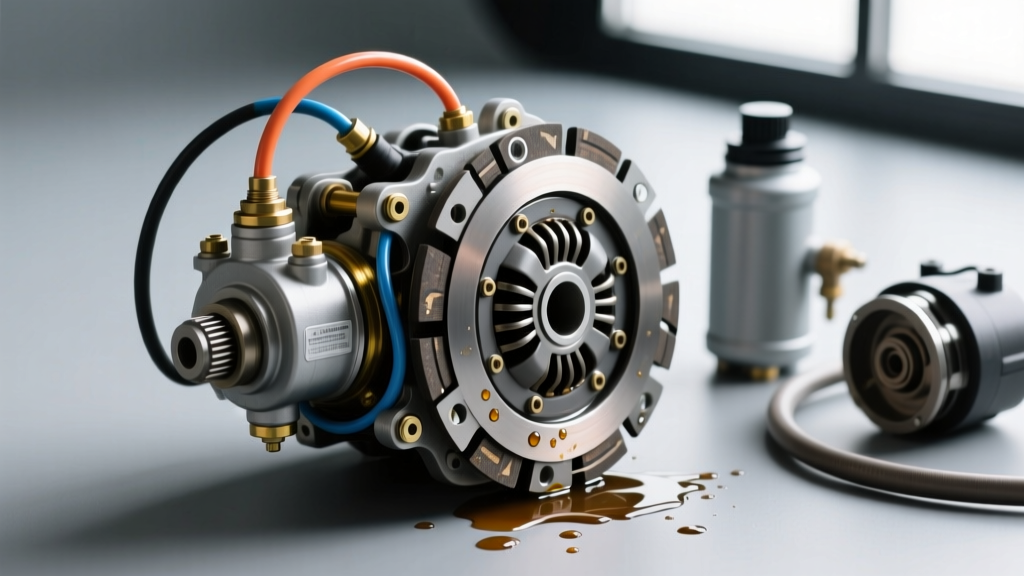
- Pedal Sinks to the Floor Over Time: You have a failing internal seal in the master cylinder, or a leaking slave cylinder boot. Fluid is bypassing the piston internally. Fix: Replace the master cylinder (GM Part #24263144 or Wilwood 260-1304).
Real-World Costs and Part Numbers
Budgeting for a proper hydraulic clutch setup requires knowing the difference between OEM replacements and high-performance aftermarket units. Here is what you can expect to spend in the current market:
- OEM GM Master Cylinder (Part #24263144): $85 - $120. Excellent for stock T56 applications and standard LS swaps. Features a plastic reservoir and 3/4" bore.
- Wilwood 260-1304 Master Cylinder: $115 - $135. CNC-machined aluminum, highly durable, preferred for aggressive track use and high-clamp-load aftermarket clutches.
- Tick Performance Braided Line Kit: $75 - $95. Replaces restrictive factory plastic lines that can expand under pressure, mimicking the symptoms of air in the system.
- Motul RBF 600 DOT 4 Fluid: $22 per 500ml bottle. High-performance synthetic fluid that resists vapor lock during repeated hard launches.
Mastering the pushrod adjustment and understanding the physics of the compensating port transforms a frustrating weekend project into a precise, rewarding mechanical procedure. For further reading on hydraulic system dynamics and transmission tolerances, consult the Wilwood Tech Corner and the official Tremec T-56 Magnum Spec Sheet. Always verify your specific fluid requirements via the manufacturer, such as the technical data provided for Motul RBF 600 DOT 4.