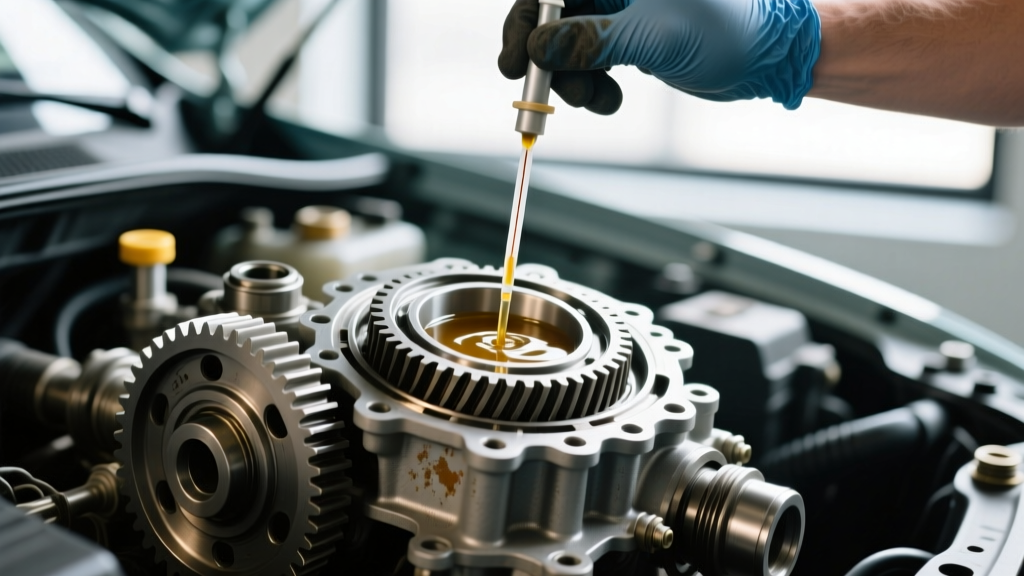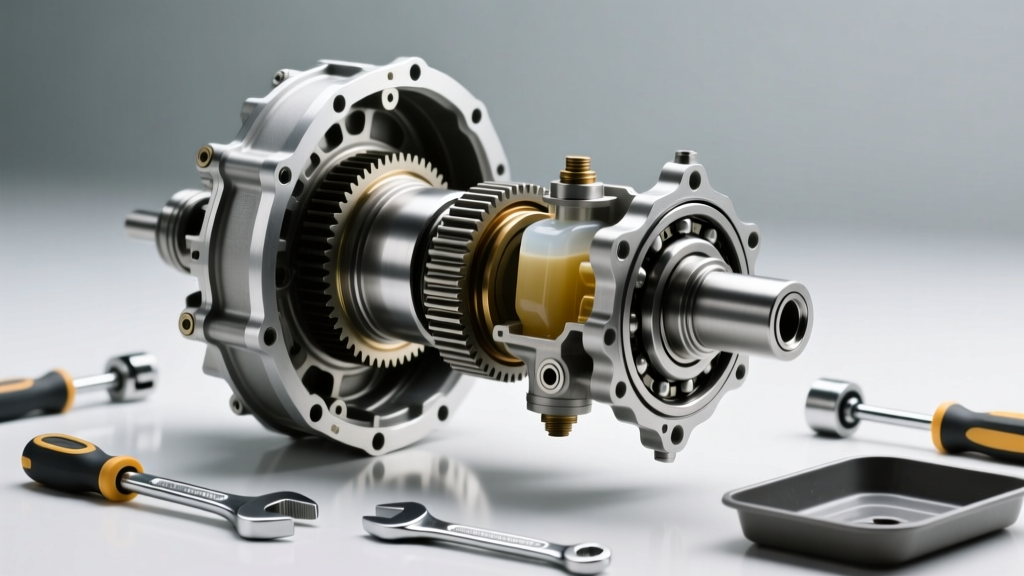
Executing a proper differential rebuild requires precision, patience, and a deep understanding of gear geometry. However, before you can unbolts a single bearing cap or pull a carrier assembly, you must address the most fundamental step of axle service: draining the housing. If you are staring at a solid rear axle and wondering where is the differential fluid located, the answer depends entirely on your specific axle model, the manufacturer's original design, and whether previous owners have modified the differential cover.
The First Step: Where Is the Differential Fluid Located?
Unlike engine oil pans or transmission fluid reservoirs, differential fluid storage is integrated directly into the axle housing itself. The exact location of the fill and drain points varies wildly across common truck and SUV platforms:
- Ford 8.8-Inch (OEM): The factory Ford 8.8 differential cover does not feature a dedicated drain plug. The fluid is located entirely within the sump of the housing. To drain it, you must unbolt the entire 10-bolt or 12-bolt perimeter cover and let the fluid spill into a catch pan.
- Dana 44 / Dana 60: Stock Jeep and Dodge Dana axles often lack bottom drain plugs, requiring cover removal. However, most modern aftermarket covers (such as those from ARB or Rugged Ridge) include a magnetic drain plug located at the lowest point of the sump, and a separate fill plug located roughly halfway up the cover or housing.
- Independent Rear Suspension (IRS) Diffs: On modern vehicles like the BMW F-Series or Ford Mustang IRS, the differential is a standalone aluminum or cast-iron pumpkin bolted to the subframe. The fluid is located inside this sealed housing, accessed via a top-mounted fill plug (usually an 8mm or 10mm hex/Allen bit) and a bottom drain plug.
Pro Tip: Always remove the top fill plug before removing the bottom drain plug or dropping the cover. There is nothing worse than draining 3 quarts of 75W-140 synthetic gear oil only to discover your fill plug is seized or stripped, leaving you with an empty, immobile axle.
Differential Rebuild Procedures: Tear-Down Phase
Once the fluid is drained and the axle shafts are pulled (requiring C-clip extraction from the carrier side window on semi-floating axles, or unbolting the retainer plates on full-floating Dana 60s), the core rebuild begins.
1. Marking and Removing the Bearing Caps
The differential carrier is held in place by two heavy cast-iron bearing caps. These caps are line-bored at the factory with the housing. They are not interchangeable. Use a center punch to mark the left and right caps so they go back exactly where they came from, and in the same orientation. Remove the cap bolts (typically 70-85 lb-ft on a Ford 8.8) and carefully pry the carrier assembly out using a specialized carrier puller. Never pry on the ring gear or the machined bearing journals.
2. Pinion Extraction
Remove the driveshaft and mark the pinion flange to the yoke for reassembly balance. Use a high-torque impact or a long breaker bar to remove the pinion nut. Note that on crush-sleeve setups, this nut is torqued to extreme levels (often exceeding 250 lb-ft) to collapse the sleeve and set bearing preload. Once the nut is off, use a brass drift to hammer the pinion shaft out through the rear of the housing, catching the outer pinion bearing and seal as it exits.
Axle Setup Specifications & Tolerances
A successful rebuild relies on adhering to strict OEM tolerances. Below is a comparison of baseline specifications for two of the most rebuilt axles in the off-road and truck community.
| Specification | Ford 8.8-Inch | Dana 44 (Standard Rotation) |
|---|---|---|
| Ring Gear Bolt Torque | 70 - 85 lb-ft (with Loctite 272) | 70 - 90 lb-ft (with Loctite 272) |
| Carrier Bearing Preload | 15 - 25 in-lb (rotating torque) | 20 - 30 in-lb (rotating torque) |
| Pinion Bearing Preload (Used Bearings) | 8 - 14 in-lb | 10 - 15 in-lb |
| Ring Gear Backlash | 0.006' - 0.010' | 0.006' - 0.009' |
| Common Carrier Bearing (Timken) | SET 9 (LM104948 / LM104912) | SET 10 (LM501349 / LM501314) |
Reassembly: Bearings, Preload, and Backlash
Rebuilding a differential is essentially an exercise in shim management. You are setting two intersecting axes (the pinion and the ring gear) to mesh perfectly under extreme load.
Setting Pinion Depth
The pinion gear must sit at an exact distance from the centerline of the carrier. This is controlled by a shim (or a collapsible spacer) located between the inner pinion bearing and the pinion head. According to the technical guidelines at Ring-Pinion.com, you should always start with the factory pinion depth shim as a baseline. If you are swapping gear manufacturers (e.g., moving from Spicer to Yukon Gear), the new pinion head may have a different etching (like '+2' or '-1'), indicating how many thousandths of an inch you must add or subtract from your baseline shim.
The Crush Sleeve vs. Solid Spacer Debate
OEM axles use a crush sleeve to set pinion bearing preload. Tightening the pinion nut crushes the steel sleeve, creating outward pressure on the bearings. While cheap to manufacture, crush sleeves are notorious for failing under heavy towing or off-road shock loads, leading to a loose pinion and destroyed gear sets. For any 2026 performance or overland build, we highly recommend installing a Solid Spacer Eliminator Kit (available from Ratech or Yukon Gear for roughly $45). This replaces the crush sleeve with a machined steel spacer and a stack of precision micro-shims, allowing you to dial in the exact rotating torque (e.g., 14 in-lb) using a torque wrench, and locking it down with a standard pinion nut.
Dialing in Ring Gear Backlash
Backlash is the amount of rotational play between the ring gear and the pinion gear before the teeth make contact. To measure this, mount a magnetic dial indicator to the housing so the plunger rests perfectly perpendicular to a ring gear tooth.
Adjust the side carrier shims (located behind the carrier bearings) to move the ring gear closer to or further from the pinion. If your backlash is too tight (e.g., 0.002'), move a 0.005' shim from the right side to the left side. This maintains your total carrier bearing preload while shifting the gear mesh. Your target is generally 0.008' for street use.
Reading the Gear Contact Pattern
Numbers on a dial indicator only tell half the story. You must paint the ring gear teeth with yellow gear marking compound (or white lithium grease in a pinch) and rotate the assembly under light braking pressure. According to Spicer Parts technical documentation, a perfect pattern will be centered on the tooth face, slightly favoring the toe (the inner edge of the ring gear) under no load, and shifting perfectly to the center of the flank under load.
- Pattern too high (Face): Pinion is too deep. Decrease pinion depth shim.
- Pattern too low (Flank): Pinion is too shallow. Increase pinion depth shim.
- Pattern toward the Heel (Outer edge): Backlash is too tight. Increase backlash.
- Pattern toward the Toe (Inner edge): Backlash is too wide. Decrease backlash.
Expert Warning: Never attempt to adjust the gear pattern by altering backlash alone. Pinion depth must be set first and locked in. Backlash is the secondary adjustment used to fine-tune the heel-to-toe spread. Compromising pinion depth to achieve backlash will result in catastrophic gear whine and premature tooth shearing.
Final Fill: Selecting the Right Gear Oil
Once the cover is resealed (using RTV silicone like Permatex Ultra Black, allowing 2 hours to cure before filling), it is time to refill the housing. As established, where the differential fluid is located dictates your filling method. Use a fluid transfer pump to push gear oil into the fill hole until it begins to weep out of the opening.
For modern trucks, SUVs, and off-road rigs, a 75W-90 or 75W-140 Full Synthetic gear oil is mandatory. If your axle features a clutch-type limited-slip differential (like the Ford Trac-Lok or Eaton Posi), you must add a limited-slip friction modifier (such as Motorcraft XL-3 or Red Line Limited Slip Additive). Failing to add this modifier will result in severe chattering and binding during low-speed turns, ultimately destroying the clutch packs.
Cost Breakdown: DIY Rebuild vs. Professional Service
Understanding the financial scope of a differential rebuild helps you decide whether to tackle the setup in your home garage or hand it to a driveline specialist.
- Master Rebuild Kit (Timken Bearings, Seals, Shims, Ring Gear Bolts): $180 - $280
- Ring and Pinion Gear Set (e.g., Yukon 4.56): $250 - $400
- Solid Spacer & Setup Tools (Dial Indicator, Bearing Puller): $120 - $180
- Fluids and RTV: $60 - $90
- Total DIY Cost: $610 - $950
- Professional Shop Labor (2026 Average): $800 - $1,400 (Total shop bill often exceeds $1,800+)
By mastering where the differential fluid is located, how to properly tear down the housing, and the meticulous art of gear pattern setup, you can save thousands of dollars while ensuring your axle is built to handle the extreme torque demands of modern powertrains and oversized off-road tires.