The Anatomy of Clutch Drag in Wet Clutch Systems
When you pull in the clutch lever on your motorcycle, the transmission should seamlessly disconnect from the engine, allowing you to find neutral effortlessly and keep the bike stationary at a stoplight. However, when you experience clutch drag—characterized by a harsh "clunk" when shifting into first gear, the motorcycle creeping forward with the lever fully depressed, or an inability to find neutral at a stop—the multi-plate wet clutch system is failing to fully disengage.
Unlike dry automotive clutches, motorcycle wet clutches operate submerged in a shared sump of engine oil. This means the fluid itself is a critical structural component of the clutch pack. Diagnosing clutch drag and release problems requires a systematic approach that evaluates the wet clutch motorcycle oil chemistry, mechanical clearances, and hydraulic or cable actuation health. Below is our expert step-by-step guide to isolating and resolving clutch drag.
Step 1: Verify Wet Clutch Motorcycle Oil Specifications
A common misconception is that incorrect oil only causes clutch slippage. In reality, the wrong fluid chemistry or viscosity is a primary culprit for clutch drag. Automotive engine oils (API SN or SP ratings) contain friction modifiers like molybdenum dialkyldithiocarbamate (MoDTC) designed to improve fuel economy. While these modifiers cause slippage under heavy load, they can also alter the boundary lubrication layer between clutch plates, leading to unpredictable stiction (static friction) when the plates are supposed to separate.
Furthermore, using a viscosity that is too high for your operating environment (e.g., running 20W-50 in cold weather on a tight-tolerance sportbike designed for 10W-40) increases fluid shear resistance. The thick oil physically prevents the tightly packed friction and steel plates from separating quickly when the pressure plate lifts.
Oil Standards and Friction Coefficients
| Standard | Application | Friction Modifier Content | Impact on Wet Clutch |
|---|---|---|---|
| API SN / SP | Automotive | High (MoDTC, ZDDP variations) | Causes slippage under load; unpredictable stiction and drag on release. |
| JASO MA | Motorcycle (Standard) | None (Friction optimized) | Proper engagement and release; safe for most standard motorcycles. |
| JASO MA2 | Motorcycle (High Torque/Catalytic) | None (Higher friction coefficient) | Superior lock-up and clean release; required for modern high-performance engines. |
Action: Drain the sump and refill with a certified JASO MA2 compliant wet clutch motorcycle oil. According to the American Petroleum Institute (API) and JASO guidelines, ensuring the absence of automotive friction modifiers is critical for predictable plate separation.
Step 2: Measure and Adjust Clutch Lever Free Play
If the oil is correct, the next most frequent cause of release problems is improper cable tension or hydraulic pushrod adjustment. If there is zero free play at the lever, the release bearing is constantly applying slight pressure to the pressure plate. This not only causes drag but will rapidly burn out your clutch pack and release bearing.
Cable-Actuated Systems
- Measure the free play at the tip of the clutch lever. The industry standard specification is typically 10mm to 15mm of movement before you feel resistance.
- Loosen the locknut at the lower cable adjuster (near the engine case).
- Turn the adjuster barrel to introduce slack until the 10-15mm spec is achieved.
- Tighten the locknut and re-verify at the lever. As RevZilla's technical team notes, cables stretch over time, requiring periodic readjustment to maintain this vital free play.
Hydraulic-Actuated Systems
Hydraulic systems self-adjust for pad wear, but the master cylinder pushrod requires a specific air gap. If the pushrod is adjusted too tightly against the master cylinder piston, it blocks the internal compensation port. When the port is blocked, thermal expansion of the brake/clutch fluid creates hydraulic pressure that partially engages the clutch, causing severe drag.
- Specification: Verify 0.5mm to 1.0mm of free play at the master cylinder pushrod clevis.
- Test: With the reservoir cap off, pull the lever slightly. You should see a tiny bubble or fluid disturbance as the piston uncovers the compensation port before engaging the main hydraulic circuit.
Step 3: Inspect the Clutch Basket for Notching
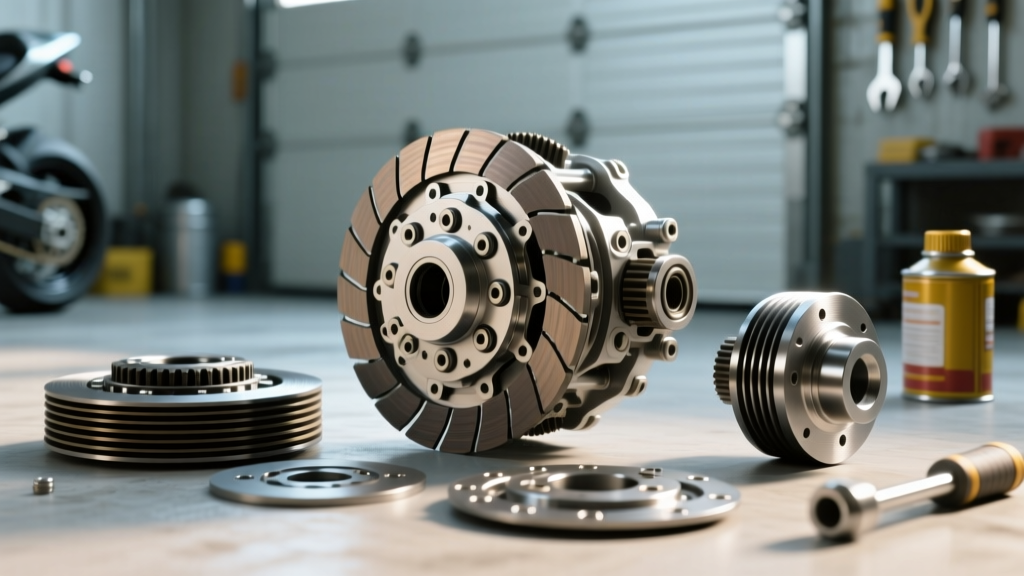
If your fluid is correct and your free play is perfectly adjusted, the issue is likely mechanical binding inside the clutch pack. The outer clutch basket (usually cast aluminum) and the inner hub hold the alternating steel and friction plates. Over thousands of miles of engagement impacts, the steel tabs of the clutch plates hammer into the softer aluminum splines of the basket, creating deep notches.
When you pull the lever, the pressure plate lifts, but the friction plates get physically wedged in these aluminum notches, refusing to separate. This is the leading cause of the "false neutral" and creeping at stoplights.
Micrometer Measurements and Tolerance Limits
Remove the clutch cover, compress the clutch springs, and remove the pressure plate and clutch pack. Run your fingernail across the basket splines.
- Minor Notching (Under 0.2mm): Can often be smoothed out using a fine mill bastard file. File the splines perfectly flat to allow the plates to slide freely.
- Severe Notching (Over 0.5mm): Filing will alter the spline geometry and cause excessive plate rattle. The basket must be replaced. Consider upgrading to a CNC-machined billet aluminum basket (e.g., Hinson or Wiseco), which features hard-anodized coatings or stainless steel inserts to prevent future notching.
Expert Insight: When reinstalling the clutch pack, always soak the new friction plates in your chosen wet clutch motorcycle oil for at least 2 hours prior to installation. Installing dry plates can cause immediate localized glazing and warping upon first startup, leading to permanent drag and chatter.
Step 4: Evaluate Clutch Springs and Pushrod Wear
The clamping force of the clutch is dictated by the coil springs. Over time, subjected to extreme heat and constant compression, these springs sag. If the springs lose their tension unevenly, the pressure plate will lift at an angle when the lever is pulled. This angled lift leaves one side of the clutch pack partially engaged, resulting in persistent drag.
Spring Testing and Torque Specs
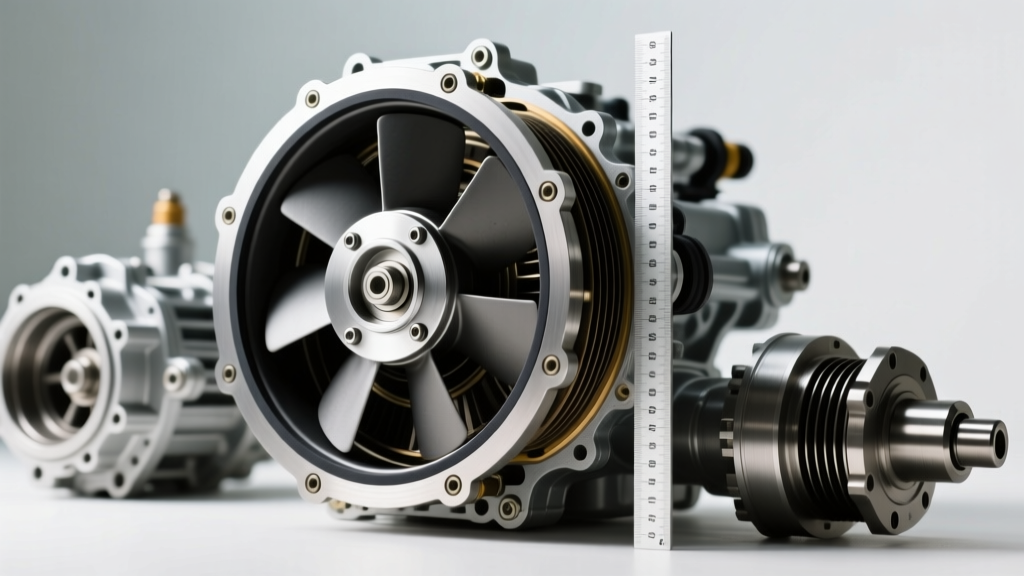
Use a caliper to measure the free length of every clutch spring. Consult your factory service manual for the exact specification. For example, a common 600cc supersport clutch spring might have a standard length of 46.5mm and a service limit of 44.0mm. If even one spring falls below the service limit, replace the entire set.
When reinstalling the pressure plate, tightening the spring bolts incorrectly will warp the plate. Use a calibrated torque wrench to tighten the bolts in a crisscross pattern. The standard torque specification for most M6 clutch spring bolts is 8 Nm to 10 Nm (71 to 88 lb-in). Do not exceed this, or you risk stripping the aluminum threads in the inner hub.
Additionally, inspect the clutch pushrod (the rod that runs through the center of the transmission mainshaft). Case-hardened steel pushrods can develop a worn divot on the tip where they contact the pressure plate actuator. A worn pushrod alters the actuation ratio, reducing the total lift of the pressure plate and causing release problems.
Step 5: Bleed the Hydraulic System and Check Fluid Health
For motorcycles with hydraulic clutches, degraded fluid or trapped air will result in a spongy lever that fails to pull the pressure plate far enough to achieve full disengagement. Most manufacturers specify DOT 4 or DOT 5.1 glycol-based brake fluid for the clutch master cylinder.
The Hygroscopic Factor
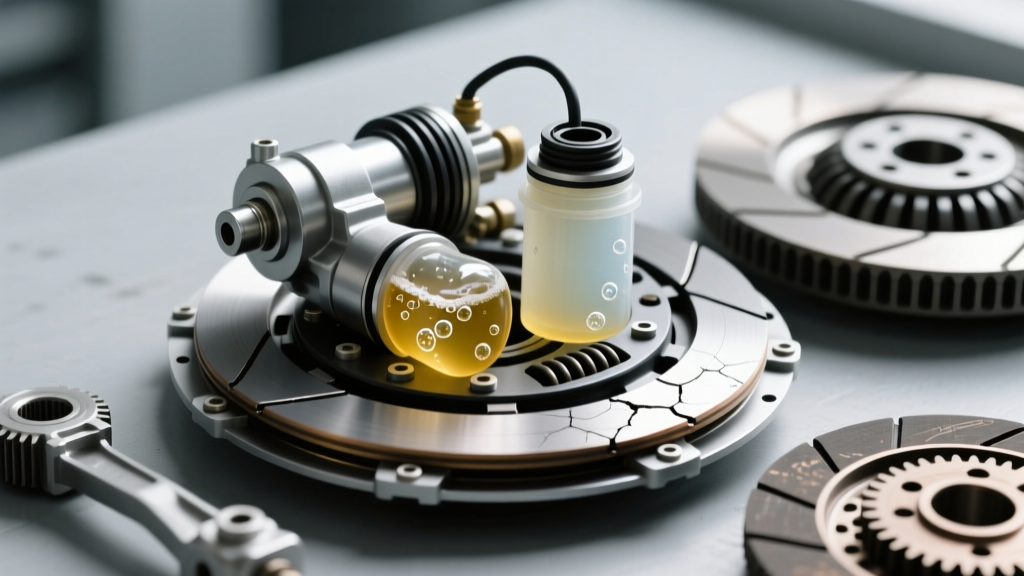
DOT 4 fluid is highly hygroscopic, meaning it absorbs moisture from the atmosphere through the microscopic pores of the rubber brake lines and reservoir diaphragm. While moisture lowers the boiling point (causing fade under heavy use), it also promotes internal corrosion within the master cylinder and slave cylinder. A corroded slave cylinder piston will bind and fail to return to its resting position, keeping the clutch partially disengaged or causing erratic drag.
- Attach a clear vinyl tube to the slave cylinder bleeder nipple and route it into a catch container.
- Open the bleeder nipple a quarter turn.
- Slowly squeeze the clutch lever to the bar, hold it, and close the nipple.
- Release the lever slowly. Repeat this process until the fluid runs perfectly clear and is entirely free of micro-bubbles.
- Ensure the master cylinder reservoir does not run dry during the process, or you will introduce air into the ABS module (if equipped) or the main line, requiring a complex vacuum bleed.
Troubleshooting Matrix: Quick Reference Guide
| Symptom | Primary Suspect | Diagnostic Action |
|---|---|---|
| Harsh clunk into 1st gear when cold, improves when warm | High-viscosity oil stiction / API automotive oil | Drain and refill with JASO MA2 10W-40 wet clutch motorcycle oil. |
| Creeping forward at stoplights, lever feels tight | Zero lever free play / Blocked compensation port | Adjust cable to 15mm play; check master cylinder pushrod gap. |
| Cannot find neutral when stopped, but shifts fine while moving | Clutch basket notching / Warped steel plates | Inspect outer basket splines; measure steel plates for runout. |
| Spongy lever, incomplete disengagement | Air in hydraulic line / Swollen rubber hose | Bleed system with fresh DOT 4; inspect OEM rubber lines. |
Final Thoughts on Release Performance
Resolving clutch drag is rarely about a single magic fix; it is an exercise in verifying tolerances and fluid dynamics. By ensuring you are using a high-quality, JASO MA2-rated wet clutch motorcycle oil, maintaining precise lever free play, and keeping the aluminum basket splines free of notching, you will restore the crisp, effortless shifting your motorcycle was designed to deliver. For further reading on drivetrain maintenance, consult your specific OEM service manual and reference guides from Cycle World's technical archives to verify your exact model's torque specifications and clearances.