The Critical Role of U-Joints in Modern Drivetrains
The universal joint (U-joint) is the unsung hero of rear-wheel-drive (RWD) and four-wheel-drive (4WD) drivetrains. First popularized by Spicer in the early 20th century, the cross-and-bearing design remains the dominant method for transmitting rotational torque through varying angles. However, with the 2025 and 2026 heavy-duty truck segment pushing past 1,200 lb-ft of factory torque—seen in the latest Ram High Output Cummins and Ford Super Duty PowerStroke platforms—the stress placed on factory driveline components has never been higher.
Whether you are wheeling a solid-axle Jeep Wrangler, towing with a GM 2500HD, or maintaining a classic Ford 8.8-equipped Mustang, understanding the failure modes of U-joints is critical. A catastrophic U-joint failure at highway speeds doesn't just leave you stranded; it can drop the driveshaft onto the pavement, vaulting the vehicle into the air or tearing out the transmission tail shaft and transfer case output seals. This technical deep-dive explores the precise symptoms of U-joint degradation, diagnostic matrices, and the exact replacement protocols required for a lasting repair.
4 Telltale Symptoms of U-Joint Degradation
U-joints rarely fail without warning. The needle bearings inside the trunnion caps rely on a thin film of grease to prevent metal-on-metal contact. Once the seals compromise or the grease breaks down, a predictable cascade of mechanical symptoms emerges.
1. The 'Clunk' on Load Reversal
The most common early indicator of U-joint wear is a distinct metallic clunk when shifting from Park to Reverse, or when abruptly lifting off the throttle. This occurs because the needle bearings have worn grooves into the trunnion cross, creating excessive radial play. When the drivetrain's rotational direction changes, the cross slams against the worn bearing caps, transmitting the shock directly into the chassis. In drivetrains with a slip yoke (common in GM and Ford applications), this clunk can sometimes be confused with a dry slip yoke, but a physical inspection of the U-joint for rotational slop will confirm the culprit.
2. High-Frequency Driveline Vibration
While tire imbalance typically causes steering wheel shake at 65-75 mph, a failing U-joint generates a high-frequency, cyclic vibration that is felt in the seat of the pants or the floorboards, usually peaking between 50 and 60 mph. This vibration is caused by the U-joint binding. As the needle bearings fracture or brinell, the joint loses its ability to rotate smoothly through its operating angle, creating a secondary couple vibration that shakes the entire driveline.
3. Squeaking at Low Speeds (Dry Needle Bearings)
A rhythmic squeak or chirp that correlates with vehicle speed (not engine RPM) is a hallmark of dry needle bearings. This is especially common in lifted 4WD trucks where the driveshaft operating angles exceed the factory 3-degree maximum, causing the grease to be pushed out of the bearing cap's load zone. If your truck features greaseable U-joints, this sound is a warning to immediately apply lithium-complex grease. If the joints are non-greaseable OEM units, replacement is imminent.
4. Brinelling and Rust Dust Accumulation
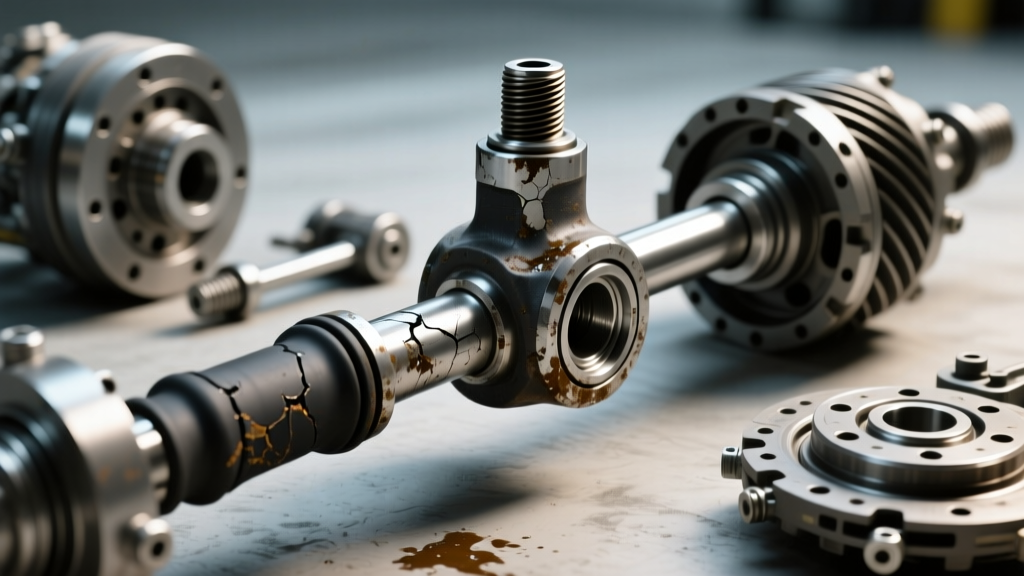
True brinelling occurs when shock loads indent the bearing races. False brinelling happens when vibration causes the stationary needles to wear microscopic grooves into the caps. Both result in the breakdown of the steel surfaces, which oxidizes and pushes out past the rubber lip seal as a fine, rust-colored dust. If you see a ring of red-brown powder around the base of the U-joint caps, the internal bearings are already destroyed.
Diagnostic Matrix: Isolating Driveline NVH
Noise, Vibration, and Harshness (NVH) diagnosis requires isolating the component. Use the following matrix to differentiate U-joint failure from other common drivetrain faults.
| Symptom Profile | Likely Culprit | Verification Method |
|---|---|---|
| Clunk on shift, heavy floorboard vibration at 55 mph | Worn U-Joint (Radial Play) | Rotate driveshaft by hand; check for rotational slop at the cross. |
| Cyclic whine that changes with load, no vibration | Pinion Bearing / Ring & Pinion | Stethoscope on the differential housing under load. |
| Clicking/popping only during tight, low-speed turns | Outer CV Joint (Front Axles) | Inspect CV boot for tears; check for play in the Rzeppa joint. |
| High-speed harmonic hum, smooth at low speeds | Carrier Bearing / Center Support | Check rubber isolator for tearing; check bearing for axial play. |
Technical Specifications: Spicer Series U-Joints
When replacing or upgrading U-joints in 4WD and RWD drivetrains, matching the correct Spicer series is paramount. Upgrading is highly recommended for modified vehicles.
- Spicer 1310 Series: Standard on most half-ton trucks (Ford F-150, Chevy Silverado 1500) and Jeeps. Cap diameter: 1.062 inches. Cross width: 3.219 inches. Torque rating: ~2,200 lb-ft (short duration).
- Spicer 1350 Series: Found in 3/4-ton and 1-ton trucks, and high-horsepower off-road builds. Cap diameter: 1.188 inches. Cross width: 3.622 inches. Torque rating: ~4,500 lb-ft. This is the minimum recommended upgrade for trucks running 35-inch tires and lockers.
- Spicer 1410 / 1480 Series: Reserved for extreme duty, commercial, and dedicated rock-crawling drivetrains. Requires custom yokes and driveshaft modifications.
Source: For exact dimensional charts and application guides, refer to the official Spicer Parts catalog.
Professional U-Joint Replacement Protocol
Replacing a U-joint requires precision. Forcing a joint or dropping needle bearings will result in immediate premature failure. Below is the professional protocol for replacing snap-ring style U-joints (e.g., Dana 44, Dana 60, Ford 8.8).
Phase 1: Driveshaft Removal and Phasing Marks
Before unbolting the driveshaft, use a paint pen or center punch to mark the relationship between the driveshaft slip yoke and the pinion yoke. This preserves the factory driveshaft phasing. If the shaft is reinstalled 180 degrees out of phase, the U-joints will operate out of sync, canceling out their velocity-canceling geometry and inducing massive vibrations. Unbolt the rear U-joint straps (typically 12mm or 1/2-inch heads) and carefully slide the shaft rearward. Wrap the transmission output seal with a plastic bag to prevent fluid leakage and dirt ingress.
Phase 2: Cap Extraction and Needle Bearing Preservation
Remove the external snap rings using high-quality snap ring pliers. Place the driveshaft yoke in a hydraulic press or a heavy-duty C-frame ball joint press. Critical Warning: When pressing the first cap out, you must support the opposite side. As the cross pushes through, it will force the opposite cap outward. If you are not careful, the needle bearings inside that opposite cap will spill onto the floor. Once a single needle bearing is lost or displaced, the entire U-joint is scrap. Use a specialized U-joint removal tool or carefully manipulate the press to push the cross out while catching the caps.
Phase 3: Reassembly and Torque Specifications
Pre-pack the new U-joint caps with the included grease, ensuring the needles are seated flat against the bottom of the cap. Slide the cross into the yoke, carefully guiding the caps over the trunnions. Torque Specs (Spicer 1310/1350):
- Strap Bolts (1310): 15 - 20 lb-ft (Apply blue Loctite 243).
- Strap Bolts (1350): 30 - 35 lb-ft.
- U-Bolt Nuts: 16 - 22 lb-ft (Do not overtighten, or you will distort the bearing caps and cause binding).
After installing the snap rings, strike the yoke ears sharply with a brass drift and a ball-peen hammer. This seats the snap rings into their grooves and relieves binding pressure on the needle bearings, ensuring the joint articulates freely.
Addressing Staked U-Joints (GM and Chrysler Applications)
Many modern GM Silverado/Sierra and Chrysler Ram drivetrains utilize staked U-joints at the factory. Instead of snap rings, the bearing caps are held in place by deformed yoke metal (stakes). To replace these, you must use an angle grinder or chisel to cut away the factory stakes. Once removed, you have two options: use an expensive factory staking tool to install new staked joints, or convert to an aftermarket snap-ring style U-joint (such as the Spicer 5-153X to 5-790X conversion kits). The snap-ring conversion is heavily preferred by custom driveline builders for ease of future trail-side maintenance.
Preventative Maintenance and Greasing Intervals
If your drivetrain is equipped with greaseable U-joints (featuring a zerk fitting on the cross), maintenance is key. However, over-greasing is a common mistake. Pumping grease until it purges from all four seals can blow the rubber lip seals, allowing water ingress. The correct procedure is to pump grease only until you see the seals just barely swell or a tiny bead of fresh grease appears at one seal. For daily-driven 4WD trucks, grease the U-joints every 15,000 miles, or immediately after deep water crossings to expel contaminated moisture.
By understanding the physics of U-joint operation, recognizing the subtle NVH symptoms early, and adhering to strict torque and phasing protocols during replacement, you can ensure your drivetrain survives the immense torque loads of modern heavy-duty and off-road applications.