The Diagnostic Trigger: When Maintenance Becomes a Rebuild
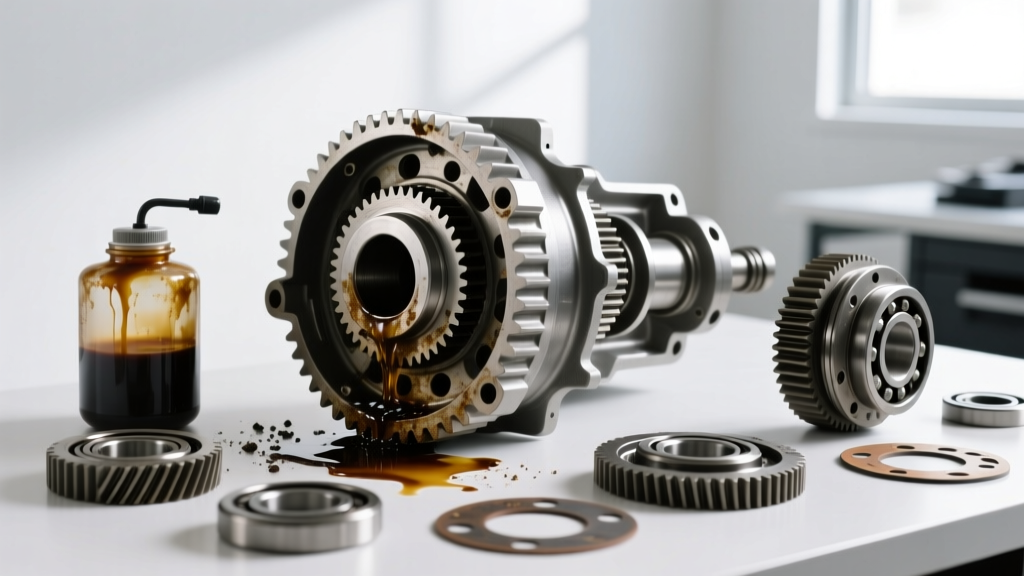
For most third-generation truck owners, a routine Toyota Tundra front differential fluid change is a straightforward maintenance task scheduled every 30,000 to 60,000 miles. The factory 8-inch front differential is notoriously robust, designed to handle the rigors of 4WD engagement, towing, and off-road abuse. However, the drain plug tells a story that no OBD2 scanner can read. When you pull the fill and drain plugs on a high-mileage Tundra and are greeted by a slurry of glittering metallic paste, chunky ferrous shards, or milky water-contaminated sludge, your routine maintenance day has just evolved into a full differential rebuild procedure.
Ignoring the warning signs found during a fluid service will inevitably lead to catastrophic ring and pinion failure, leaving you stranded on the trail or highway. This comprehensive guide bridges the gap between a simple fluid swap and a complete front axle overhaul. We will walk through the exact teardown, measurement, and reassembly procedures required to restore your Tundra’s front differential to factory-fresh tolerances, utilizing OEM specifications and precision tooling.
Evaluating the Drained Fluid: The Point of No Return
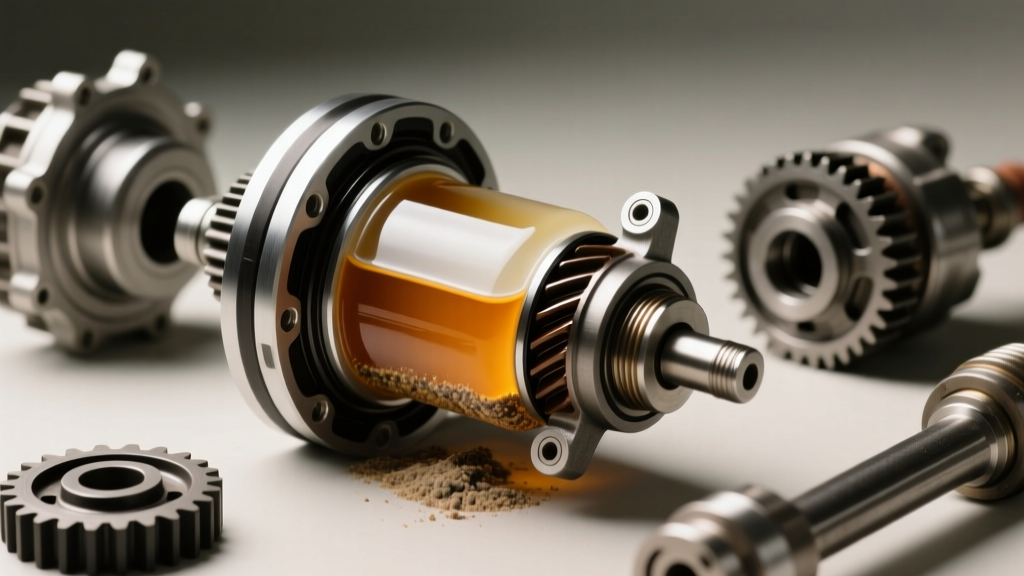
Before ordering parts, you must diagnose the extent of the internal damage based on the drained 75W-85 GL-5 gear oil. Normal wear presents as a fine, dark grey paste on the magnetic drain plug. This is the result of microscopic gear mating and is perfectly acceptable. However, if you encounter the following, a rebuild is mandatory:
- Brass or Bronze Flakes: Indicates severe wear on the internal pinion bearing cages or thrust washers.
- Chunky Steel Splinters: Suggests spalling on the ring gear teeth or a failing pinion bearing race.
- Needle Bearing Fragments: A critical failure of the inner pinion bearing, requiring immediate teardown to prevent the pinion gear from walking and destroying the aluminum housing.
If the fluid resembles a chocolate milkshake, water has breached the front pinion seal or axle tube seals. While this doesn't always require a full gear replacement, the bearings must be replaced, as water destroys the heat-treatment integrity of bearing rollers within just a few hundred miles of operation.
Tundra Front Differential Rebuild: Parts and Tooling
A successful rebuild relies on precision, not brute force. Sourcing high-quality bearings (Koyo or Timken) and genuine Toyota crush sleeves is non-negotiable. Aftermarket crush sleeves often have inconsistent metallurgy, leading to improper pinion preload and premature failure. Below is the master checklist for a standard Tundra 8-inch front differential overhaul.
| Component | OEM / Brand Part Number | Torque Spec / Measurement |
|---|---|---|
| Front Pinion Seal | Toyota 90311-47012 | N/A (Press fit with seal driver) |
| Crush Sleeve | Toyota 90562-42010 | Replaced every teardown |
| Pinion Nut | Toyota 90179-22011 | 120-160 ft-lbs (to collapse sleeve) |
| Ring Gear Bolts | Toyota 90110-10033 | 74 ft-lbs + Red Loctite 272 |
| Carrier Bearing Caps | N/A (Reuse OEM) | 58 ft-lbs |
| Pinion Bearing Preload | N/A | 8-14 in-lbs (new bearings) |
| Gear Oil Capacity | 75W-85 GL-5 | 1.6 Liters (1.69 Qt) |
Source data verified via Toyota's official TechInfo portal and industry-standard rebuild manuals.
Step 1: Teardown and Case Inspection
Begin by removing the front differential assembly from the Tundra’s chassis. Once on the bench, drain any remaining fluid and unbolt the carrier bearing caps. Critical Rule: The bearing caps are line-bored with the differential housing at the factory. You must mark them (e.g., with a center punch or paint pen) so they are reinstalled in their exact original orientation and location. Swapping caps will destroy carrier alignment and guarantee gear whine.
Extract the carrier assembly and use a 3-jaw puller to remove the carrier bearings. Inspect the housing for any scoring where the bearings sit. If the inner pinion bearing race has spun in the aluminum housing, the differential case may require sleeving or replacement, a common issue on high-mileage trucks that have seen heavy front-axle binding off-road.
Step 2: Pinion Depth and Bearing Preload Setup
The pinion gear depth dictates how the pinion teeth intersect with the ring gear. This is controlled by a shim located between the pinion head and the inner bearing race. If you are reusing the original ring and pinion, measure the original shim and reinstall it. If installing a new gearset, use the micrometer and the pinion head etching (e.g., +2 or -1) to calculate the required shim thickness.
Once the pinion depth is set, you must address the pinion bearing preload. This is where the infamous crush sleeve comes into play. The crush sleeve sits between the inner and outer pinion bearings and collapses as the pinion nut is tightened, creating the necessary rolling resistance.
Expert Warning: Never reuse a crush sleeve. Once the metal has yielded and collapsed, it loses its spring tension. Reusing one will result in a pinion nut that backs off under load, leading to catastrophic gear separation. Always use a new OEM Toyota crush sleeve and a new staked pinion nut.
Using a beam-style inch-pound torque wrench, measure the rotating preload. For new bearings, the factory specification is typically between 8 and 14 inch-pounds. Tighten the pinion nut in small increments (10 ft-lbs at a time) using a heavy-duty breaker bar or impact wrench on low, checking the rotating torque frequently. It is incredibly easy to over-crush the sleeve. If you exceed 14 inch-pounds, you must discard the crushed sleeve, install a new one, and start the process over.
Step 3: Carrier Assembly and Backlash Adjustment
With the pinion set, mount the ring gear to the carrier. Clean the mating surfaces with brake cleaner. Apply a high-strength threadlocker like Red Loctite 272 to the ring gear bolts and torque them to 74 ft-lbs in a star pattern to ensure even clamping force.
Next, press the new carrier bearings onto the assembly and drop it into the housing. Reinstall the marked bearing caps and torque to 58 ft-lbs. Now, you must set the backlash—the microscopic gap between the ring and pinion teeth. Mount a dial indicator with a magnetic base to the housing, positioning the probe perpendicular to a ring gear tooth.
According to Yukon Gear & Axle engineering guidelines, standard backlash for a Toyota 8-inch differential should fall between 0.005 and 0.007 inches. Adjust the side bearing shims (or threaded adjusters, depending on your specific Tundra front diff variant) to achieve this measurement. Rotate the carrier several times to seat the bearings and re-check the backlash at three different points around the ring gear to ensure it is not warped.
Reading the Gear Contact Pattern
Numbers on a dial indicator only tell half the story. You must apply yellow gear marking compound to the ring gear teeth and rotate the assembly under light braking pressure. Inspect the pattern:
- Ideal Pattern: Centered on the tooth face, slightly biased toward the heel under load.
- Too Deep (Pinion too close): Pattern shifts toward the toe and root.
- Too Shallow (Pinion too far): Pattern shifts toward the heel and top land.
If the pattern is off, you must pull the carrier, change the pinion depth shim, and repeat the setup process. Patience here is the difference between a silent drivetrain and a truck that whines at 65 MPH.
Step 4: Reinstallation and the Final Fluid Fill
Before dropping the differential back into the Tundra’s front subframe, install the new front pinion seal (Toyota 90311-47012). Lubricate the inner lip with a dab of gear oil to prevent it from burning dry upon initial startup. Apply a bead of high-quality RTV silicone (like Toyota FIPG or Permatex Black) to the mating flange if your housing utilizes a sealant rather than a paper gasket.
Reinstall the differential into the chassis, torquing the mounting bushings and driveshaft flange to factory specifications. Once secured, it is time to complete the job that started this entire process: the fluid fill.
While the factory manual calls for Toyota Genuine Hypoid Gear Oil SX 75W-85 GL-5, many off-road enthusiasts and fleet mechanics opt for a high-quality synthetic 75W-90 GL-5 (such as Amsoil Severe Gear or Red Line 75W90) for added thermal protection during heavy towing or low-speed rock crawling. The front differential capacity is exactly 1.6 Liters (1.69 Quarts). Fill until the fluid begins to weep out of the fill hole, then reinstall the plug with a new aluminum crush washer torqued to 29 ft-lbs.
Post-Rebuild Break-In Procedure
A freshly rebuilt differential generates immense friction as the gears mate and the bearings seat. For the first 500 miles, avoid towing heavy loads, keep highway speeds under 65 MPH, and allow the differential to cool down after every hour of driving. After the 500-mile break-in period, drain and refill the fluid one last time to remove the initial break-in metallic particulates. This final step ensures your Tundra’s front axle is ready for another 150,000 miles of reliable, silent service.