The Anatomy of a 4x4 Truck Drivetrain Diagram
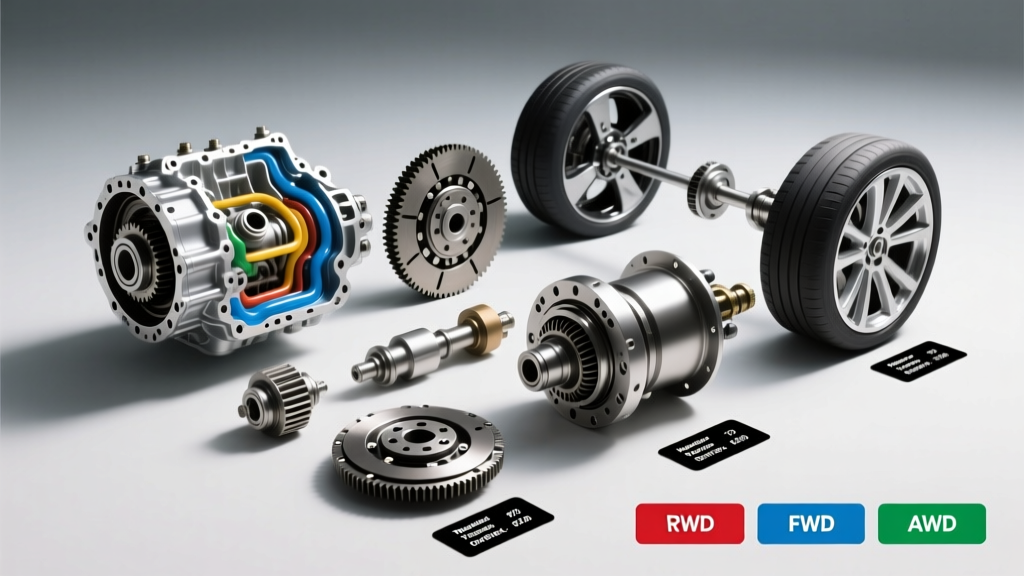
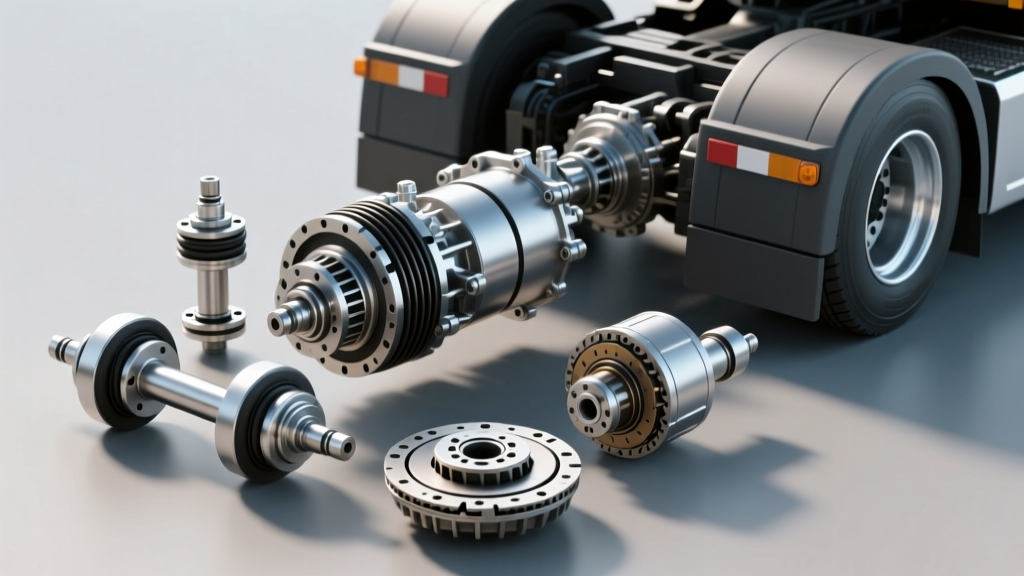
When diagnosing front-end vibrations, clunks, or clicking noises on modern four-wheel-drive trucks, understanding the power flow is critical. By consulting a comprehensive truck drivetrain diagram, technicians can trace torque from the transmission output shaft, through the transfer case (such as the BorgWarner 4485 in GM trucks or the 4470 in Ford F-150s), down the front driveshaft, into the front differential, and finally out through the front CV (Constant Velocity) axles to the wheel hubs.
Modern half-ton trucks like the Chevy Silverado 1500, Ford F-150, and Ram 1500 utilize Independent Front Suspension (IFS). Unlike solid front axle setups that use traditional U-joints, IFS requires CV axles to accommodate the vertical travel of the suspension and the horizontal sweep of the steering knuckles. When a failure occurs, isolating the exact point of failure using the truck drivetrain diagram saves hours of misdirected diagnostic labor and prevents unnecessary parts swapping.
Reading the Diagram: Isolating CV Axle Failures
A common mistake DIYers and novice mechanics make is misattributing a front-end vibration to the front driveshaft or the front differential ring-and-pinion. A detailed truck drivetrain diagram reveals that the CV axle acts as the final mechanical link before the hub bearing. Here is how to differentiate CV joint problems from other drivetrain components based on symptom mapping:
- Outer Rzeppa Joint Failure: Characterized by a rhythmic clicking or popping noise specifically during tight, low-speed steering maneuvers (e.g., turning into a driveway). The diagram shows this joint handles the extreme steering angles.
- Inner Tripod Joint Failure: Manifests as a heavy clunk when shifting from Reverse to Drive, or a shuddering vibration during hard acceleration. The inner joint handles the in-and-out plunge required for suspension compression.
- Highway Speed Vibration (60-75 MPH): If the vibration changes with vehicle speed but not engine RPM, the diagram points away from the engine/transmission and toward the front driveshaft, CV axles, or hub bearings. A worn inner CV joint trunnion will cause a distinct lateral shake.
2026 Cost Breakdown: OEM vs. Aftermarket CV Axles
As of 2026, the commercial vehicle repair market has seen a stabilization in supply chain pricing, though OEM dealer parts remain at a premium. When evaluating repair costs, it is vital to compare Original Equipment Manufacturer (OEM) assemblies against high-quality aftermarket alternatives. Below is a cost matrix for two of the most common trucks on the road.
| Vehicle Application | OEM Part & Cost (2026) | Aftermarket Part & Cost | Avg. Labor Time | Est. Total Shop Cost |
|---|---|---|---|---|
| 2019-2025 Silverado 1500 4WD (Front) | ACDelco GM Genuine (84409304) - $385 | Surtrack / GSP Assembly - $135 | 1.2 Hours | $300 - $580 |
| 2015-2023 Ford F-150 4WD (Front) | Motorcraft Half-Shaft - $420 | GSP NCV10232 Assembly - $145 | 1.5 Hours | $350 - $650 |
| 2019-2025 Ram 1500 4WD (Front) | Mopar OEM Axle Assembly - $410 | Detroit Axle Premium - $120 | 1.4 Hours | $320 - $600 |
Note: Total shop costs assume an average 2026 independent shop labor rate of $145 to $185 per hour. Dealership rates will push these totals 30-40% higher.
The Economics of Boot Replacement vs. Full Assembly
A frequent question in drivetrain maintenance is whether to replace a torn CV boot or the entire axle assembly. Looking at the economics, a CV boot kit costs between $20 and $35. However, the labor to remove the axle, disassemble the joint, clean out the contaminated grease, inspect the bearing races for pitting, repack with fresh Moly grease, and reinstall the boot takes roughly 2.5 to 3.0 hours.
Conversely, swapping the entire pre-assembled aftermarket CV axle takes only 1.2 to 1.5 hours. In almost all 2026 scenarios, replacing the complete half-shaft assembly is more cost-effective and offers a more reliable, long-term repair than attempting a boot rebuild on a high-mileage truck. You can verify current aftermarket axle pricing and fitment via catalogs like RockAuto's online database.
The Lifted Truck Dilemma: Geometry and Accelerated Wear
No analysis of truck CV axles is complete without addressing suspension modifications. Installing a 2-inch to 3-inch leveling kit or lift kit fundamentally alters the geometry depicted in the factory truck drivetrain diagram.
From the factory, the front CV axles sit at a nominal operating angle of 3 to 5 degrees. A 3-inch front lift increases this static angle to 8 to 12 degrees. This severe angle causes the inner tripod joint bearings to ride on the very edge of the housing tracks, leading to spalling, trunnion needle-bearing failure, and excessive heat. Furthermore, the increased angle causes the inner CV boot to accordion aggressively during suspension droop, leading to premature tearing and grease sling. If you own a lifted truck, budget for CV axle replacements every 40,000 to 60,000 miles, and consider installing aftermarket differential drop brackets to restore factory CV angles.
Precision Installation: Torque Specs & Best Practices
Proper installation of a CV axle requires strict adherence to torque specifications to maintain hub bearing preload and prevent catastrophic failure at highway speeds. Always consult the specific service manual or resources like AutoZone Repair Guides for your exact VIN, but reference these standard benchmarks:
Critical Fastener Torque Specifications
- GM Silverado 1500 (2019+) Front Axle Nut: 155 lb-ft. Warning: Modern GM trucks often use Torque-to-Yield (TTY) axle nuts. These must be replaced every time they are removed; reusing a stretched TTY nut will result in hub bearing play and premature bearing failure.
- Ford F-150 (2015+) Front Axle Nut: 295 lb-ft. This requires a heavy-duty 1/2-inch drive torque wrench and a 36mm socket. Ensure the vehicle is in 4WD Low or the parking brake is firmly engaged to lock the drivetrain during torquing.
- Inner CV Joint to Differential Bolts (GM): Typically 58 lb-ft for the 6-bolt flange connecting the inner CV housing to the front differential output flange.
Grease Specifications: Why Standard Chassis Grease Fails
If you are performing a boot repair or servicing a rebuildable CV joint, the grease selection is paramount. CV joints operate under extreme sliding friction and high temperatures. You must use a grease formulated with Molybdenum Disulfide (MoS2), commonly referred to as 'Moly Grease.' Standard lithium-complex chassis grease lacks the extreme-pressure (EP) additives required to prevent the steel ball bearings and races from microwelding and galling under load. Most OEM and premium aftermarket axles come pre-packed with the correct dark-grey CV grease; do not purge and replace it with inferior multi-purpose greases.
Expert Drivetrain Tip: Before installing the new CV axle into the front differential, lightly coat the splines and the circlip with a thin layer of fresh CV grease. This prevents the circlip from binding during insertion. When seating the inner joint into the differential, use a firm, sharp tug on the inner housing (never pull on the rubber boot or the shaft itself) until you feel and hear the circlip snap into the differential side gear groove. A partially seated CV axle will vibrate itself out of the differential within the first 50 miles, dumping gear oil onto the driveway and destroying the differential side seals.
Summary: Drivetrain Maintenance Strategy
Understanding the truck drivetrain diagram is the first step in accurate diagnostics, but pairing that knowledge with current market pricing ensures you make the right financial decision for your repair. Whether you are dealing with a torn boot on a daily-driver F-150 or a clicking outer joint on a lifted Silverado, opting for complete, high-quality aftermarket axle assemblies and adhering to strict torque specs will keep your truck's front drivetrain operating smoothly for years to come. For further reading on factory drivetrain layouts and warranty coverage, refer to the official owner resources at Ford Support or your respective manufacturer's portal.