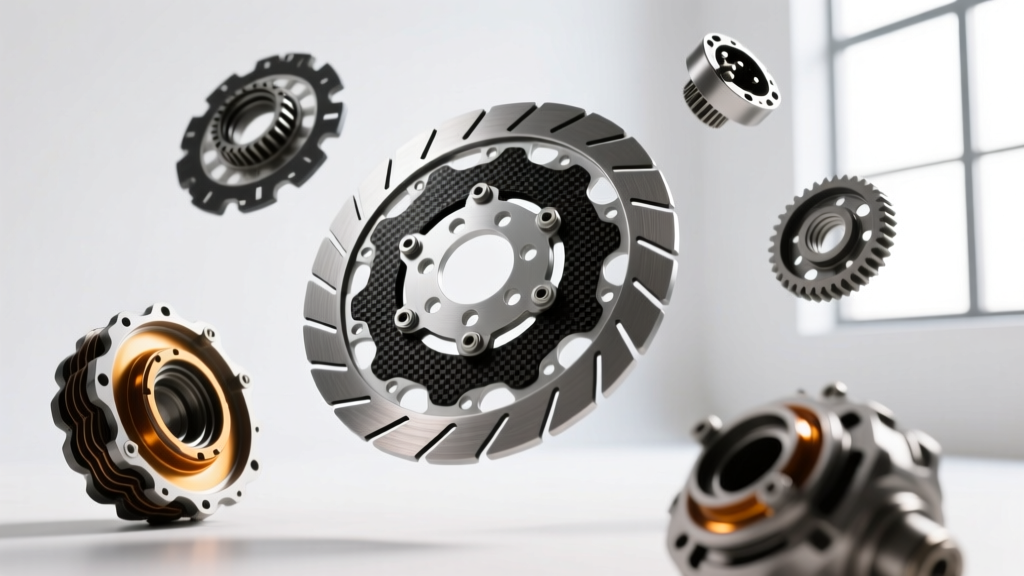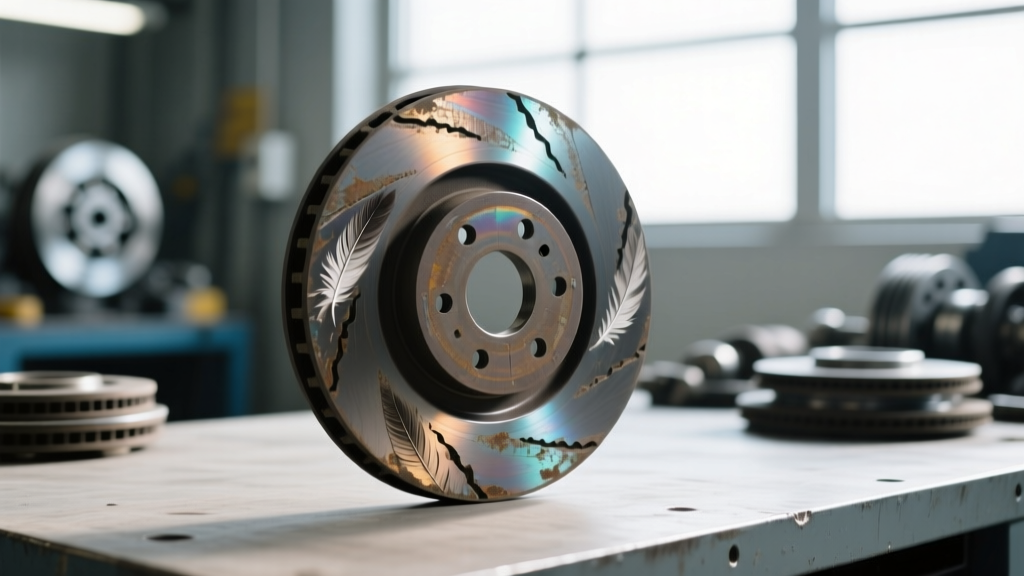
When a 650-whp Ford Mustang Coyote or a built 2JZ-GTE experiences drivetrain slip, the immediate suspect is the clutch disc. But before pulling the transmission, enthusiasts and mechanics alike must ask: what comes in a clutch kit, and was the correct performance disc option selected for the application? As we navigate the 2026 performance aftermarket, where 1,000-whp street cars and dedicated track builds are increasingly common, diagnosing clutch failure is no longer just about spotting a worn friction pad. It requires a deep understanding of the metallurgical limits of sintered iron, Kevlar, and carbon composites, alongside the critical hardware that supports them.
Diagnostic Rule #1: Never blame the friction material until you have verified the clamping load, flywheel mating surface finish, and pilot bearing depth. A $1,500 twin-disc setup will fail prematurely if installed with mismatched kit components.
The Anatomy of a Performance Kit: Beyond the Friction Disc
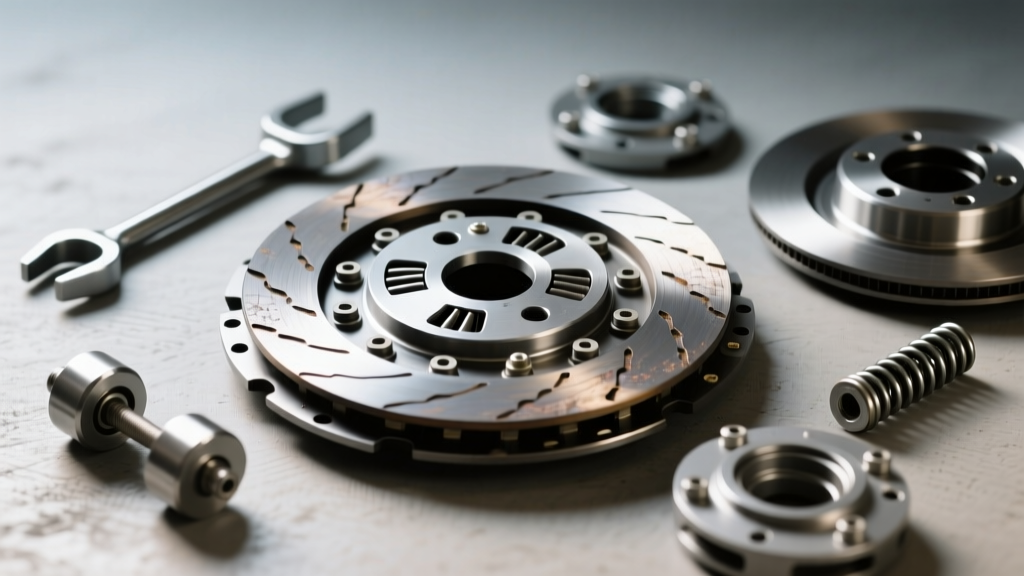
To accurately diagnose a failure, you must first understand the baseline of a complete assembly. When sourcing from premium manufacturers like ACT, McLeod, or Exedy, a comprehensive performance clutch kit includes far more than just the disc. Here is exactly what comes in a clutch kit designed for high-horsepower applications:
- Friction Disc(s): Single, twin, or triple configurations featuring specific compound materials (Cerametallic, Kevlar, Sintered Iron).
- Pressure Plate Assembly: Includes the diaphragm spring and cover. Performance kits often feature upgraded nodular iron castings and high-tensile diaphragm springs for increased clamp load (e.g., jumping from 2,400 lbs to 3,600 lbs of clamping force).
- Flywheel or Flywheel Adapter: Billet steel or nodular iron, specifically machined for the friction material's required surface roughness.
- Release Bearing (Throw-Out Bearing): Often a heavy-duty, high-RPM rated bearing. In hydraulic setups, this may include a specialized slave cylinder adapter.
- Pilot Bearing/Bushing: Crucial for input shaft alignment. Sintered bronze bushings are common in drag applications, while sealed roller bearings are preferred for street/track cars.
- Alignment Tool & Hardware: High-grade (Grade 10.9 or 12.9) flywheel and pressure plate bolts.
Market pricing in 2026 reflects the engineering involved: a quality single-disc organic/ceramic hybrid kit (like the ACT HD-SS) ranges from $550 to $850, while a twin-disc sintered iron drag setup can easily exceed $2,200.
Symptom Matrix: Matching Disc Materials to Failure Modes
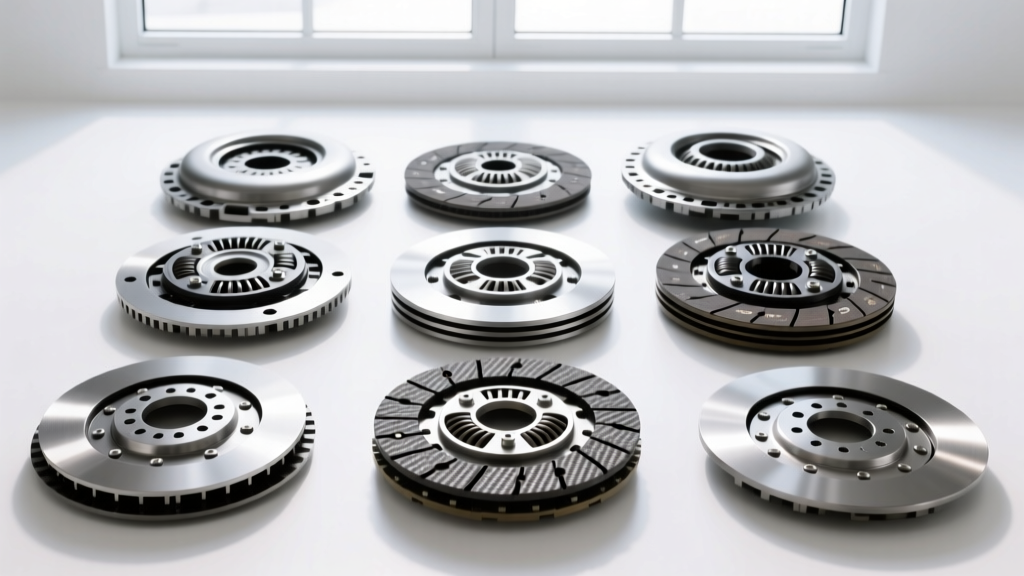
Performance clutch disc options are not universal. Installing a drag-spec disc in a street car leads to specific, diagnosable symptoms. Use the matrix below to cross-reference your drivetrain symptoms with the installed disc material.
| Friction Material | Torque Capacity | Common Symptom | Root Cause Diagnosis |
|---|---|---|---|
| Kevlar / Organic Hybrid | 450 - 650 lb-ft | High-RPM Slip under boost | Glazing from improper break-in, oil contamination, or reused OEM pressure plate with fatigued diaphragm spring. |
| Cerametallic (Sintered) | 600 - 900 lb-ft | Violent low-speed chattering | Aggressive friction coefficient biting into a street flywheel with an incorrect Ra (roughness) surface finish. |
| Solid Sintered Iron | 900 - 1,200+ lb-ft | Pedal vibration / NVH | Unsprung hub transmitting engine harmonics directly to the transmission input shaft; warped disc from heat cycling. |
| Carbon / Carbon | 1,000+ lb-ft | Total mechanical failure | Over-rev, improper break-in, or missing flywheel adapter hardware causing catastrophic shattering. |
Case Study: The Cerametallic Chatter on a 700hp LS3
Consider a 2025 C6 Corvette Z06 build pushing 700 whp on E85, equipped with a Tremec T56 Magnum-F and an ACT 6-pad sprung cerametallic disc. The owner reports violent drivetrain chatter when launching in 1st gear, assuming the clutch is defective. However, the diagnosis points to the flywheel mating surface. Cerametallic materials require a specific flywheel surface roughness—typically around 64 Ra (micro-inches). If the machine shop resurfaced the nodular iron flywheel to a smooth 32 Ra (the standard for organic/Kevlar discs), the aggressive sintered pads cannot 'bite' progressively, resulting in a stick-slip phenomenon that manifests as severe chattering. The fix is not a new disc; it is a flywheel resurface with the correct grit abrasive.
Case Study: Kevlar Slipping on the 3-4 Shift
A turbocharged Ford Coyote engine making 550 whp experiences slip on the 3-4 shift at 18 psi of boost. The builder installed an Exedy Stage 2 Kevlar disc but bought a 'disc-only' replacement, reusing the factory pressure plate. According to McLeod Racing's technical guidelines, reusing an OEM diaphragm spring on a high-torque application is a primary cause of high-RPM slip. The centrifugal force at 6,500 RPM causes the factory spring fingers to lift, reducing clamping load precisely when torque peaks. The missing component in this scenario was the upgraded pressure plate that should have come in a complete performance clutch kit.
Hardware Omissions: When the Kit is Incomplete or Mismatched
Often, DIYers ask 'what comes in a clutch kit' because they purchased a bare disc and inadvertently ruined their transmission input shaft due to missing or mismatched hardware. Two critical areas demand strict troubleshooting:
1. Pilot Bearing Depth Discrepancies
The pilot bearing centers the transmission input shaft in the crankshaft. If your kit includes a standard pilot bearing, but you are using an aftermarket forged crank (common in LS and 2JZ builds), the pilot bore depth may vary. If the input shaft bottoms out against the crank before the bellhousing is fully seated, it creates severe angular misalignment. This leads to rapid wear on the disc hub splines and eventual catastrophic failure of the input shaft bearing. Always measure the crank bore depth and use the appropriate spacer or extended pilot bearing included in premium kits.
2. Flywheel Hardware and Step Heights
Twin-disc setups (like the McLeod RST or RXT) require precise flywheel step heights. The distance between the flywheel friction surface and the pressure plate mounting surface must be exact (often within 0.005 inches). If the kit includes a floater plate but the flywheel was machined incorrectly, the clamping load will be unevenly distributed, causing the floater plate to warp and the clutch to drag when disengaged.
Precision Assembly: Torque Specs and Clamping Loads
Diagnosing a warped pressure plate or a loose flywheel requires verifying that the original installation adhered to strict torque specifications. Improper torque is a leading cause of premature performance disc failure. Below are standard reference specs for common performance platforms:
- GM LS (M10x1.5 Flywheel Bolts): Torque to 25 Nm (18 lb-ft), then turn an additional 50 degrees. (Do not reuse TTY bolts).
- Ford Coyote 5.0 (M12 Flywheel Bolts): Torque to 112 Nm (83 lb-ft) in the specified star pattern.
- Pressure Plate to Flywheel (M8x1.25): Typically 25-30 Nm (18-22 lb-ft), tightened gradually in a crisscross pattern to prevent cover distortion.
- Bellhousing to Block: 50 Nm (37 lb-ft). Misalignment here exceeding 0.005 inches of runout will destroy a performance disc hub.
For advanced troubleshooting regarding carbon and ceramic material properties and break-in procedures, consulting resources like Tilton Racing's technical documentation is highly recommended to understand the thermal thresholds of your specific friction compound.
Conclusion: Stop Guessing, Start Measuring
Understanding what comes in a clutch kit is the first step in accurate drivetrain diagnostics. When a performance vehicle exhibits slipping, chattering, or NVH, do not immediately condemn the friction material. Verify the flywheel Ra surface finish, measure the pilot bearing depth, confirm the pressure plate clamp load, and ensure all kit hardware was torqued to OEM or manufacturer specifications. By treating the clutch kit as a calibrated system rather than a simple wear item, you can accurately diagnose failures, save thousands in misdiagnosed parts, and keep your 2026 build reliably hooking at the track.