Decoding Drivetrains: What Does a Car Transmission Look Like?
When a junior technician or an advanced DIYer asks, "what does a car transmission look like?", the only accurate answer is: it depends entirely on the vehicle's drivetrain architecture. A front-wheel-drive transaxle looks vastly different from a longitudinal rear-wheel-drive automatic, and neither resembles the compact reduction gearbox found in modern electric vehicles. Understanding these physical differences is not just an academic exercise; it is the foundational first step in symptom diagnosis and troubleshooting. In 2026, with the proliferation of integrated thermal management systems and electrified drivetrains, visual inspection requires a more nuanced eye than ever before. This guide breaks down the visual profiles of transmissions across different vehicle types, providing actionable diagnostic frameworks, specific torque specifications, and real-world troubleshooting insights for each layout.
The Transverse Transaxle (FWD & FWD-Based AWD)
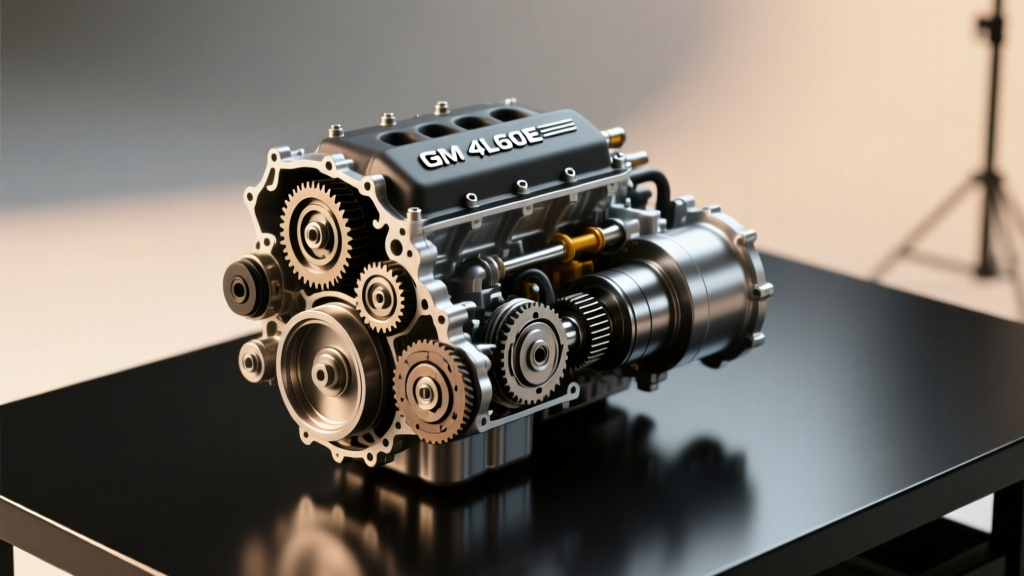
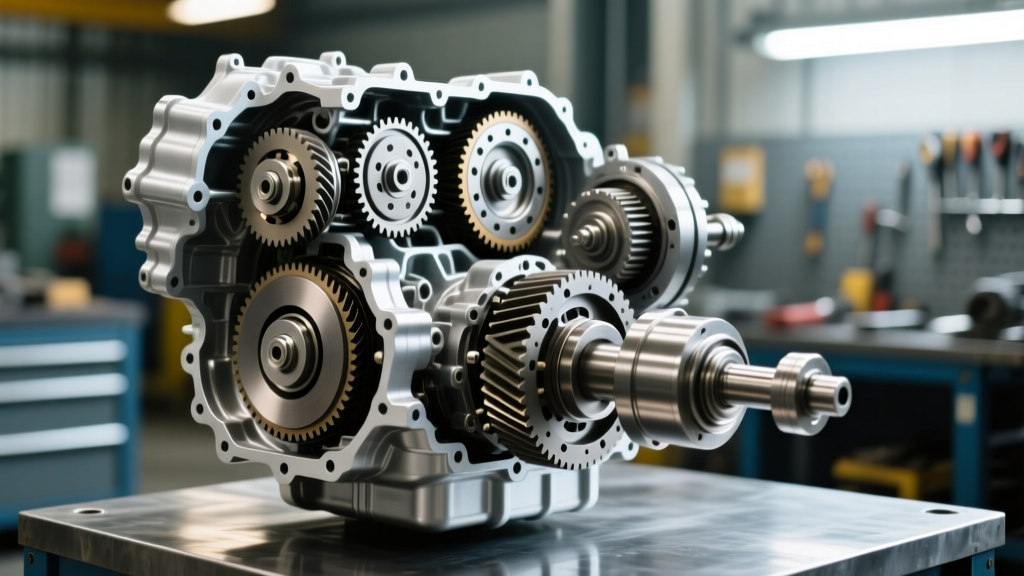
In front-wheel-drive (FWD) and FWD-based all-wheel-drive vehicles, the transmission and differential are combined into a single unit known as a transaxle. Mounted transversely (side-to-side) in the engine bay, a transaxle typically features a bellhousing that wraps around the torque converter on one side, and a side cover hiding the final drive and differential gears on the other. Common examples include the GM 6T70 and the Toyota U660F.
Visual Diagnosis & Troubleshooting
Because the transaxle sits low and transversely, visual diagnosis often requires lifting the vehicle and removing the lower splash shields. The most frequent visual symptom of transaxle failure is fluid weeping from the axle seals. If you observe red or brown fluid slung on the inner CV joint or the lower engine cradle, the transaxle side seal has likely failed. For many GM 6T70 applications, replacing this requires removing the axle nut (torqued to 235 Nm) and extracting the seal (e.g., Timken part #710482). Labor and parts for this repair typically range from $150 to $250.
Another critical visual checkpoint on modern transaxles like the GM 6T70 or Ford 6F35 is the Transmission Electro-Hydraulic Control Module (TEHCM) or solenoid body cover. These are often mounted directly on the side or front of the transaxle case. Look for hairline cracks in the plastic connector sleeves or weeping from the case-to-TEHCM gasket. A cracked TEHCM sleeve will draw air into the hydraulic circuit, causing delayed shifts and triggering pressure switch diagnostic trouble codes (DTCs).
The Longitudinal Standalone (RWD & Traditional 4WD)
Rear-wheel-drive (RWD) vehicles utilize a longitudinal transmission mounted directly behind the engine block, inline with the vehicle's centerline. The classic visual profile includes a large aluminum bellhousing bolted to the engine, a main case containing the planetary gearsets, and a tail housing that extends rearward to accept the driveshaft slip yoke or flange. The ZF 8HP45 and the GM 6L80 are iconic examples of this architecture.
Visual Diagnosis & Troubleshooting
The most notorious visual diagnostic challenge on a longitudinal RWD transmission is differentiating between a rear main engine seal leak and a transmission front pump seal leak. Both will result in fluid dripping from the bottom of the bellhousing inspection cover. To diagnose this visually without removing the transmission, clean the area thoroughly with brake cleaner, run the engine, and use a borescope through the inspection hole to trace the fluid origin. If the fluid is motor oil, it's the rear main seal; if it is ATF, it is the front pump seal or torque converter hub seal.
At the rear of the unit, tail shaft seal leaks are incredibly common. On a GM 6L80, the tail housing bushing can wear oval, allowing the slip yoke to wobble and destroy the seal lip. When replacing the transmission pan gasket during a service, always use a calibrated torque wrench. The GM 6L80 pan bolts are small and easily strip the aluminum case threads; the factory specification is exactly 11 Nm (97 lb-in). Over-torquing these bolts will distort the stamped steel or cast aluminum pan, guaranteeing a persistent leak.
AWD & 4WD Transfer Case Integrations
Traditional body-on-frame 4WD and longitudinal AWD vehicles add a transfer case to the back of the transmission. Visually, this looks like a secondary, smaller aluminum housing bolted to the transmission's tail housing, featuring an additional output shaft pointing toward the front axle. Examples include the BorgWarner 4484 and the ZF 8HP integrated transfer case setups found in modern BMW and Land Rover vehicles.
Visual Diagnosis & Troubleshooting
When troubleshooting these systems, the adapter gasket between the transmission tail housing and the transfer case is a prime suspect for leaks. Furthermore, you must visually verify that the correct fluids are in the correct cavities. A common catastrophic failure occurs when a worn transfer case input seal allows heavy 75W-90 gear oil to migrate backward into the transmission, or lighter ATF to migrate forward into the transfer case. If you pull the transfer case fill plug and the fluid smells like burnt ATF or appears cherry-red, the internal seals have failed, and the transfer case chain and bearings are likely starved of proper lubrication. For authoritative rebuild specifications and visual identification of these internal components, technicians frequently consult Sonnax technical resources to verify clutch pack clearances and seal orientations.
Electric Vehicle (EV) Reduction Gearboxes
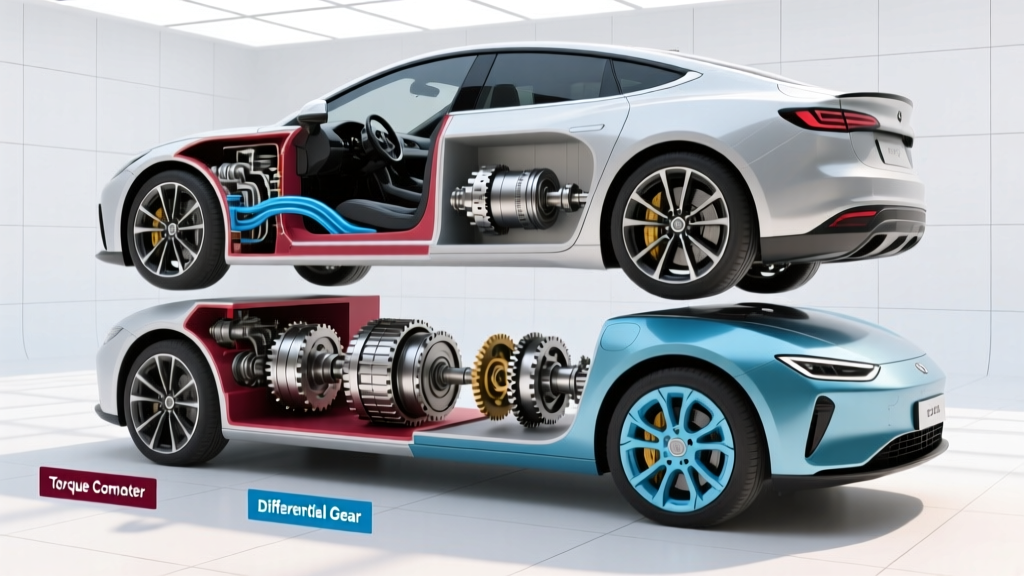
If you are wondering what a car transmission looks like in a 2026 electric vehicle, you will not find a torque converter, planetary gearsets, or a dipstick. EVs typically use a single-speed reduction gearbox (or a 2-speed unit, as seen in the Porsche Taycan) integrated directly into the drive unit alongside the electric motor and inverter. Visually, it resembles a smooth, heavily ribbed aluminum "pumpkin" bolted directly to the motor housing, with half-shafts exiting the sides.
Visual Diagnosis & Troubleshooting
Troubleshooting EV gearboxes relies heavily on thermal and acoustic diagnostics, but visual inspection remains crucial for sealing integrity. Because EV drive units share thermal management loops, a failing internal heat exchanger or cracked casing can allow glycol coolant to intrude into the gear oil cavity. Visually, if you drain the reduction gear fluid and it resembles a milky, pink emulsion, coolant intrusion has occurred. Running the drive unit in this state will destroy the high-speed ball bearings, resulting in a distinct high-frequency whine that increases with vehicle speed. Replacing the drive unit seals or the entire remanufactured drive assembly can cost between $1,200 and $3,500, making early visual detection of external coolant weeping at the motor-to-gearbox mating flange essential.
Visual Diagnostic Cheat Sheet by Drivetrain
| Vehicle Layout | Visual Profile & Orientation | Primary Visual Leak Points | Diagnostic Fluid Clues |
|---|---|---|---|
| FWD Transaxle | Transverse, integrated side differential, CV axles | Axle side seals, TEHCM/solenoid cover, side pan | Red/Brown fluid on inner CV boots or lower cradle |
| RWD Longitudinal | Inline, bellhousing to tail shaft, slip yoke/flange | Front pump seal, tail shaft seal, stamped pan gasket | Fluid in bellhousing (front seal) or on driveshaft (tail seal) |
| 4WD/AWD (Longitudinal) | Transmission + bolted transfer case, front PTO | Adapter gasket, transfer case input/output seals | Cross-contamination of ATF and 75W-90 gear oil |
| EV Reduction Gear | Compact, integrated with motor/inverter, no dipstick | Motor-to-gearbox flange, coolant heat exchanger seals | Milky/pink gear oil emulsion indicating coolant intrusion |
Step-by-Step Visual Inspection Protocol
To accurately diagnose transmission leaks and external physical damage, follow this systematic protocol:
- Preparation & Safety: Lift the vehicle on a two-post hoist. Ensure the vehicle is level to prevent false fluid level readings if checking via a fill plug. Wear appropriate PPE, as modern synthetic ATFs can cause skin irritation.
- Initial Cleaning: Do not attempt to diagnose a leak on a dirt-caked chassis. Use a low-pressure spray of dedicated parts cleaner or a water-based degreaser to wash the transmission casing, bellhousing, and transfer case adapter. Avoid high-pressure washers near electrical connectors and breather tubes.
- UV Dye Application: If the leak source is ambiguous (e.g., wind-blown fluid from the front of the vehicle), add a petroleum-compatible UV dye (such as Tracerline TP9920) through the dipstick tube or fill plug. Run the vehicle through all gears to circulate the dye.
- Blacklight Inspection: Use a 365nm UV flashlight to trace the dye back to its highest point of origin. Remember that fluid travels downward and rearward due to gravity and aerodynamic drag while driving.
- Hardware Verification: Check for missing or over-torqued pan bolts. Inspect the transmission cooler lines at the radiator fittings for cracked O-rings or flared ferrules, which are common culprits for sudden pressure loss and subsequent clutch pack failure.
Conclusion
Answering the question of what a car transmission looks like requires an understanding of the vehicle's underlying architecture. Whether you are tracking down a TEHCM leak on a transverse FWD transaxle, verifying the tail shaft seal on a longitudinal RWD automatic, or checking for coolant intrusion in an EV drive unit, visual diagnosis is an exercise in pattern recognition. By mastering the physical layouts, torque specifications, and common failure points unique to each drivetrain type, technicians and enthusiasts can accurately pinpoint issues before they escalate into catastrophic internal failures. For deeper engineering schematics and OEM specifications on modern 8-speed and 10-speed longitudinal units, referencing manufacturer documentation via ZF's official transmission catalogs remains an industry best practice.