The Financial Shock: Why Testing Beats Blind Replacement
Your vehicle refuses to crank, the reverse lights stay dark, or the gear indicator on your dashboard suddenly goes blank. You pull an OBD2 code like P0705 or P0706, and the mechanic quotes you a steep transmission range sensor replacement cost. Before you authorize a repair bill that can easily exceed $400 on modern vehicles, you need to understand a fundamental rule of automotive diagnostics: never replace a sensor without verifying the circuit first. As an automotive transmission specialist, I see countless perfectly good Transmission Range Sensors (TRS) thrown into the scrap bin because technicians and DIYers skip basic transmission sensor testing procedures. This beginner-friendly explainer will walk you through exactly how the TRS works, how to test it with basic tools, and how to determine if you actually need to spend your hard-earned money on a replacement.
Decoding the PRNDL: How the TRS Actually Works
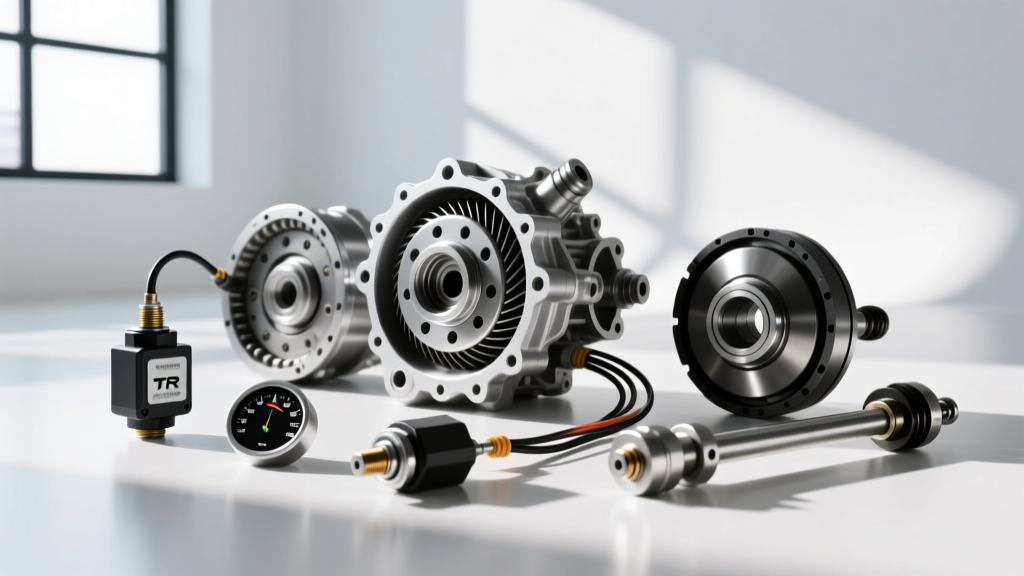
The Transmission Range Sensor, historically known as the Neutral Safety Switch or Park/Neutral Position (PNP) switch, is the vital communication bridge between your physical gear shifter and the Transmission Control Module (TCM). When you move the shift lever, a mechanical linkage or electronic shift-by-wire actuator rotates a shaft on the side of the transmission case. The TRS reads this rotational position and sends a specific voltage signal back to the TCM.
The TCM uses this data for three critical functions:
- Starter Interlock: Completing the starter relay circuit only in Park or Neutral.
- Shift Scheduling: Telling the TCM which gear range to command (e.g., preventing upshifts if the driver selects 'L' or '2').
- Reverse Lights: Triggering the backup lamp circuit when the reverse position is selected.
When this sensor fails, or more commonly, when its wiring harness chafes against the bellhousing, the TCM loses track of the gear selector. This triggers the dreaded P07xx series codes, specifically P0705 (Transmission Range Sensor Circuit Malfunction). But a code pointing to the sensor does not automatically mean the sensor itself is dead.
Replacement Cost vs. Testing: A Quick Reference
The transmission range sensor replacement cost varies wildly depending on whether the sensor is externally mounted on the transmission case or integrated internally into the valve body assembly. Review the table below to understand what you are dealing with before turning a single wrench.
| Transmission Model | Sensor Location | Typical Part Number | Part Cost | Labor / Complexity |
|---|---|---|---|---|
| GM 4L60E / 4L80E | External (Side of Case) | ACDelco D1585H | $35 - $55 | Low (0.5 hrs) |
| Ford 6R80 | External (Side of Case) | Motorcraft SW-7189 | $60 - $85 | Medium (Requires alignment pin) |
| ZF 8HP (Chrysler/BMW) | Internal (Mechatronic Unit) | Integrated into Valve Body | $1,200 - $1,800+ | High (Pan drop, fluid, SCN coding) |
As the table illustrates, blindly guessing on a ZF 8HP application could result in a catastrophic repair bill. Testing is mandatory.
Step-by-Step Transmission Sensor Testing Procedures
To properly diagnose a TRS fault, we divide our transmission sensor testing procedures into two distinct phases: digital verification and physical circuit analysis.
Phase 1: OBD2 Live Data Verification (The Zero-Dollar Test)
Before you crawl under the vehicle, grab your OBD2 scanner. You are not just looking for codes; you need to access the Live Data stream. Navigate to the Transmission data PIDs and locate the parameter labeled 'Trans Range', 'Gear Pos', or 'PRNDL State'.
With your foot firmly on the brake, cycle the shifter slowly through every single detent: P, R, N, D, 3, 2, 1. Watch the scanner screen. If the scanner accurately reflects every gear position except one (for example, it shows 'N' when in Reverse), the sensor is likely suffering from internal contact wear on that specific circuit trace. However, if the scanner shows 'Error', 'Invalid', or fails to change states entirely across all gears, you are likely dealing with a wiring issue, a blown fuse, or a lost 5-Volt Reference signal from the TCM.
Phase 2: Multimeter Continuity and Voltage Drop
For this phase, you will need a reliable digital multimeter. As outlined in this guide to testing continuity and voltage, precision is key when dealing with low-voltage automotive logic circuits.
- Locate and Inspect: Find the TRS on the driver or passenger side of the transmission case. Follow the wiring harness up toward the TCM. Look for melted insulation, rodent damage, or wires chafing against the exhaust or bellhousing bolts. This visual inspection solves about 40% of all TRS circuit codes.
- Backprobe the Connector: Do not pierce the wire insulation, as this invites copper corrosion. Use a fine backprobe pin or a paperclip to gently probe the rear of the electrical connector while it is plugged in.
- Check the 5V Reference: Turn the ignition to the 'ON' position (engine off). Set your multimeter to DC Volts. Place the black lead on a known good chassis ground and the red lead on the reference wire. You should see exactly 5.0V. If you read 0V, the sensor is fine; the TCM or the wiring harness is at fault.
- Check the Signal Returns: Most external TRS units use a combination of ground and signal return wires. As an assistant shifts gears, monitor the signal wires. You should see the voltage drop to near 0V (ground) or spike to 5V depending on the specific gear matrix designed by the manufacturer.
Torque Specs and Alignment: If You Must Replace
If your testing conclusively proves the internal wafers of the sensor are burnt or broken, you must replace it. However, the physical installation requires strict adherence to mechanical alignment. The most common reason a brand-new TRS throws a P0706 (Range/Performance) code immediately after installation is improper clocking.
- GM 4L60E/4L80E Alignment: The transmission must be manually shifted into Neutral using the shift shaft before installing the new Park/Neutral switch. The sensor features alignment tabs that must slot perfectly into the shift shaft tangs. Tighten the mounting bolts to exactly 10 Nm (89 lb-in). Over-torquing will crack the plastic housing and allow transmission fluid to seep into the electrical contacts.
- Ford 6R80 Alignment: This unit requires a specialized alignment pin. Before removing the old sensor, verify the transmission is in Neutral, then insert the alignment pin through the sensor housing into the alignment hole on the transmission case. The new Motorcraft SW-7189 sensor must be pinned in place before tightening the retaining bolts to 8 Nm (71 lb-in).
The ZF 8HP Edge Case: Internal Mechatronic Integration
Modern 8-speed automatics, particularly the ubiquitous ZF 8HP series found in Ram trucks, BMWs, and Audi models, have completely eliminated the external TRS. Instead, the range sensor is integrated directly into the Mechatronic unit (the combined valve body and TCM assembly) inside the transmission fluid pan.
If a ZF 8HP vehicle throws a range sensor code, the transmission range sensor replacement cost is no longer a $50 part and an hour of labor. You are looking at dropping the transmission pan, replacing the entire Mechatronic assembly (part costs ranging from $1,400 to $2,200), refilling with specific ZF Lifeguard 8 fluid, and performing proprietary security access and SCN coding via an advanced bi-directional scan tool. Because the financial stakes are so high, transmission sensor testing procedures for the ZF 8HP mandate a rigorous check of the external chassis wiring harness, the TCM ground straps located near the passenger strut tower, and the main case-to-chassis grounds before condemning the internal Mechatronic unit. For deeper insights into complex transmission diagnostics, resources like AA1Car's diagnostic library offer excellent schematics for tracing these integrated circuits.
Final Thoughts: Test First, Spend Later
A diagnostic trouble code is merely a starting point, not a parts list. By understanding the logical flow of the PRNDL circuit and utilizing basic multimeter testing procedures, you can confidently separate a $45 external sensor failure from a complex wiring fault or a catastrophic internal Mechatronic failure. Armed with this knowledge, you will never be blindsided by an inflated transmission range sensor replacement cost again.