Introduction to Transaxle Differential Architecture
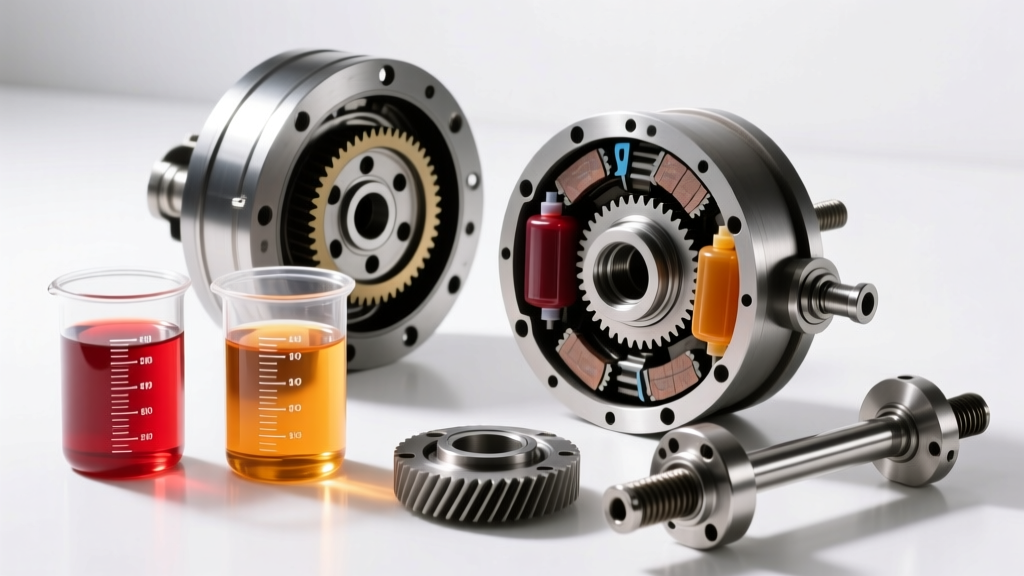
In front-wheel-drive and many modern all-wheel-drive vehicles, the differential is not a standalone unit bolted to a solid axle; it is integrated directly into the transmission housing. This transaxle architecture means the ring and pinion gears, bearings, and limited-slip clutches (if equipped) share the same sump and lubrication circuit as the planetary gearsets and torque converter. Consequently, the health of the final drive is inextricably linked to the quality, flow, and specification of the transmission differential fluid. As we navigate the 2026 landscape of 8-speed and 10-speed transaxles, tolerances have tightened, and fluid shear stability has become a paramount engineering constraint.
Rebuilding a transaxle differential requires a fundamentally different approach than servicing a traditional solid-axle rear differential. You are working inside a precision-machined aluminum clamshell case where bearing bores can easily be distorted, and fluid galleries are notoriously difficult to flush. This step-by-step guide details the exact procedures for tearing down, measuring, setting up, and lubricating an integrated transaxle differential, using the ubiquitous GM 6T70/6T75 and Honda/Acura 6-speed automatic transaxles as our primary benchmarks.
Step 1: Teardown, Inspection, and Case Preparation
Before you can set new gears, you must understand why the original unit failed. The most common culprit in transaxle differential failure is not aggressive driving, but rather fluid starvation or the degradation of the transmission differential fluid due to extreme thermal cycling. When the fluid loses its viscosity index, the pinion and side bearings experience boundary lubrication, leading to cage fatigue and roller scoring.
Extracting the Differential Assembly
Once the transmission case is split, carefully lift the differential assembly out of the lower case half. Do not pry against the machined mating surfaces of the aluminum case with a screwdriver; use a dedicated case spreader or soft-jaw puller. Inspect the bearing races pressed into the case halves. If you notice any spinning, galling, or micro-movement wear (often appearing as a dull, frosted aluminum ring around the steel race), the case bore is compromised. According to industry benchmarks reported by Transmission Digest, attempting to install new bearings into an out-of-spec bore will result in immediate preload loss and catastrophic gear whine within 500 miles. If the bore is worn, it must be line-honed and sleeved by a specialized machine shop, typically costing between $150 and $250.
Flushing Transmission Differential Fluid Galleries
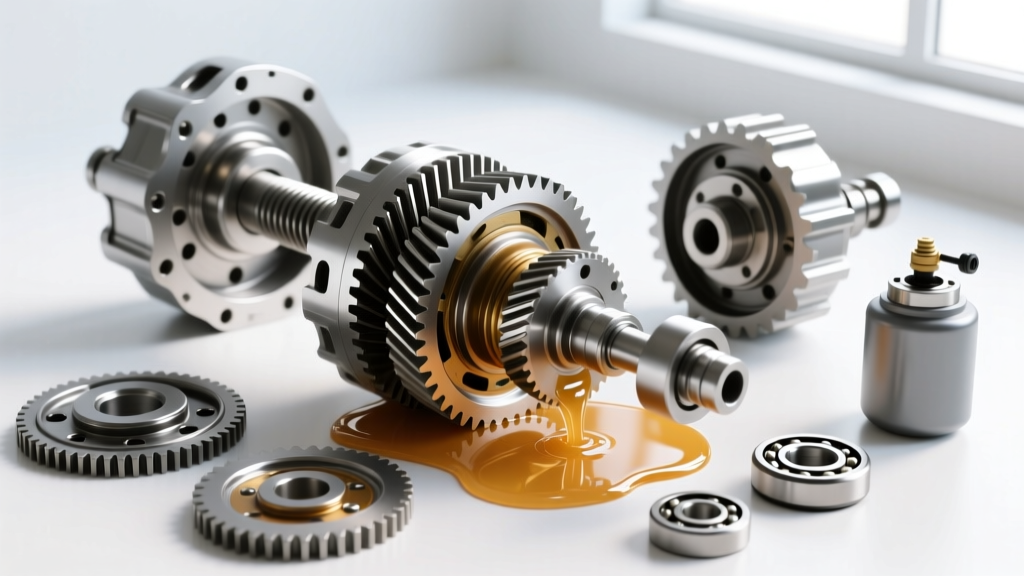
Transaxle cases feature intricate splash-lubrication channels and collector gutters designed to route the transmission differential fluid to the pinion and side bearings. During a failure, these galleries become packed with ferrous micro-fines and degraded friction material. Use a high-pressure solvent flush followed by compressed air to clear every passage. A single clogged gallery will starve the upper pinion bearing, leading to premature seizure.
Step 2: Pinion Depth and Bearing Preload Setup
Setting pinion depth is the most critical measurement in any differential rebuild. The pinion gear must be positioned at the exact centerline of the ring gear. In a transaxle, this is achieved by shimming the pinion head bearing or the pinion shaft itself, depending on the specific OEM design.
Reading the Pinion Head Etching
Look closely at the face of the new pinion gear. You will find an etched number, such as +2 or -1. This is the manufacturer's variance from the nominal pinion depth, measured in hundredths of a millimeter or thousandths of an inch. If your OEM nominal depth tool reads a baseline of 2.500 inches, and the pinion is etched +2 (meaning +0.002"), your target depth becomes 2.502". Use a digital pinion depth gauge with a 0.0001" resolution dial indicator to verify your shim stack.
Establishing Bearing Preload
Transaxle differentials typically use tapered roller bearings, such as the SKF Automotive or Timken SET-series. Preload is the resistance to rotation created by compressing the bearing rollers against their races. Unlike solid-axle diffs that often use a crush sleeve to set preload, high-performance transaxle rebuilds should utilize a solid spacer with selective shims. Crush sleeves are notoriously inconsistent and can relax over time under heavy torque loads.
- Target Preload (New Bearings): 15 to 25 inch-pounds of rotating torque.
- Target Preload (Used Bearings): 8 to 14 inch-pounds.
- Tool Required: 0-50 in-lb dial-type torque wrench (beam or click-type wrenches are entirely inaccurate at this scale).
Step 3: Ring Gear Backlash and Contact Pattern
With the pinion depth and preload established, the differential case (carrier) is installed into the transaxle housing. The next objective is setting the ring gear backlash—the rotational freeplay between the ring and pinion teeth.
Measuring and Adjusting Backlash
Mount a dial indicator on a magnetic base, positioning the plunger perpendicular to the face of a ring gear tooth. Hold the pinion flange completely stationary and rock the ring gear back and forth. For most modern transaxles, the target backlash is between 0.004" and 0.007". Adjust this by swapping the selective shims located behind the side bearings. Adding shim to the ring gear side pushes the gear deeper into the pinion, reducing backlash; moving shim to the opposite side increases it. Always maintain the total side-bearing preload by adding and subtracting equal amounts of shim thickness from side to side.
Interpreting the Gear Contact Pattern
Backlash alone does not guarantee a quiet, durable gearset. You must verify the contact pattern using yellow ochre gear marking compound. Apply a thin, even coat to three or four teeth on the drive (convex) and coast (concave) sides of the ring gear. Apply moderate rotational resistance with a gloved hand and turn the pinion to roll the teeth through the compound.
- Ideal Pattern: Centered vertically on the tooth face, slightly biased toward the toe (the inner, narrower end of the tooth).
- Heel Bias (Outer edge): Pinion is too deep. Decrease pinion depth shim.
- Toe Bias (Inner edge, excessive): Pinion is too shallow. Increase pinion depth shim.
- Top Land (Edge of tooth): Backlash is too tight or pinion is too deep.
- Root (Bottom of tooth): Backlash is too wide or pinion is too shallow.
Step 4: Final Assembly and Torque Specifications
Once the pattern is verified, the ring gear must be bolted to the differential case. Never reuse the original ring gear bolts; the torque-to-yield stretching compromises their clamping force. Use new OEM or ARP Grade 12.9 hardware. Apply a medium-strength threadlocker (such as Loctite 243) to the threads to prevent backing out in the high-vibration environment of the transaxle sump.
| Parameter | Specification | Required Tooling |
|---|---|---|
| Ring Gear to Case Bolts | 85 lb-ft + 90° turn | 1/2" Torque Wrench & Angle Gauge |
| Pinion Bearing Preload | 15 - 25 in-lb (New) | 0-50 in-lb Dial Torque Wrench |
| Ring Gear Backlash | 0.004" - 0.007" | Dial Indicator (0.0001" res) |
| Ring Gear Runout (Max) | 0.002" TIR | Dial Indicator on Case |
| Side Bearing Preload | 35 - 45 in-lb (Total) | Inch-pound Torque Wrench |
Step 5: Transmission Differential Fluid Selection and Fill
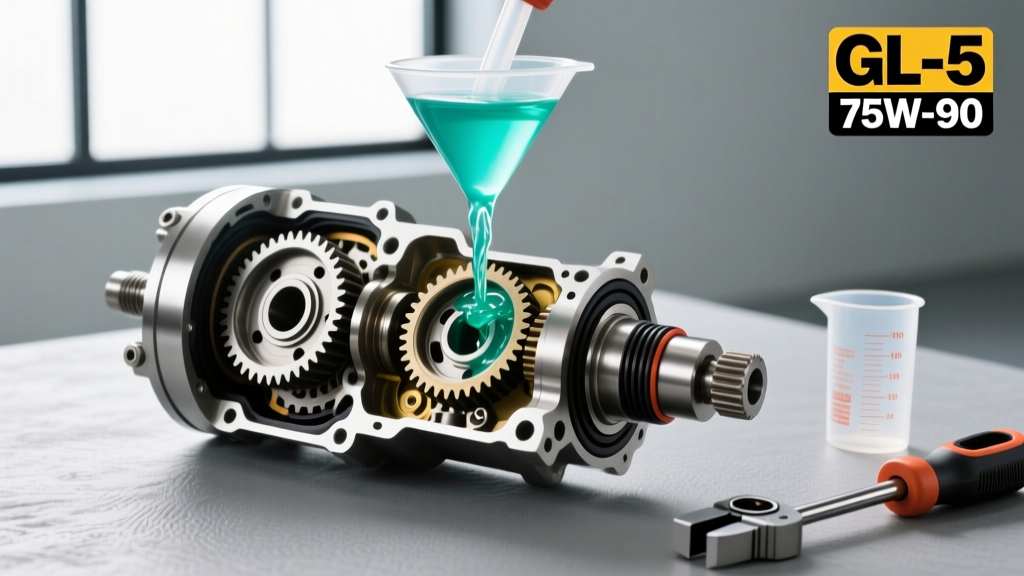
The final, and arguably most critical, step in a transaxle rebuild is selecting the correct transmission differential fluid. Because the differential shares its lubricant with the transmission's valve body, clutch packs, and torque converter, you cannot simply pour in a thick 75W-90 gear oil. Doing so will cause immediate valve body failure, clutch slippage, and torque converter shudder.
The Rheology of Shared-Sump Fluids
Modern transaxle fluids are engineering marvels. They must possess the shear stability to protect the hypoid ring and pinion gears (which generate immense sliding friction) while maintaining the precise frictional coefficients required for the transmission's wet clutches. According to drivetrain lubrication experts at AMSOIL Drivetrain Fluids, the viscosity index improvers in modern synthetic ATFs are specifically tailored to resist the mechanical shearing forces of the differential gears, which would otherwise permanently degrade a standard motor oil or inappropriate gear lube.
OEM Fluid Specifications for 2026
Always adhere strictly to the OEM fluid specification. For GM 6T/8T/9T series transaxles, this means using Dexron VI or the newer Dexron ULV (Ultra Low Viscosity). The ULV fluids operate at a baseline viscosity of roughly 4.5 cSt at 100°C, compared to the 6.0 cSt of older Dexron VI. Filling a 2024+ GM 10-speed transaxle with older, higher-viscosity fluid will result in sluggish shift times, overheating, and inadequate splash lubrication reaching the upper differential bearings due to the fluid's higher resistance to being thrown by the ring gear.
For Honda and Acura transaxles, Honda DW-1 (or the newer Type 3.1 for CVTs and specific 10-speeds) is mandatory. These fluids contain proprietary friction modifiers that prevent shudder in the lock-up clutch and provide adequate boundary lubrication for the helical and hypoid gears inside the case.
Expert Technician Note: When filling a freshly rebuilt transaxle, the initial fill volume must account for the dry torque converter and the empty cooler lines. However, the differential sump itself requires a specific baseline level. Always verify the transmission differential fluid level with the dipstick or overflow plug while the fluid is at the exact OEM-specified temperature (usually between 85°C and 95°C / 185°F and 203°F). Checking the level cold will result in severe overfilling, causing the rotating differential assembly to aerate the fluid, leading to foaming, localized gear starvation, and rapid clutch burn-up.
Summary of Rebuild Best Practices
Rebuilding a transaxle differential is an exercise in precision measurement and strict adherence to fluid dynamics. By utilizing solid spacers for bearing preload, dialing in the gear contact pattern to the thousandth of an inch, and strictly utilizing the correct OEM-specified transmission differential fluid, you ensure the final drive will operate silently and reliably for hundreds of thousands of miles. Never compromise on case bore inspection, and always treat the shared fluid sump as a highly calibrated hydraulic and lubrication system rather than a simple gear bath.