Understanding the Torsen Advantage and Fluid Requirements
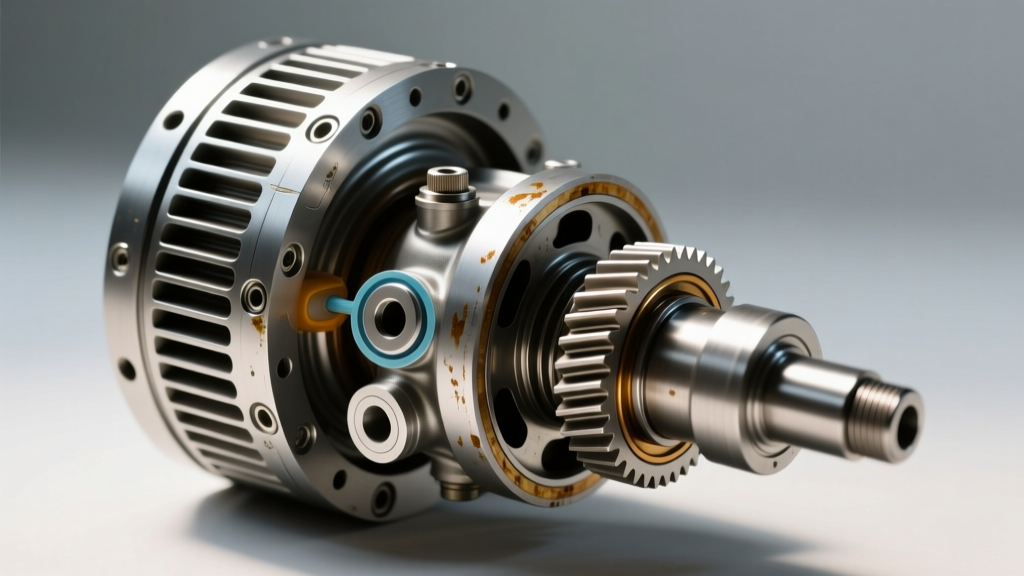
The Torsen (Torque Sensing) limited slip differential remains one of the most elegant mechanical traction solutions in automotive engineering. Unlike traditional clutch-type LSDs (such as the Ford 8.8 Trac-Lok or GM Eaton positraction units) that rely on friction discs and preload springs, a Torsen unit utilizes complex helical planetary gear sets (Type 2/T-2) or crossed-axis worm gears (Type 1) to mechanically bind and multiply torque to the wheel with traction. Because there are no friction clutches to manage, the JTEKT Torsen official engineering guidelines dictate a fundamentally different approach to lubrication.
As we navigate the 2026 automotive landscape, where many OEMs continue to push misleading 'lifetime' fluid claims, independent drivetrain tribology data strongly contradicts this. Shear degradation, thermal cycling, and the accumulation of microscopic metallic particulates severely compromise the extreme pressure (EP) additives required to protect your ring and pinion gears. Performing a meticulous Torsen limited slip differential fluid change is critical to preserving the bias ratio and preventing catastrophic hypoid gear failure.
The Friction Modifier Myth: Selecting the Right Gear Oil
The most common mistake enthusiasts make when servicing a Torsen differential is adding friction modifiers (FM). Friction modifiers are strictly required for clutch-type LSDs to prevent 'chatter' during low-speed cornering. However, adding FM to a Torsen differential is not only unnecessary, but it can also be detrimental.
Friction modifiers alter the coefficient of friction between metal surfaces. In a Torsen Type 1 (worm gear) or Type 2 (helical planetary) differential, torque biasing relies heavily on the precise friction characteristics of the gear teeth and thrust washers under extreme load. Diluting the gear oil with FM can artificially lower the torque bias ratio, effectively reducing the differential's mechanical grip. Furthermore, FM additives can displace vital sulfur-phosphorus EP additives needed to protect the hypoid ring and pinion.
Recommended Fluid Specifications
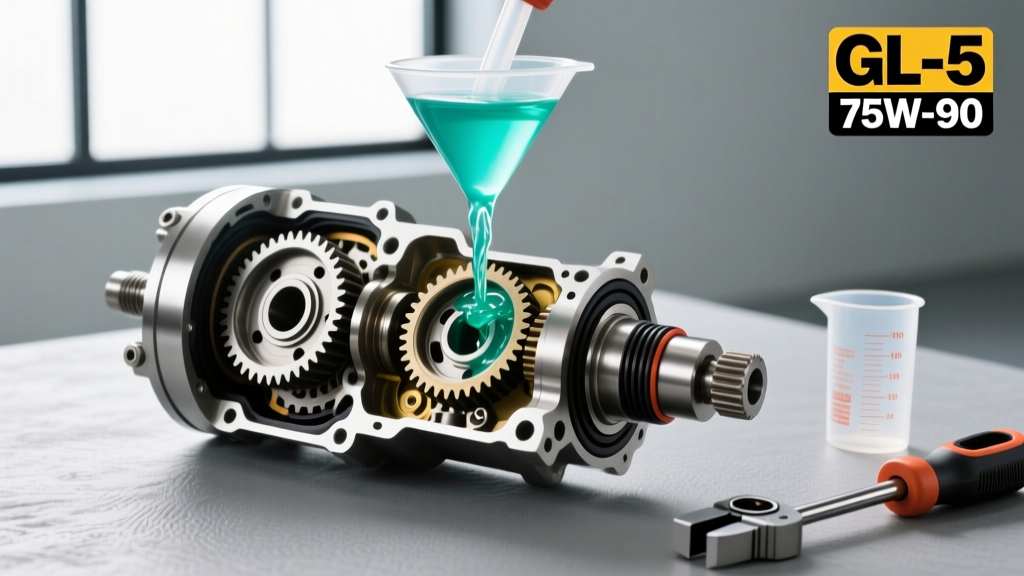
- Viscosity: 75W-90 (Standard for most standalone rear differentials)
- API Rating: GL-5 (Mandatory for hypoid gear protection)
- Additive Package: NO Friction Modifiers
Top-tier synthetic options include Red Line 75W90 NS (Non-Slip), which is specifically formulated without friction modifiers for helical and worm-gear differentials. Motul Gear 300 75W-90 is another exceptional ESTER Core™ option that provides immense film strength under high-temperature track conditions.
Service Intervals: Break-In vs. Long-Term Maintenance
Ignoring the break-in service is the leading cause of premature Torsen differential whine and gear pitting. During the first few thousand miles, the ring and pinion gears undergo a 'lapping' process, shedding microscopic metallic particles into the fluid.
| Service Phase | Mileage Interval | Fluid Condition | Action Required |
|---|---|---|---|
| Initial Break-In | 3,000 - 5,000 Miles | High metallic particulate, shear breakdown | Mandatory Drain & Fill |
| Normal Street Use | 30,000 - 50,000 Miles | Normal additive depletion | Drain & Fill |
| Severe / Track / Towing | 15,000 Miles or Annually | Thermal degradation, high shear | Drain & Fill |
Application Data: Capacities and Torque Specifications
Before beginning the Torsen limited slip differential fluid change, verify your specific application's data. Overfilling can lead to seal blowout due to thermal expansion, while underfilling causes immediate starvation of the pinion bearings.
| Vehicle / Differential | Torsen Type | Fluid Capacity | Drain Torque | Fill Torque |
|---|---|---|---|---|
| GM Z82 (Camaro SS / Corvette) | T-2 (Helical) | 1.1 L (2.4 pts) | 25 lb-ft | 25 lb-ft |
| Subaru WRX STI (Rear) | T-2 (Helical) | 0.8 L (1.7 pts) | 35 lb-ft | 31 lb-ft |
| Audi B8 S4 (Rear Sport Diff) | Crown Gear / Torsen-style | 1.2 L (2.5 pts) | 33 lb-ft | 33 lb-ft |
Step-by-Step Torsen Fluid Change Procedure
This procedure applies to standalone rear differentials equipped with Torsen units. Always prioritize safety and use proper lifting equipment.
Phase 1: Preparation and Safety
- Thermal Preparation: Drive the vehicle for 10-15 minutes to bring the differential fluid up to operating temperature (approx. 140°F / 60°C). Warm fluid flows faster and suspends metallic particulates, ensuring a more complete drain.
- Lifting: Raise the vehicle using a hydraulic lift or four dedicated jack stands on factory pinch welds. The vehicle must be perfectly level to ensure an accurate fill volume.
- Clean the Housing: Use a dedicated brake parts cleaner and a wire brush to thoroughly clean the area surrounding both the fill and drain plugs. Preventing debris from entering the Torsen gear set is non-negotiable.
Phase 2: The 'Fill-First' Rule and Draining
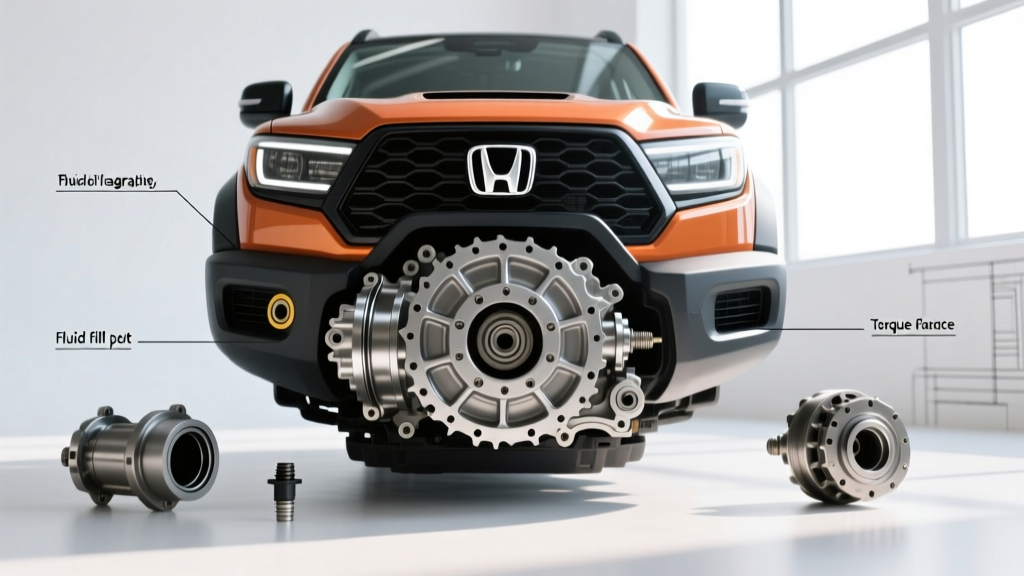
CRITICAL PRO-TIP: ALWAYS remove the fill plug before removing the drain plug. If the fill plug is seized, corroded, or stripped, you will be left with an empty differential and a stranded vehicle. If the fill plug will not budge, apply penetrating fluid, use a high-quality 6-point socket or hex bit, and apply controlled heat to the aluminum housing (avoiding the plug itself) to break the galvanic corrosion.
- Remove Fill Plug: Using the appropriate hex bit (commonly 3/8-inch drive or 10mm/12mm hex depending on the OEM), break the fill plug loose and remove it.
- Remove Drain Plug: Position a dedicated drain pan capable of holding at least 2 quarts. Remove the drain plug.
- Inspect the Magnet: Most Torsen differential drain plugs are magnetic. A fine, dark metallic paste is normal wear from the helical gears and thrust washers. However, if you find distinct metal flakes, chunks, or a 'glitter' shimmer in the fluid, this indicates severe ring/pinion wear or planetary gear failure requiring an immediate teardown.
- Wipe and Prep: Once the fluid slows to a drip, wipe the inside of the plug threads. Replace the aluminum crush washer (e.g., GM Part # 11562555 or Subaru Part # 803918060) to prevent casing deformation and leaks.
Phase 3: Filling and Final Torque
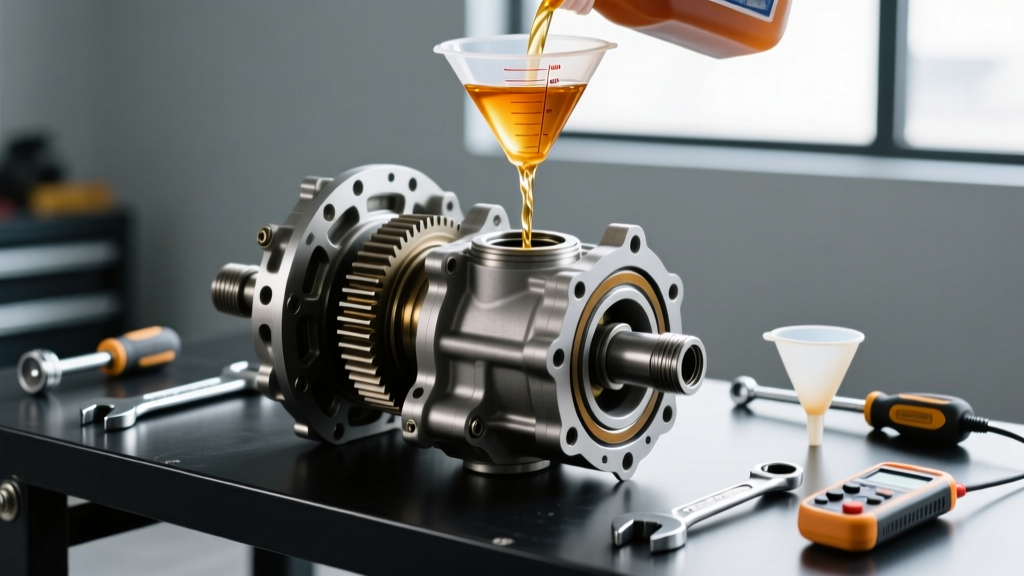
- Pump the Fluid: Attach a high-quality fluid transfer pump to your bottle of 75W-90 GL-5 Non-Slip gear oil. Insert the hose deep into the fill orifice.
- Fill to Weep: Pump the fluid until it reaches the bottom edge of the fill hole and begins to weep out onto your finger. For diffs without a traditional weep hole (some sealed transaxle applications), measure the exact OEM capacity via a syringe.
- Torque Specifications: Reinstall the fill plug and torque to factory specification (e.g., 25 lb-ft for the GM Z82). Reinstall the drain plug with a new crush washer and torque accordingly. Do not overtighten; differential housings are often cast aluminum and easily stripped.
- Clean and Verify: Wipe down the housing with degreaser. Lower the vehicle and perform a 5-mile test drive. Re-inspect the plug areas for seepage while the housing is warm.
Post-Service Diagnostics
After completing the Torsen limited slip differential fluid change, it is normal to detect a very slight mechanical whine during deceleration for the first 50 miles as the new fluid's viscosity profile adapts to the gear clearances. However, if you experience binding, harsh clunking on load reversal, or a high-pitched howl, immediately re-check the fluid level. An under-filled Torsen unit will starve the pinion bearings within miles, leading to catastrophic drivetrain failure. By adhering to strict intervals and utilizing Non-Slip GL-5 synthetics, your Torsen differential will provide seamless, mechanical torque vectoring for the life of the vehicle.