Decoding the Drivetrain: A Beginner's Guide to Front Differential Setup
Setting up a ring and pinion gear set is often viewed as dark magic reserved for veteran drivetrain builders. However, with the right reference materials and a methodical approach, beginners can grasp the foundational geometry of gear mesh. When you first pull up a 2003 Trailblazer front differential parts diagram, the sheer number of shims, bearings, and seals can be overwhelming. The 2003 Chevy Trailblazer (GMT360 platform) utilizes an Independent Front Suspension (IFS) aluminum front differential, typically housing a 7.2-inch ring gear and 27-spline CV axles.
Understanding the internal layout of this specific IFS housing is critical before you ever touch a micrometer. This guide will break down the setup process, essential measurements, and the crucial role of differential fluid in protecting your newly installed gears.
Anatomy of the GM IFS Front Differential
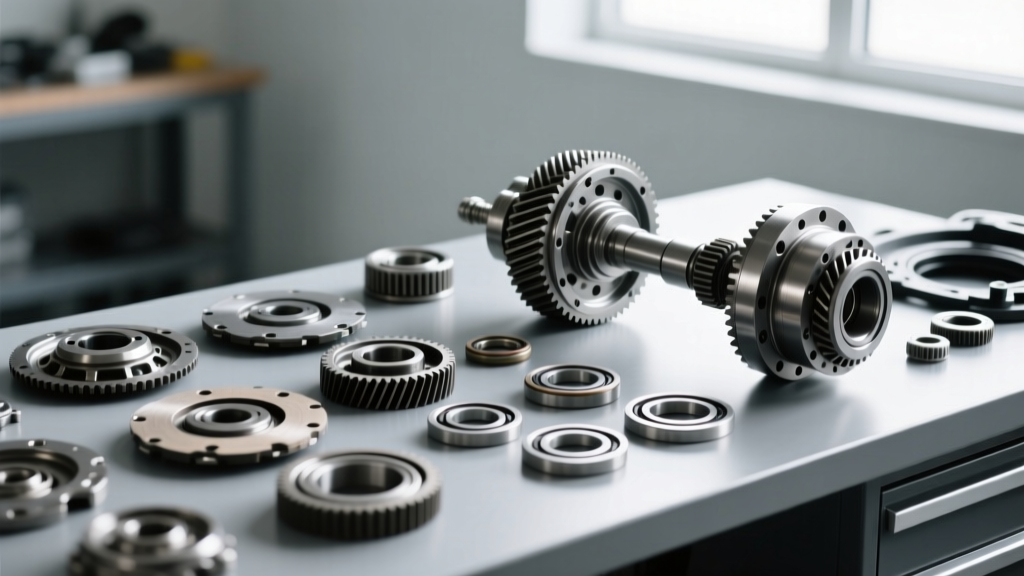
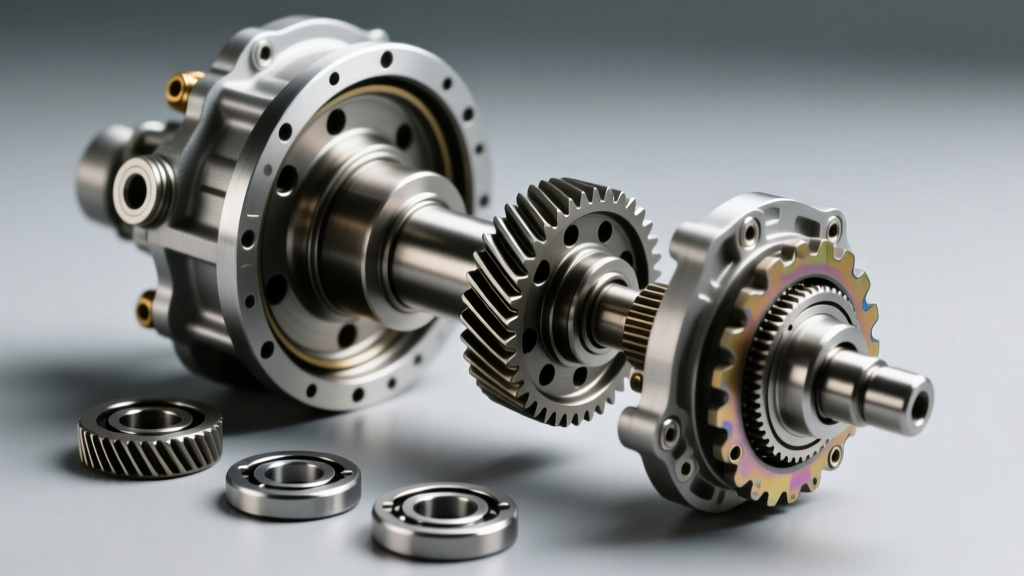
Referencing your 2003 Trailblazer front differential parts diagram ensures you don't miss the often-overlooked components that dictate gear longevity. Unlike the solid rear axle (which uses an 8.6-inch ring gear), the front IFS diff is compact and lightweight. Here are the core components you must identify on the diagram:
- The Carrier Assembly: Houses the ring gear and transfers torque to the front CV axles.
- Pinion Gear & Shaft: The driving gear that meshes with the ring gear, supported by two tapered roller bearings.
- Pinion Depth Shim: Located between the pinion head and the inner bearing, this tiny washer dictates how deep the pinion sits into the ring gear.
- Crush Sleeve vs. Solid Spacer: The factory diagram shows a crush sleeve to establish pinion bearing preload. Many builders in 2026 upgrade to a solid spacer with shims for repeatability.
- Oil Slinger & Seals: Prevents gear oil from migrating past the pinion seal and onto your yoke.
The Holy Trinity of Gear Setup Measurements
To achieve a quiet, durable gear set, you must master three distinct measurements. According to drivetrain experts at Randy's Ring & Pinion, failing to hit these targets within a few thousandths of an inch will result in catastrophic gear whine or tooth shearing.
1. Pinion Depth
Pinion depth is the distance from the centerline of the ring gear to the face of the pinion gear. The pinion head is laser-etched with a variance number (e.g., +2 or -1). This number tells you how to adjust the depth shim relative to the factory 'zero' setting. If your new gear set requires a deeper cut, you add shim thickness; if it requires a shallower cut, you remove thickness.
2. Backlash
Backlash is the rotational 'play' between the ring and pinion teeth. For the Trailblazer front IFS differential, the target backlash is generally between 0.006" and 0.010". You adjust this by moving the carrier assembly left or right using threaded adjusters or carrier shims, depending on the exact housing variant.
3. Bearing Preload
Preload is the rotational resistance of the pinion bearings. Without adequate preload, the pinion gear will wobble under load, destroying the gear pattern. With too much preload, the bearings will overheat and fail prematurely.
Setup Specifications and Torque Chart
Precision requires data. Below is the reference table for the GM 7.2" IFS front differential setup. Always verify with the specific manufacturer's instructions included in your master rebuild kit.
| Measurement / Fastener | Target Specification | Tools Required |
|---|---|---|
| Ring Gear Bolt Torque | 65 - 85 lb-ft (Use Red Loctite) | Torque Wrench (ft-lbs) |
| Pinion Nut Torque | 150 - 250+ lb-ft (To crush sleeve) | 1/2" Drive Torque Wrench / Breaker Bar |
| Pinion Bearing Preload (New) | 15 - 25 in-lbs (Rotational) | Beam-style Inch-Pound Torque Wrench |
| Ring Gear Backlash | 0.006" - 0.010" | Dial Indicator with Magnetic Base |
| Pinion Depth Variance | Etched on Pinion Head (e.g., +0.002") | Micrometer & Pinion Depth Tool |
Reading the Gear Pattern: The Marking Compound Test
Numbers only tell half the story. The physical gear pattern, read using yellow or white gear marking compound, reveals the true mesh quality. You must paint 3-4 teeth on the ring gear and rotate the assembly under light braking pressure to observe the contact patches.
- Drive Side (Convex): The side of the tooth that pushes the vehicle forward under acceleration.
- Coast Side (Concave): The side of the tooth loaded during deceleration.
- Toe & Heel: The inner (toe) and outer (heel) edges of the tooth. A perfect pattern is centered between the toe and heel, slightly favoring the toe to account for gear deflection under heavy load.
- Face & Flank: The top (face) and bottom (flank) of the tooth. If the pattern is too high on the face, the pinion is too shallow; if it's too low on the flank, the pinion is too deep.
Pro Tip: Never judge a gear pattern without applying resistance. Use a brake caliper or a thick rag wrapped around the ring gear to simulate load. A 'no-load' pattern will always look deceptively wide and misleading.
The Critical Role of Differential Fluid in Break-In
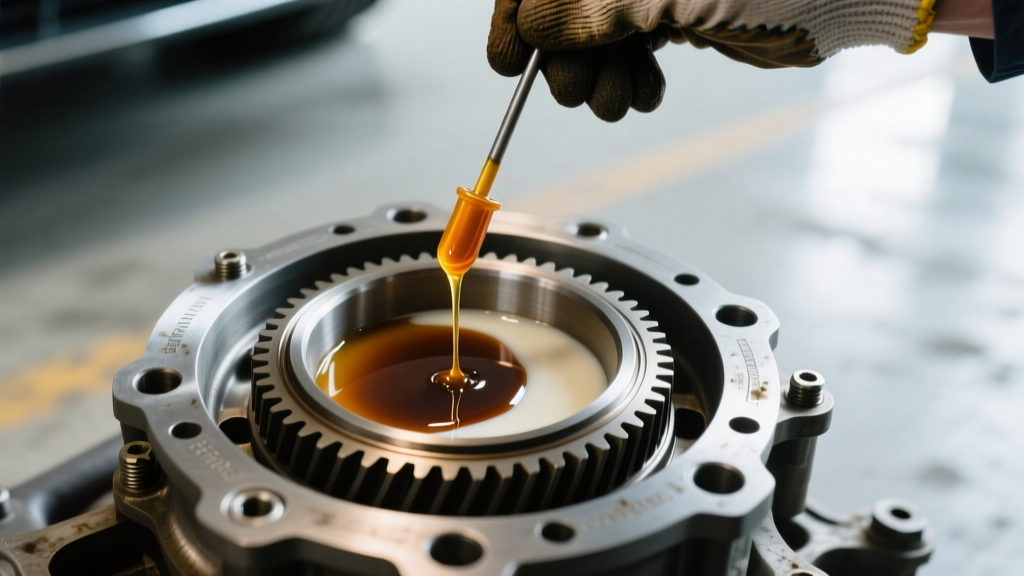
Because a fresh ring and pinion setup generates immense friction during the initial mating process, your choice of differential fluid is just as important as your shim selection. The 2003 Trailblazer front IFS differential holds approximately 1.5 to 1.8 pints (0.71 - 0.85 Liters) of gear oil.
Break-In Fluid vs. Long-Term Synthetic
For the first 500 miles, the gears undergo a microscopic lapping process. According to lubrication engineers at AMSOIL, using a high-quality, non-synthetic 80W-90 GL-5 mineral oil for the break-in period can help manage the extreme heat generated by the initial friction. Synthetic oils, while superior for long-term protection, can sometimes be 'too slippery' during the critical break-in phase, preventing the gears from properly mating.
After the initial 500-mile heat cycle, drain the break-in fluid. It will be filled with fine, glitter-like metallic paste—this is normal. Refill the IFS housing with a premium 75W-90 Synthetic GL-5 gear oil. Note that unlike the rear differential, the front IFS open differential does not require a friction modifier additive. Adding a friction modifier to an open front diff can unnecessarily reduce the fluid's extreme-pressure (EP) protection capabilities.
Common Beginner Mistakes to Avoid
Even with a perfect 2003 Trailblazer front differential parts diagram in hand, beginners often fall into the same traps. Avoid these costly errors:
- Reusing the Crush Sleeve: A crush sleeve is a one-time-use component. Once deformed, it cannot accurately maintain preload. Always use a new sleeve or upgrade to a solid spacer kit.
- Over-Tightening the Pinion Nut: If you overshoot your 20 in-lb preload target while crushing the sleeve, you cannot simply loosen the nut. You must install a brand-new crush sleeve and start over.
- Ignoring the Oil Slinger: Forgetting to install the metal oil slinger behind the pinion seal will result in gear oil rapidly destroying the rubber seal lip, leading to a messy front drivetrain leak.
- Skipping the Heat Cycle: Driving 70 mph on the highway immediately after installation will overheat and glaze the gears. Drive in stop-and-go city traffic for the first 50 miles, then let the differential cool completely. Repeat this cycle several times.
Final Thoughts on the IFS Setup
Rebuilding the front differential on a GMT360 SUV requires patience, clean working conditions, and respect for the tolerances. A complete master rebuild kit (bearings, shims, seals, crush sleeve) typically costs between $120 and $180 in 2026, while a quality ring and pinion set from brands like Yukon Gear & Axle runs $250 to $400. When combined with the correct 75W-90 GL-5 fluid and a meticulous break-in procedure, your Trailblazer's front drivetrain will deliver thousands of miles of silent, reliable 4WD operation.