The Anatomy of the Honda Real Time AWD System
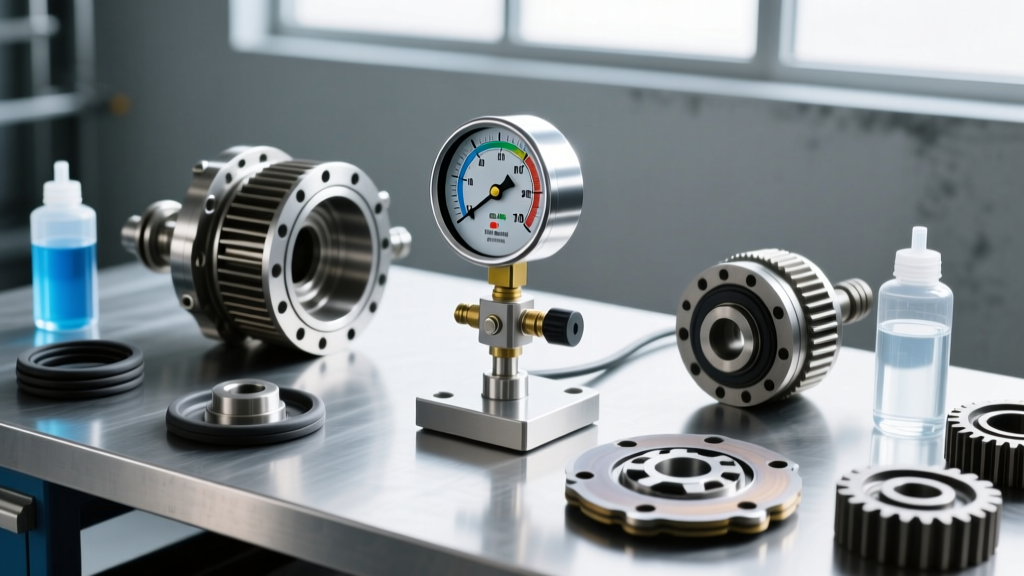
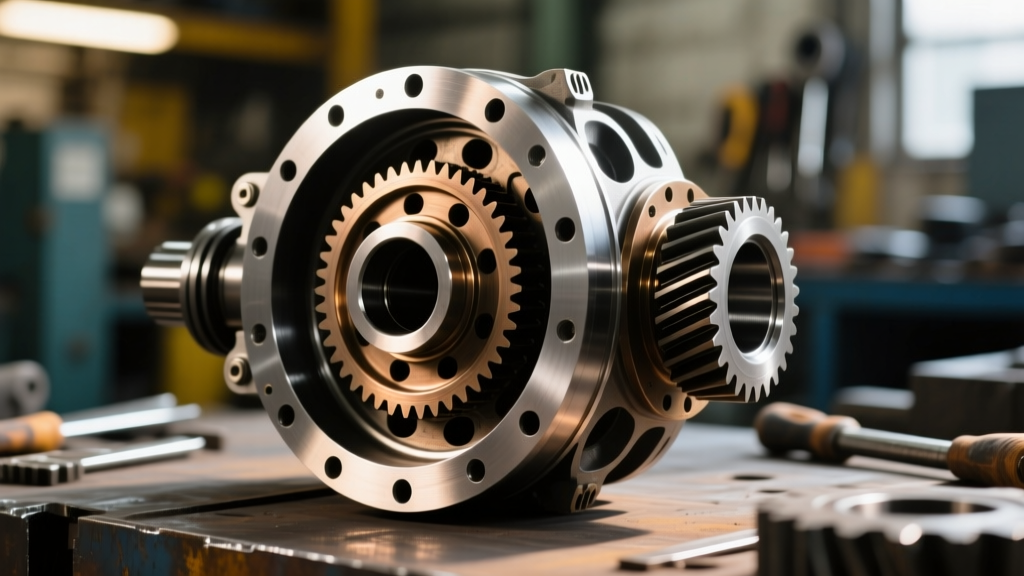
As of 2026, hundreds of thousands of 3rd and 4th generation Honda CR-Vs (2007–2016) are crossing the 150,000-mile threshold. While the Honda Dual Pump Real Time 4WD system is remarkably reliable, it is not invincible. The system relies on a purely hydraulic, mechanical rear differential containing two gerotor pumps and a wet clutch pack. When the front wheels slip, the front-driven pump generates higher hydraulic pressure than the rear-driven pump. This pressure differential moves a pilot valve, which routes fluid to apply the clutch pack, locking the front and rear axles together.
The most common symptom of failure is a distinct 'groaning' or 'chattering' noise from the rear axle during tight, low-speed turns. While a simple fluid flush using Honda DPSF-II resolves this issue 80% of the time, ignored chatter leads to glazed clutch plates, scored gerotor pumps, and eventual AWD failure. When fluid changes fail to cure the noise, a complete teardown is required. This guide details the exact procedures, torque specifications, and clearances needed to rebuild the Honda CR-V rear differential.
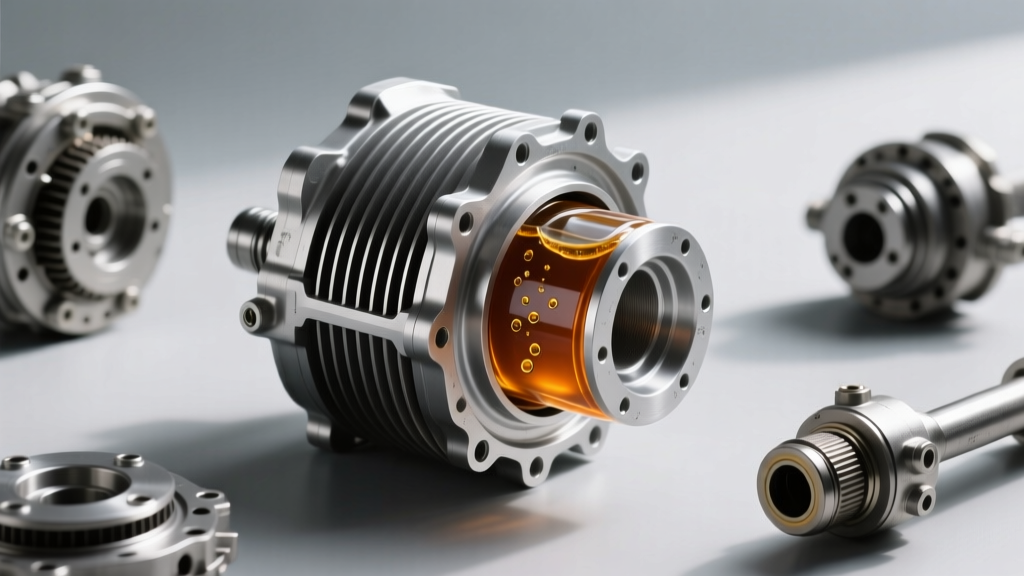
Expert Warning: Never use aftermarket 75W-90 gear oil or generic limited-slip additives in a Honda Dual Pump differential. The system requires the specific friction modifiers and viscosity of Honda Dual Pump System Fluid II (DPSF-II). Using incorrect fluid will destroy the clutch pack within 500 miles.
Pre-Rebuild Diagnostics: Rebuild vs. Replace
Before pulling the differential, confirm the failure is internal. Lift the vehicle on a four-post lift or jack stands so all four wheels can spin freely. Start the engine, place the transmission in Drive, and let the front wheels spin. If the rear wheels do not engage, or if you hear metallic grinding from the rear PTO (Power Take-Off) housing, the internal clutch pack or pilot valve has failed.
In 2026, a used replacement rear differential from a salvage yard costs between $350 and $600, but carries the risk of inheriting the previous owner's neglected fluid. A complete OEM rebuild kit (clutch plates, steels, O-rings, and seals) costs roughly $180 to $250 via Honda Parts Now or aftermarket suppliers. For the DIY mechanic, rebuilding is the most cost-effective and reliable path.
Required Tools and Parts Checklist
- Fluid: 3 Quarts of Honda DPSF-II (P/N 08200-9002)
- Crush Washers: 2x Aluminum Drain/Fill Washers (P/N 90471-PX4-000)
- Rebuild Kit: Includes friction discs, steel plates, O-rings, and pilot valve seals
- Tools: 3/8' Drive Torque Wrench, Snap Ring Pliers (Internal/External), Dial Indicator with Magnetic Base, Feeler Gauge Set, Dead-blow Hammer, Brass Punch
- Cleaners: Brake parts cleaner and lint-free shop towels
Step 1: Extraction and Teardown
- Drain the Fluid: Remove the 17mm fill plug first (located on the passenger side), followed by the 17mm drain plug. Inspect the drain plug magnet. A fine metallic paste is normal; large shards or chunks indicate severe bearing or gear failure, requiring a full unit replacement rather than a clutch rebuild.
- Drop the Differential: Support the differential with a transmission jack. Remove the four propeller shaft flange bolts (12mm). Disconnect the rear driveshaft and secure it aside. Remove the differential mount bolts (typically 14mm or 17mm depending on the exact subframe year) and lower the unit.
- Bench Teardown: Secure the differential in a vise using soft jaws. Remove the rear PTO cover bolts in a crisscross pattern. Carefully tap the cover loose with a dead-blow hammer. Do not pry the mating surfaces with a screwdriver, as this will gouge the aluminum casing.
Step 2: Clutch Pack and Pump Inspection
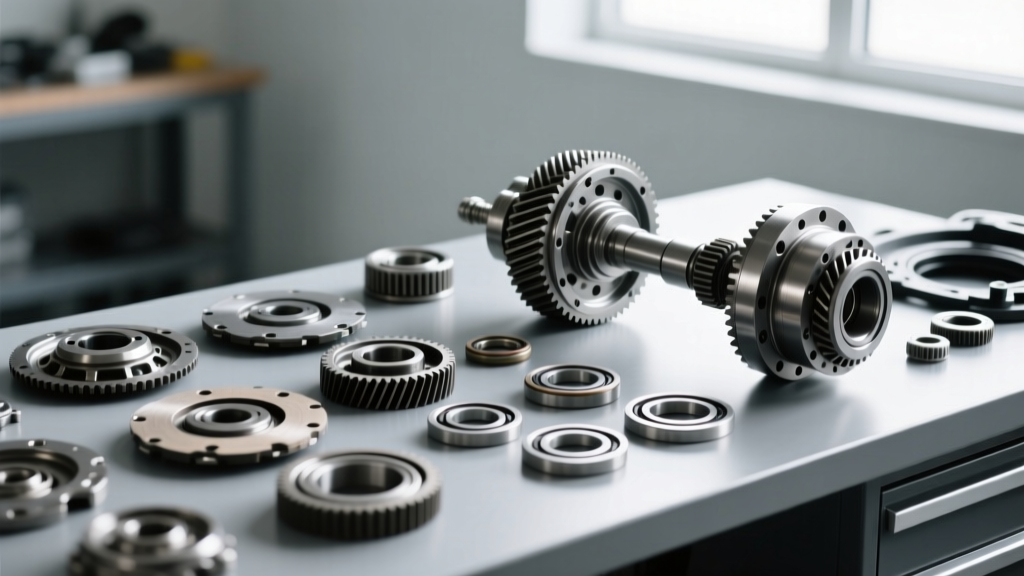
Once the rear cover is off, you will see the clutch drum and the dual gerotor pump assembly. Extract the clutch drum carefully. Disassemble the clutch pack, keeping the friction discs and steel separator plates in order.
Inspecting the Friction and Steel Plates
Measure the thickness of the friction discs. The Honda OEM specification for new friction material is typically around 0.071' (1.80mm). The service limit is 0.063' (1.60mm). If the friction material is flaking, deeply grooved, or burnt black, the plates must be replaced. Inspect the steel separator plates for bluing (heat damage) or deep scoring. If the steels are blued, they must be replaced alongside the frictions.
Inspecting the Gerotor Pumps
Remove the pump housing and inspect the inner and outer gerotor gears. Look for vertical scoring on the pump housing walls. Minor polishing is acceptable, but deep grooves that catch your fingernail indicate the pumps are bypassing fluid internally. If the pumps are scored, the clutch pack will not receive adequate hydraulic pressure, and the housing must be replaced.
Step 3: Reassembly and Shimming
Rebuilding the Honda CR-V rear differential requires precise clearance settings to ensure the clutch pack engages smoothly without dragging during normal FWD operation.
- Soak the Frictions: Submerge all new friction discs in clean Honda DPSF-II fluid for a minimum of 30 minutes prior to installation. Installing dry frictions will cause immediate burnout upon first engagement.
- Stack the Clutch Pack: Alternate steel and friction plates, starting and ending with a steel plate. Ensure all plates are seated fully into the splines of the clutch drum.
- Set the Clearance: Install the pressure plate and snap ring. Mount a dial indicator on the differential housing and zero it against the pressure plate. Push the plate inward and pull it outward to measure the total endplay (clutch pack clearance).
- Shim Selection: The target clutch pack clearance is 0.047' to 0.055' (1.20mm - 1.40mm). If the clearance is too tight, the clutch will drag, causing binding on dry pavement. If too loose, engagement will be delayed and harsh. Honda offers selective snap rings and shims to dial in this measurement perfectly.
Step 4: Reinstallation and the 'Figure-8' Bleed
Reinstall the rear cover using a new OEM gasket or high-quality RTV silicone (if applicable to your specific casing design). Torque the cover bolts to 12 lb-ft (16 Nm) in a star pattern. Reinstall the differential into the vehicle, torquing the mount bolts to 43 lb-ft (59 Nm) and the propeller shaft flange bolts to 16 lb-ft (22 Nm).
The Critical Fill and Bleed Procedure
The Dual Pump system is notorious for trapping air in the pilot valve and hydraulic lines. If you simply fill it and drive, the clutch will chatter violently. You must perform the Honda Figure-8 bleed procedure:
- Fill the differential with DPSF-II until it reaches the bottom of the fill hole threads. Install the fill plug with a new crush washer and torque to 29 lb-ft (39 Nm).
- Find a large, empty, paved area. Drive the vehicle in a continuous, tight figure-8 pattern at roughly 5-10 mph for 5 minutes. This forces the gerotor pumps to cycle and pushes air out of the clutch actuator circuit.
- Return to the shop, level the vehicle, and immediately remove the fill plug. The fluid level will have dropped as the air purged and the clutch pack absorbed fluid.
- Top off with DPSF-II until it weeps out of the hole. Reinstall the fill plug and torque to 29 lb-ft (39 Nm).
Specifications and Torque Data Table
| Component / Fastener | Specification / Torque | Notes |
|---|---|---|
| Drain Plug (17mm) | 29 lb-ft (39 Nm) | Always use new aluminum crush washer |
| Fill Plug (17mm) | 29 lb-ft (39 Nm) | Always use new aluminum crush washer |
| Propeller Shaft Flange Bolts | 16 lb-ft (22 Nm) | Apply blue threadlocker to threads |
| Differential Mount Bolts | 43 lb-ft (59 Nm) | Verify subframe bushing health |
| Clutch Pack Endplay | 0.047' - 0.055' | Measure with dial indicator |
| Fluid Capacity | 1.1 - 1.3 Quarts (~1.1L) | Varies slightly by exact model year |
Troubleshooting Post-Rebuild Issues
Even with a meticulous rebuild, issues can arise if the hydraulic circuit is compromised. Consult this diagnostic chart if symptoms persist after the figure-8 bleed procedure:
- Symptom: Chatter on tight turns immediately after rebuild.
Cause: Air trapped in the pilot valve, or frictions were not soaked in DPSF-II.
Fix: Perform three more figure-8 cycles. If chatter persists, drop and inspect for dry friction burn. - Symptom: Rear wheels bind and hop on dry pavement during turns.
Cause: Clutch pack clearance is too tight (below 0.047'), or the pilot valve is stuck in the applied position due to debris.
Fix: Teardown, clean the pilot valve bore with compressed air, and install a thicker selective snap ring to increase clearance. - Symptom: AWD never engages on slippery surfaces.
Cause: Gerotor pumps are worn and bypassing fluid, failing to generate the pressure delta required to move the pilot valve.
Fix: Replace the rear differential assembly or source a low-mileage pump housing.
For further community-driven troubleshooting and advanced teardown photography, the CR-V Owners Club forums remain an invaluable resource for Real Time AWD anomalies. By adhering strictly to Honda's clearance specifications and utilizing only OEM DPSF-II fluid, your rebuilt rear differential will easily surpass another 150,000 miles of reliable, seamless all-wheel-drive operation.