Why Modern AWD Systems Require an Automated Differential Test
As of 2026, the era of the simple "open" rear differential in daily-driven AWD vehicles is largely over. Modern crossovers and performance SUVs utilize active torque-vectoring units, electronic Limited Slip Differentials (eLSD), and complex Rear Drive Units (RDUs) like the GM Twinster or Ford EcoBoost RDU. These systems rely on internal hydraulic clutch packs and electronic solenoids to route torque laterally across the rear axle. Because of this complexity, a standard drain-and-fill is no longer sufficient on its own. Performing an automated differential test via a bi-directional OBD-II scan tool before and after a fluid service is now a critical step to verify clutch pack health, solenoid response, and internal temperature sensor calibration.
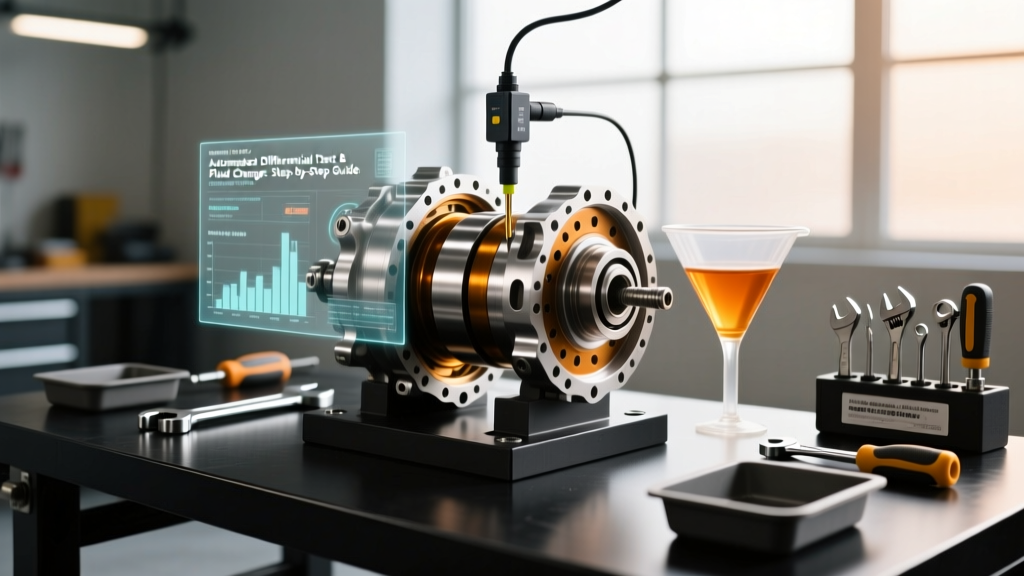
This step-by-step guide will walk you through executing the automated diagnostic test, selecting the correct fluid chemistry, and performing the physical fluid exchange with factory-accurate torque specifications.
Service Intervals and Fluid Specifications
Manufacturer "lifetime" fluid claims are a leading cause of premature clutch pack wear in torque-vectoring differentials. Severe service intervals (which include towing, track use, or frequent short-trip AWD engagement) should always dictate your maintenance schedule. Below is a reference table for popular modern AWD systems.
| Drivetrain System | Normal Interval | Severe Interval | Fluid Specification | Capacity |
|---|---|---|---|---|
| Ford 3.5L EcoBoost RDU | 150,000 mi | 60,000 mi | 75W-85 GL-5 Synthetic | 0.85L (28.7 oz) |
| GM 9.5" IRS (Twinster) | 97,500 mi | 45,000 mi | Dexron ULV ATF | 1.1L (37.2 oz) |
| Ram 1500 ZF 9.25" Rear | 100,000 mi | 50,000 mi | 75W-140 Synthetic | 2.25L (76 oz) |
It is vital to understand the chemical differences between these fluids. Standard hypoid gear oils (GL-5) contain high levels of sulfur-phosphorus extreme pressure (EP) additives, which are necessary for the sliding friction of ring and pinion gears but can degrade the organic friction materials in eLSD clutch packs if not specifically formulated for them. For a deep dive into gear oil chemistry, refer to the Red Line Oil 75W85 GL-5 Gear Oil Specifications, which detail the precise balance of EP additives and friction modifiers required for modern limited-slip applications.
Phase 1: Pre-Service Automated Differential Test
Before you put a wrench to the drain plug, you must establish a baseline of the differential's electronic and hydraulic health. This prevents you from misdiagnosing a pre-existing electronic failure as a fluid-related issue post-service.
Step 1: Connect and Access the Drivetrain Module
Connect a bi-directional scan tool (such as an Autel MaxiSys, Snap-on Zeus, or FORScan for Ford vehicles) to the OBD-II port. Navigate to the All-Wheel Drive (AWD) or Rear Drive Unit (RDU) control module. Ensure the vehicle is on a flat surface with the parking brake engaged and wheels chocked.
Step 2: Command Clutch Pack Actuation
Locate the "Active Tests" or "Bi-Directional Controls" menu. Select the automated differential test routine, often labeled as RDU Clutch Duty Cycle Test or eLSD Solenoid Actuation. Command the clutch pack pressure from 0% to 100% in increments. Listen for the internal solenoid to click and engage smoothly without grinding or binding noises.
Step 3: Monitor Temperature and Pressure PIDs
While running the automated test, monitor the live data PIDs. You are looking specifically at:
- RDU_Oil_Temp: Should read within 5°F of ambient temperature if the vehicle has been sitting. If it reads -40°F or 300°F instantly, the internal thermistor is faulty and requires a harness or internal differential repair.
- Clutch_Pressure_Sensor: Should spike linearly in response to your duty cycle commands. A delayed pressure drop indicates a sticking solenoid or heavily degraded, sludge-filled fluid.
Phase 2: The Physical Fluid Exchange
Once the automated differential test confirms the electronic components are functional, proceed with the physical drain and fill.
Step 1: Vehicle Prep and Extraction
Raise the vehicle on a lift or secure jack stands, ensuring the chassis is perfectly level. A tilted vehicle will result in an under-filled or over-filled differential, leading to gear whine or clutch starvation. Remove the fill plug first. If the fill plug is seized or stripped, you do not want to drain the fluid and leave the vehicle stranded.
Step 2: Draining and Debris Analysis
Place a catch pan beneath the differential and remove the drain plug. Allow the fluid to drain completely for at least 30 minutes. Modern differentials often feature a magnetic drain plug. Inspect the magnet carefully:
- Normal: A fine, dark grey metallic paste is normal gear and clutch wear.
- Warning: Small, distinct metallic flakes indicate ring and pinion gear spalling or bearing cage degradation.
- Critical: Large chunks of metal or brass-colored shavings (from synchronizer rings or clutch basket wear) require a full differential teardown and rebuild.
Step 3: Refilling to Exact Specifications
Using a pneumatic or hand-pump fluid transfer tool, pump the new fluid into the fill hole. For systems like the Ford RDU, the exact capacity is 0.85L. Pump in 0.8L, then slowly add the remainder until the fluid is level with the bottom of the fill plug threads. Install the new crush washer or O-ring on the plugs.
Step 4: Torque Specifications
Over-torquing differential plugs can crack the aluminum housings common in modern IRS (Independent Rear Suspension) setups. Use a calibrated 3/8" drive torque wrench.
- Ford 3.5L EcoBoost RDU: 24 lb-ft (32 Nm) for both drain and fill plugs.
- GM 9.5" Twinster IRS: 25 lb-ft (34 Nm) for the fill plug; 18 lb-ft (25 Nm) for the lower drain plug.
- Ram 1500 ZF 9.25" Rear: 30 lb-ft (41 Nm) for both plugs.
Phase 3: Post-Service Calibration and Reset
After the physical service is complete, the job is not done. You must perform a post-service automated differential test to ensure the new fluid is circulating and the hydraulic pressure is stable.
Expert Warning: Never flush an electronic torque-vectoring differential with pressurized shop equipment. Always use the gravity drain and manual fill method to prevent seal damage, internal sensor displacement, and clutch pack contamination from dislodged debris.
Step 1: Re-Run the Automated Test
With the vehicle safely raised and wheels off the ground (or on a low-speed chassis dyno), re-run the automated differential test via your scan tool. Command the clutches to 50% duty cycle. Monitor the RDU_Oil_Temp PID; it should begin to rise slightly as the new fluid shears and the clutch packs generate friction. Verify that the pressure sensor responds instantly without the delays noted during the pre-service test.
Step 2: Reset the Fluid Life Monitor
Access the "Special Functions" or "Maintenance" menu in your scan tool and select Reset Differential Fluid Life. Failing to do this will cause the vehicle's DIC (Driver Information Center) to display a false "Service AWD System" warning within a few hundred miles.
Real-World Cost and Tool Breakdown
Performing this service at a dealership often results in a bill between $250 and $400, largely due to the mandatory scan tool integration and "lifetime" fluid upcharges. Doing it yourself yields significant savings while allowing for superior fluid choices.
- Synthetic Gear Oil (e.g., AMSOIL or Red Line): $25 - $45 per bottle. Refer to the AMSOIL Severe Gear Synthetic Gear Lube Tech Guide for shear-stability data on heavy-duty applications.
- OEM Crush Washers / O-Rings: $5 - $12.
- Fluid Transfer Pump: $15 - $30 (essential for reaching upward-facing fill plugs on IRS setups).
- Scan Tool Access: If you do not own a bi-directional scanner, purchasing a FORScan OBD-II adapter ($50) or renting shop time with an Autel tablet ($75/hr) is a worthy investment for the automated differential test.
By combining the physical precision of a measured fluid exchange with the electronic verification of an automated differential test, you ensure the longevity of your vehicle's torque-vectoring hardware and maintain optimal AWD traction in all conditions.