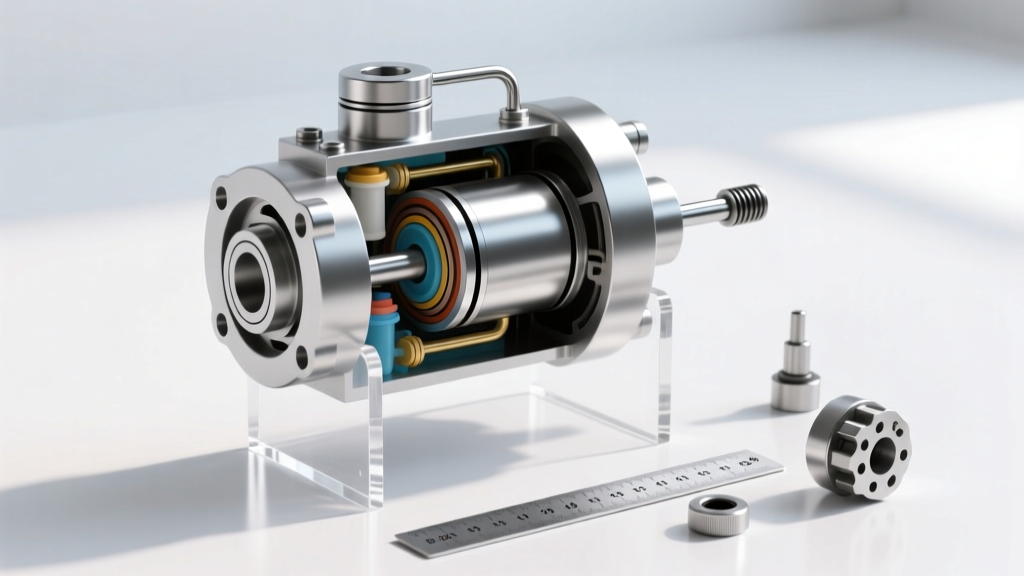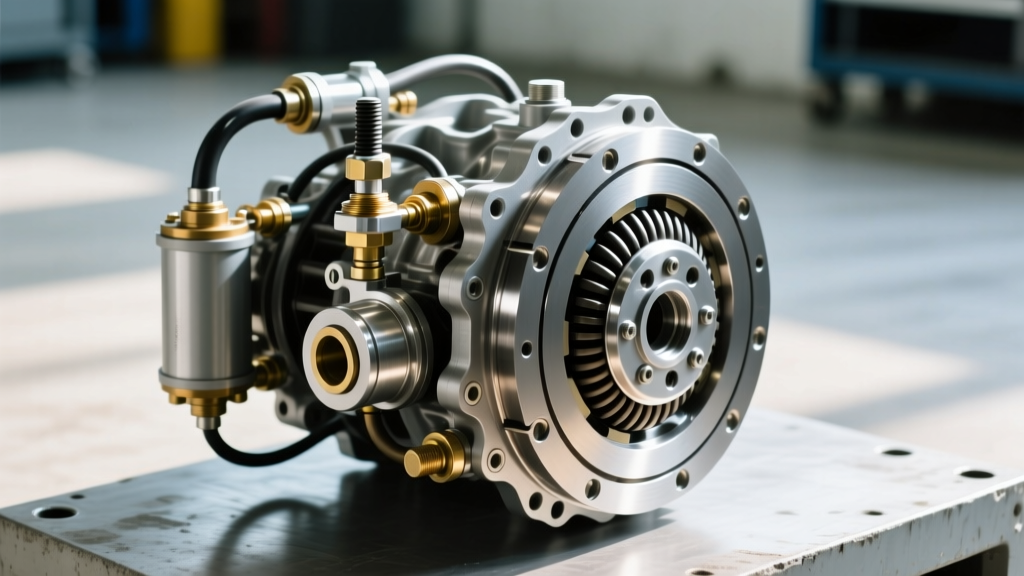
Building a dedicated track car in 2026 means dealing with immense torque and aggressive drivetrain components. Whether you are swapping a Tremec T56 Magnum into a classic muscle car, maintaining a track-prepped Porsche 911 GT3, or tuning an Xtrac sequential gearbox for time attack, your clutch hydraulic system is the unsung hero of your shift quality. In high-performance applications, a spongy pedal or delayed engagement can result in missed shifts, over-revving, and catastrophic engine failure. The secret to a crisp, predictable pedal feel lies in eliminating compressible air from the system, which is exactly where a high-quality hydraulic clutch bleeder becomes your most valuable pit-lane tool.
The Physics of Performance Clutch Hydraulics
Daily driver vehicles utilize soft, self-adjusting hydraulic systems designed for comfort and longevity. Performance vehicles, however, require high line pressure to actuate heavy-duty multi-disc carbon or ceramic clutch assemblies. This is achieved by manipulating the hydraulic ratio—the relationship between the master cylinder bore and the slave cylinder bore.
For example, pairing a Tilton Engineering 78-Series 7/8-inch bore master cylinder (PN 78-100-78) with a Wilwood 0.75-inch bore slave cylinder creates a highly responsive, stiff pedal setup capable of generating over 1,200 PSI of line pressure. At these pressures, even a microscopic air bubble trapped in the slave cylinder or the hydraulic lines will compress under load, absorbing pedal travel and resulting in a 'spongy' or 'dead' clutch pedal. Because air is a gas and brake fluid is a liquid, the air will compress before the fluid can transfer the necessary force to the clutch fork.
Core Components of a Track-Ready System
Before you can effectively bleed the system, you must understand the hardware bolted to your firewall and transmission bellhousing. A proper performance setup consists of:
- Master Cylinder: Typically an aluminum-bodied, top-feed or remote-reservoir unit. Remote reservoirs are preferred in track cars to prevent fluid starvation during high-G cornering.
- Hydraulic Lines: OE rubber lines expand under high pressure. Performance builds mandate AN-3 braided stainless steel lines with Kevlar inner cores to prevent volumetric expansion.
- Slave Cylinder: Push-type or pull-type actuators. Pull-type slaves (common in Porsche G50 and Audi transaxles) often feature integrated bleed screws positioned at the highest point of the fluid chamber.
- The Bleeder Valve: The critical exit point for air. Upgrading from a standard OEM bleeder screw to a Russell Performance Speed Bleeder (PN 639500) introduces a one-way check valve, preventing air from being sucked back into the system when the pedal is released.
Choosing the Right Hydraulic Clutch Bleeder Tool
Not all bleeding methods are created equal, especially when dealing with complex routing, inverted slave cylinders, or remote reservoirs. Selecting the correct hydraulic clutch bleeder tool depends on your budget, garage setup, and the specific geometry of your drivetrain.
| Bleeder Tool Type | Estimated Cost (2026) | Pros | Cons | Best Application |
|---|---|---|---|---|
| Manual Two-Person Pump | $0 - $15 | Cheap, requires no special equipment. | High risk of air ingestion; requires a helper. | Basic street cars, emergency trackside fixes. |
| Motive Pressure Bleeder | $60 - $90 | Forces fluid from master to slave; excellent for dry systems. | Can leak at the master cap if not sealed perfectly. | Initial system fills, firewall-mounted masters. |
| Mityvac Vacuum Bleeder | $45 - $80 | One-person operation; pulls air out from the slave. | Can pull false air past bleeder screw threads. | Transmission-mounted slaves, inverted setups. |
| Speed Bleeder Valves | $15 - $25 per valve | Integrated check valve allows solo manual bleeding. | Check valve can clog with degraded rubber particles. | Track cars requiring frequent fluid flushes. |
Step-by-Step Bleeding Guide for High-Pressure Setups
When preparing for the 2026 track season, sanctioning bodies like NASA and SCCA are strictly enforcing safety and mechanical soundness. A properly bled clutch is non-negotiable. Follow this procedure for a bulletproof bleed.
Step 1: Fluid Selection and Preparation
Never use standard DOT 3 fluid in a performance application. The heat generated by the transmission and exhaust will boil the fluid, creating gas. We recommend Motul RBF 660 (PN 101668), which boasts a dry boiling point of 617°F (325°C) and a wet boiling point of 399°F (204°C). Ensure your master cylinder reservoir is filled to the MAX line and keep it topped off throughout the process to prevent vortexing, which sucks air into the master.
Step 2: Bench Bleeding the Master Cylinder
If you have installed a new master cylinder, you must bench bleed it first. Secure the cylinder in a vise, fill the reservoir, and attach a clear recirculation tube from the outlet port back into the reservoir. Pump the piston slowly with a blunt punch until no bubbles are visible in the clear tube. This prevents you from pushing a massive air pocket through your brand-new AN-3 lines.
Step 3: Line Routing and Torque Specifications
Route your braided lines away from exhaust headers and sharp chassis edges. When tightening AN-3 fittings, precision is key to avoiding stripped threads or crushed flares. According to Wilwood engineering guidelines, the proper torque spec for an AN-3 aluminum fitting mating to an aluminum port is 12 to 15 ft-lbs. If mating steel to aluminum, you can safely increase this to 15 to 18 ft-lbs. Always use a crowfoot wrench on a calibrated torque wrench to achieve accurate readings.
Step 4: The Push-Pull Bleeding Method
For track cars with remote slaves mounted low on the transmission bellhousing, gravity bleeding will not work. Air naturally rises, and the slave cylinder is often the lowest point in the system. Attach your vacuum bleeder to the slave's hydraulic clutch bleeder nipple. Crack the nipple open exactly 1/4 turn. Have a helper press the clutch pedal to the floor and hold it. Apply vacuum to pull the fluid and air up into the slave, then close the nipple before the helper releases the pedal. Repeat this 15 to 20 times, or until the fluid exiting the bleeder is completely free of micro-bubbles and has a consistent, dark amber hue.
Fluid Dynamics and Heat Soak in Modern Track Cars
One of the most common reasons a perfectly bled clutch system fails mid-session is heat soak. In tight engine bays—especially in Coyote-swapped Foxbodies or rear-mid-engine platforms—the clutch master cylinder or hydraulic lines are often routed inches from the exhaust manifold. When brake or clutch fluid exceeds its wet boiling point, it undergoes a phase change from liquid to gas. No hydraulic clutch bleeder tool can fix vapor lock. To combat this, use fire-sleeve wrapping on all AN-3 lines and install a thermal barrier mat between the firewall and the exhaust. Additionally, avoid sharing the brake master cylinder reservoir with the clutch system; a boiling clutch fluid can cross-contaminate and compromise your primary braking system.
Expert Track Tip: Always install a positive pedal stop on your firewall or clutch master pushrod. Over-traveling the clutch pedal by even 0.100 inches past the point of clutch disengagement forces the slave cylinder piston to over-extend, which can uncover internal bypass ports or push the piston out of its bore entirely, instantly introducing air into the system and ruining your bleed.
Common Beginner Mistakes and Troubleshooting
Even with the best tools, beginners often encounter a pedal that refuses to firm up. Here is how to diagnose the most frequent issues:
- False Air from Damaged Threads: If using a vacuum bleeder, the vacuum can pull air past the exterior threads of the bleeder screw, making it look like air is in the fluid. Fix: Wrap the bleeder screw threads in a single layer of Teflon tape (ensuring the tape does not block the internal fluid orifice) or switch to a pressure bleeder.
- Master Cylinder Bypassing: If the pedal feels firm initially but slowly sinks to the floor while holding it down, the internal cup seals in the master cylinder are worn or damaged, allowing fluid to bypass internally. Fix: Rebuild or replace the master cylinder; bleeding will not fix internal bypass.
- Clutch Fork Travel Mismatch: A Tremec T56 Magnum requires exactly 0.450 to 0.500 inches of clutch fork travel for proper disengagement. If your hydraulic ratio is incorrect and only provides 0.300 inches of travel, the clutch will drag, mimicking the symptoms of air in the lines. Fix: Measure fork travel with a dial indicator and adjust your master/slave bore sizes accordingly.
Final Thoughts for the 2026 Season
Mastering the use of a hydraulic clutch bleeder is a fundamental rite of passage for any amateur mechanic or track-day enthusiast transitioning into serious performance builds. By investing in high-quality hardware like Tilton masters and Wilwood slaves, utilizing premium high-temperature fluids, and employing a methodical, data-driven bleeding strategy, you guarantee that your drivetrain will perform flawlessly when the green flag drops. Remember that maintenance is an ongoing process; flush your clutch fluid at least twice per racing season to maintain peak hydraulic integrity and protect your expensive transmission from mis-shifts.