Understanding the Toyota VF4B Lockable Center Differential
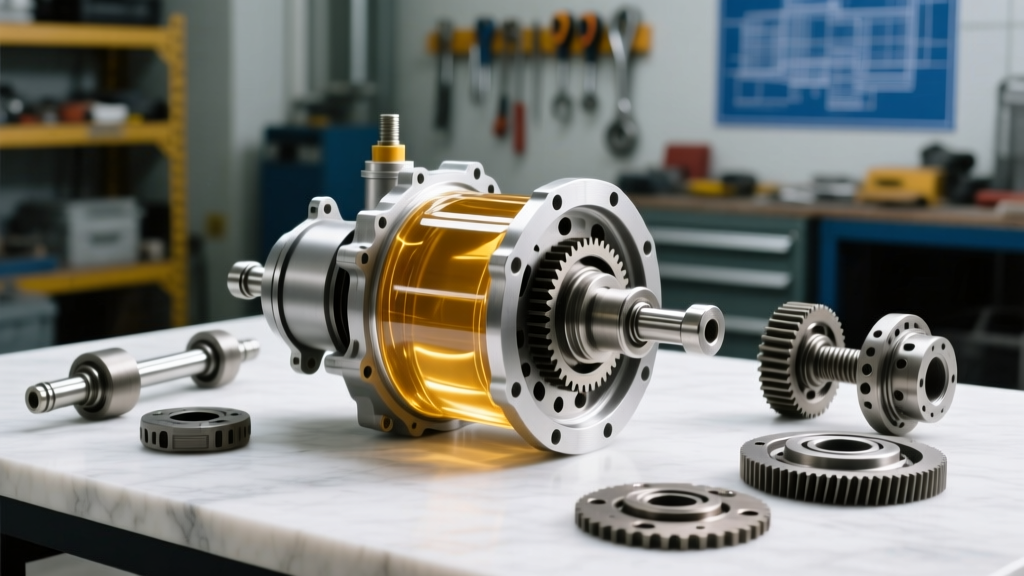
Toyota’s legendary full-time 4WD systems, found in the 4Runner, Land Cruiser Prado, and FJ Cruiser, rely heavily on the VF4B and VF4BM transfer cases. At the heart of this system is a highly sophisticated lockable center differential that utilizes a Torsen-style limited-slip gearset combined with an electromagnetic locking sleeve. As these vehicles age and accumulate high mileage, heat cycles, off-road articulation, and environmental exposure inevitably degrade the sealing surfaces. In 2026, with many of these platforms now well past their powertrain warranties, mastering differential leak detection and repair is a critical skill for DIY mechanics and professional technicians alike.
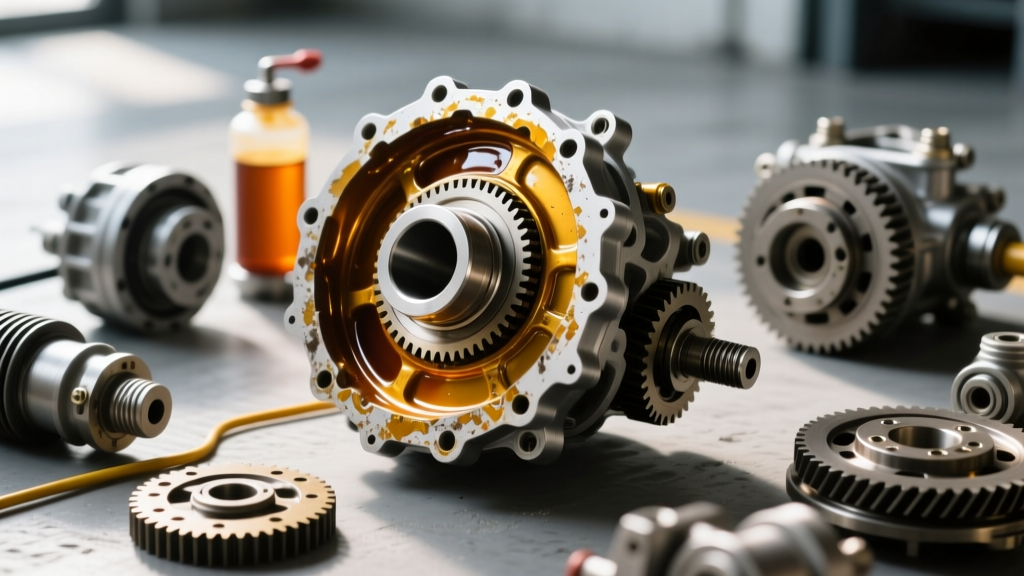
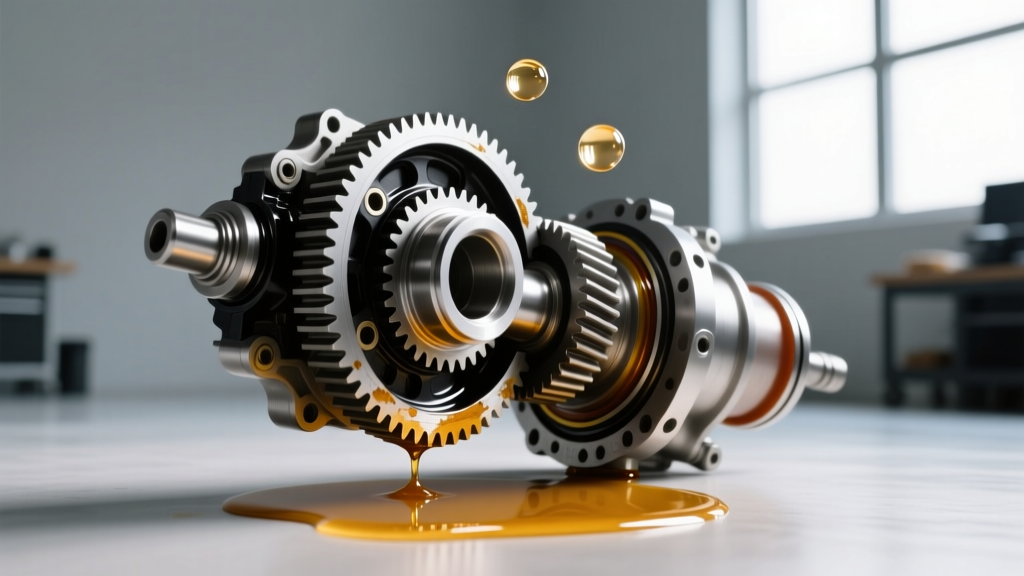
A leaking center differential is not just a messy nuisance; it is a direct threat to the internal Torsen gears and the electronic locking actuator. Running the transfer case low on fluid will cause catastrophic gear galling and clutch pack failure. This model-specific guide will walk you through pinpointing the exact source of your leak, sourcing the correct OEM components, and executing a factory-spec repair.
Pinpointing the Leak: Diagnostic Flowchart
Before unbolting a single driveshaft, you must accurately identify the leak's origin. The transfer case interfaces with the transmission at the front and the rear driveshaft at the back, making misdiagnosis common. Use the following diagnostic checklist to isolate the failure point:
- Front Input Seal Leak: Fluid gathers in the bell housing inspection cover or drips from the weep hole located between the transmission output and transfer case input. Requires transfer case removal to fix.
- Rear Output Shaft Seal Leak: Fluid slings radially from the rear yoke, coating the driveshaft and rear crossmember. This is the most common failure point and can be repaired with the transfer case in the vehicle.
- Center Diff Lock Actuator Leak: Fluid seeps from the top/side-mounted electronic actuator motor. Often accompanied by a flashing center diff lock light on the dashboard due to internal electrical shorting.
- Case Mating Surface Leak: Seepage along the aluminum seam where the rear extension housing bolts to the main transfer case body. Usually caused by degraded FIPG (Form-In-Place Gasket) sealant.
Pro Tip: If the leak is ambiguous, clean the entire transfer case housing with brake cleaner, dry it thoroughly, and add a UV fluorescent dye to the gear oil. Drive the vehicle for 20 miles and inspect with a UV flashlight. For deeper community troubleshooting, the archives at IH8MUD remain the gold standard for Toyota drivetrain diagnostics.
Common Failure Points and Edge Cases
The Rear Output Shaft Seal
The rear output seal (Toyota Part # 90311-47028) endures immense stress. Driveline harmonics, worn U-joints, and slight imbalances in the rear driveshaft cause the yoke to wobble, wearing an oval into the seal lip. Furthermore, if the transfer case breather valve on top of the unit becomes clogged with mud or dust, internal pressure builds as the gear oil heats up. This pressure will forcefully blow fluid past the weakest seal—usually the rear output.
The Actuator Motor O-Ring Catastrophe
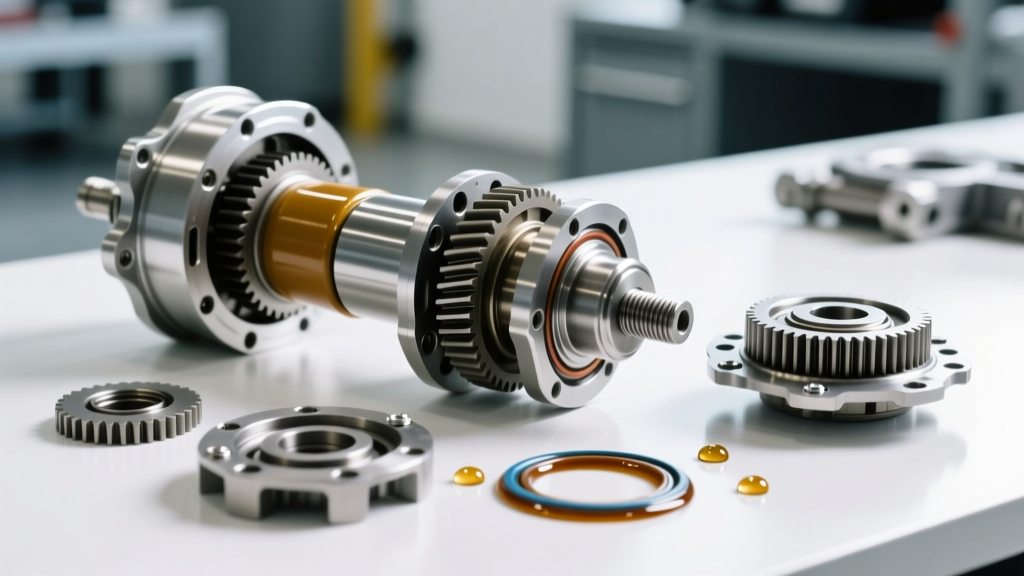
The electromagnetic locker actuator is sealed to the transfer case housing via a large rubber O-ring. Over a decade of thermal expansion and contraction, this O-ring flattens and cracks. When water crosses a deep puddle, it bypasses the failed O-ring and pools inside the actuator motor. This corrodes the internal PCB and shorts the locking mechanism. Replacing a $12 O-ring during a leak repair prevents a $650+ actuator motor replacement down the line.
Essential Parts, Fluids, and Torque Specifications
Using the correct fluid is paramount. The VF4B requires a specific GL-5 gear oil to protect the hypoid gears while remaining compatible with the electromagnetic clutch friction materials. While 75W-90 is often cited as a universal substitute, Toyota's factory 75W-85 provides optimal shift feel and clutch engagement in cold climates. Consult the Toyota Technical Information System (TIS) for your specific VIN's factory service manual.
| Component / Specification | OEM Part Number / Spec | Torque / Capacity | Est. Cost (2026) |
|---|---|---|---|
| Gear Oil (GL-5) | 08885-81080 (75W-85) | 1.4 Liters (1.48 Qt) | $18 - $25 / Qt |
| Rear Output Shaft Seal | 90311-47028 | N/A | $14 - $22 |
| Actuator Motor O-Ring | 90301-58001 | N/A | $8 - $12 |
| Drain / Fill Plug Gaskets | 12157-10010 (Crush Washers) | 39 Nm (29 ft-lbs) | $3 / pair |
| Rear Driveshaft Flange Bolts | 90119-10933 | 74 Nm (55 ft-lbs) | $4 each |
Step-by-Step Rear Output Seal Replacement
Replacing the rear output seal is a straightforward job that requires basic hand tools, a seal puller, and a proper seal driver. Never hammer a new seal directly with a steel hammer, as this can deform the outer casing and ruin the seal before installation.
- Drain the Fluid: Place a drain pan beneath the transfer case. Remove the 24mm drain plug and allow the 75W-85 fluid to drain completely. Inspect the magnetic plug for excessive metallic fuzz (a fine paste is normal; large shards indicate internal Torsen gear failure).
- Remove the Driveshaft: Mark the rear driveshaft flange and the transfer case yoke with a paint pen to ensure perfect re-alignment. Remove the four 14mm flange bolts (Torque spec: 74 Nm). Support the driveshaft and slide it rearward to disengage the splines.
- Extract the Old Seal: Use a dedicated seal puller or a small pry bar wrapped in electrical tape to prevent scoring the aluminum housing. Carefully lever the old seal out. Inspect the yoke sealing surface for deep grooves; if a groove is present, install a Toyota Speedi-Sleeve to provide a fresh sealing surface.
- Install the New Seal: Coat the outer edge of the new seal with a thin layer of RTV silicone and the inner rubber lip with fresh 75W-85 gear oil. Use a seal driver that matches the outer diameter of the seal to press it in perfectly square until it seats flush with the housing.
- Reassemble: Slide the driveshaft back into the yoke, aligning your paint marks. Install new flange bolts and torque to 74 Nm (55 ft-lbs).
Servicing the Center Diff Lock Actuator O-Ring
If your leak is originating from the top of the transfer case, you must service the actuator O-ring. Disconnect the negative battery terminal before beginning. Unplug the electrical connector from the actuator motor. Remove the four 12mm mounting bolts securing the motor to the transfer case housing. Gently twist and pull the motor assembly outward. You will find the large rubber O-ring seated in a groove on the transfer case housing. Pick out the old, brittle O-ring, clean the groove with brake cleaner, and lubricate the new O-ring with dielectric grease or fresh gear oil before pressing it into place. Reinstall the motor and torque the bolts to 12 Nm (9 ft-lbs) in a crisscross pattern.
The Critical Refill and Locker Cycling Procedure
Refilling the VF4B transfer case requires precision. The fill hole is located on the side of the rear extension housing. Using a fluid pump, inject the Toyota 75W-85 GL-5 gear oil until it begins to weep out of the fill hole. For most applications, this takes exactly 1.4 liters. Install the fill plug with a new aluminum crush washer and torque to 39 Nm (29 ft-lbs).
Crucial Final Step: Because the lockable center differential contains a complex internal clutch pack and Torsen gearset, air pockets can become trapped. Start the vehicle, place the transmission in neutral, and engage the center differential lock switch on the dashboard. Drive the vehicle in a safe, flat area and perform a series of slow, tight figure-eight turns while the locker is engaged and disengaged. This cycles the internal mechanisms and forces fluid into all the deep crevices of the locking sleeve. Re-check the fluid level the next morning when the case is cold, topping off if necessary.
For extensive discussions on long-term gear oil analysis and shear stability in Toyota transfer cases, the tribology experts at Bob Is The Oil Guy offer incredible used oil analysis (UOA) data that can help you determine the optimal drain interval for your specific driving conditions.