Understanding Torsen Architecture Before Teardown
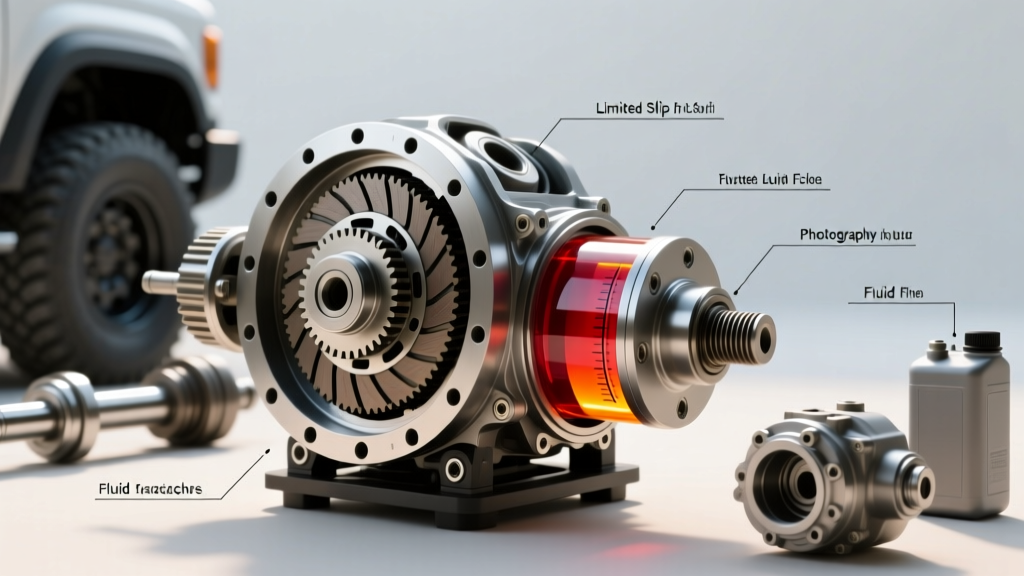
The Torsen (Torque Sensing) differential remains one of the most elegant mechanical traction solutions in automotive history. Unlike clutch-type limited-slip differentials (LSDs) that rely on wear-prone friction discs, a Torsen differential utilizes complex gear binding to multiply torque to the wheel with traction. As of 2026, aftermarket support for the original Type 1 (T1) Invex worm-gear designs has largely dwindled, making the Type 2 (T2) and T2R helical-planetary variants—commonly found in the Ford 8.8, Subaru R180, and Toyota GR86 platforms—the primary focus for modern drivetrain specialists.
Rebuilding a Torsen unit is not about replacing clutch packs; it is about restoring precise gear clearances, replacing thrust washers, and ensuring the ring and pinion setup meets exacting tolerances. This step-by-step guide will walk you through the complete differential rebuild procedures for a Torsen differential, focusing on the widely serviced Ford 8.8 T2R and Subaru R180 applications.
Specialty Tools and Materials Required
Before unbolting the differential cover, gather the necessary precision tools. Guessing clearances will destroy a Torsen unit under high-load cornering.
- Dial Indicator & Magnetic Base: Resolution of 0.001-inch for backlash and runout measurement.
- Bearing Spreader Tool: Essential for Ford 8.8 applications to avoid snapping the cast-iron housing when removing or installing carrier bearings.
- Feeler Gauge Set: For measuring internal side-gear to pinion-gear clearance.
- Torque Wrenches: Both 1/2-inch drive (ft-lbs) and 1/4-inch drive (in-lbs) for pinion preload setup.
- Consumables: Loctite 242 (Blue) or 271 (Red) depending on OEM ring gear bolt specifications, high-temp RTV silicone, and synthetic GL-5 75W-90 gear oil (e.g., Motul Gear 300 or Amsoil Severe Gear).
Step 1: Safe Teardown and Component Marking
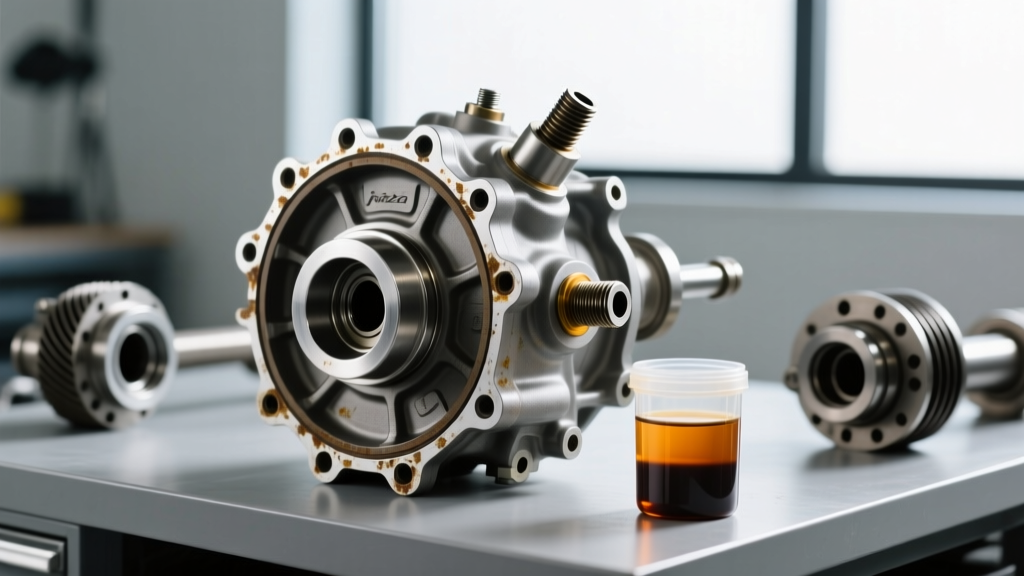
Begin by draining the differential fluid and inspecting it for metallic glitter. Fine bronze-colored dust is normal wear from thrust washers, but chunky steel particles indicate catastrophic gear failure.
- Mark the Bearing Caps: Use a brass punch to mark the left and right bearing caps and their corresponding sides. Bearing caps are line-bored with the housing and are not interchangeable.
- Remove the Carrier: Loosen the bearing cap bolts (typically 70-85 lb-ft spec). Use a bearing spreader tool to gently flex the housing outward. Never pry between the housing and the carrier with a screwdriver, as this will score the bearing seating surfaces and ruin the housing.
- Extract the Ring Gear: If the ring gear bolts were secured with Red Loctite from a previous rebuild, apply localized heat (around 250°F) with a heat gun to break the bond before unscrewing them. Press the ring gear off the carrier using a hydraulic press, supporting the carrier evenly.
Step 2: Evaluating Internal T1 vs. T2 Wear
Once the carrier is on the bench, the internal rebuild procedures diverge based on your specific Torsen model.
Inspecting the T2 / T2R (Helical Planetary)
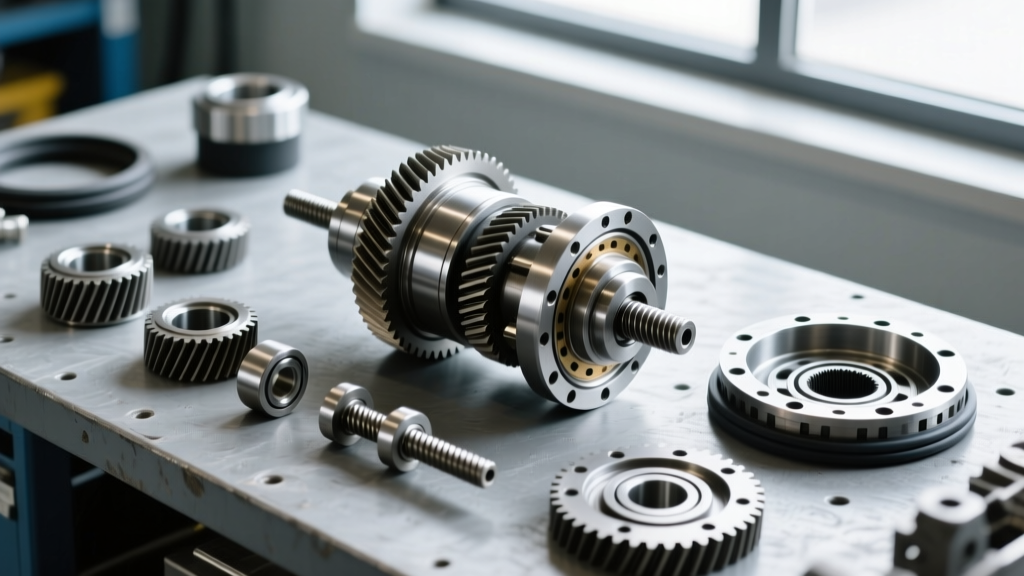
The T2 uses helical side gears and pinion gears. Remove the cross-pin shafts and slide out the pinion gears. Inspect the helical teeth for pitting, spalling, or stepped wear on the leading edges. The most common failure point in a high-mileage T2 is the side-gear thrust washer. These washers sit behind the side gears and press against the housing. If they are worn thin, the side gears will walk outward under load, causing the helical gears to bind or strip. Measure the thickness of the old washers and replace them with selective-thickness shims to restore factory clearance.
Inspecting the T1 (Invex Worm Gear)
Though rare in 2026, if you are servicing a vintage Audi or Hummer H1 T1 unit, you will be dealing with worm gears and element gears. Inspect the Invex gear profiles for galling. The T1 relies on specific friction washers at the ends of the element gears to generate the torque bias ratio (TBR). These washers must be replaced with OEM-spec friction material during any teardown; reusing them will reduce the TBR to that of an open differential.
Expert Insight: Never attempt to hone or polish the internal gear bores of the Torsen carrier housing. The surface finish is engineered to retain a microscopic oil film. Polishing it to a mirror finish will cause the side gears to gall and seize under high-torque loads.
Step 3: Measuring Internal Clearances
Before reassembling the internal gears, you must verify the side-gear to pinion-gear clearance. This is the most critical measurement in a Torsen differential rebuild.
| Measurement Parameter | Ford 8.8 T2R Spec | Subaru R180 T2 Spec | Tool Required |
|---|---|---|---|
| Side Gear to Pinion Clearance | 0.002' - 0.006' | 0.003' - 0.007' | Feeler Gauge via Axle Hole |
| Ring Gear Backlash | 0.005' - 0.009' | 0.005' - 0.008' | Dial Indicator |
| Ring Gear Runout | Max 0.002' | Max 0.002' | Dial Indicator |
| Pinion Bearing Preload | 15 - 30 in-lbs | 18 - 28 in-lbs | In-lb Torque Wrench |
To measure the internal clearance, insert a feeler gauge through the axle shaft access hole in the carrier housing and slide it between the side gear and the pinion gear. If the clearance exceeds 0.008 inches, you must install thicker selective thrust washers behind the side gears. Refer to the Ford Performance Parts catalog for specific shim part numbers and thicknesses.
Step 4: Reassembly and Backlash Setup
With the internal components verified and lubricated with assembly lube, reassemble the cross-pins and secure them with the factory roll pins. Next, mount the ring gear to the carrier.
- Ring Gear Mounting: Clean the mating surfaces with brake cleaner. Apply a drop of Loctite 242 to the ring gear bolts. Torque them in a crisscross pattern to the OEM specification (typically 85-105 lb-ft for the Ford 8.8).
- Pressing Bearings: Press the new carrier bearings onto the carrier using a bearing driver that only contacts the inner race. Never press on the outer race or cage.
- Setting Backlash: Install the carrier back into the housing using the spreader tool. Install the bearing caps and torque to 70-85 lb-ft. Mount your dial indicator perpendicular to a ring gear tooth. Rotate the ring gear back and forth while holding the pinion flange stationary. Adjust the side bearing shims (or adjuster nuts on aluminum housings) until you achieve 0.005 to 0.009 inches of backlash.
- Checking Runout: Move the dial indicator to the back face of the ring gear and rotate the carrier a full 360 degrees. Runout must not exceed 0.002 inches. If it does, remove the ring gear, clean the mating surface, and remount it, ensuring no debris is trapped between the gear and the carrier.
Step 5: The Fluid Myth and Final Fill
The most common mistake made by amateur mechanics during a Torsen differential rebuild is the addition of a limited-slip friction modifier. Do not use friction modifiers in a Torsen differential.
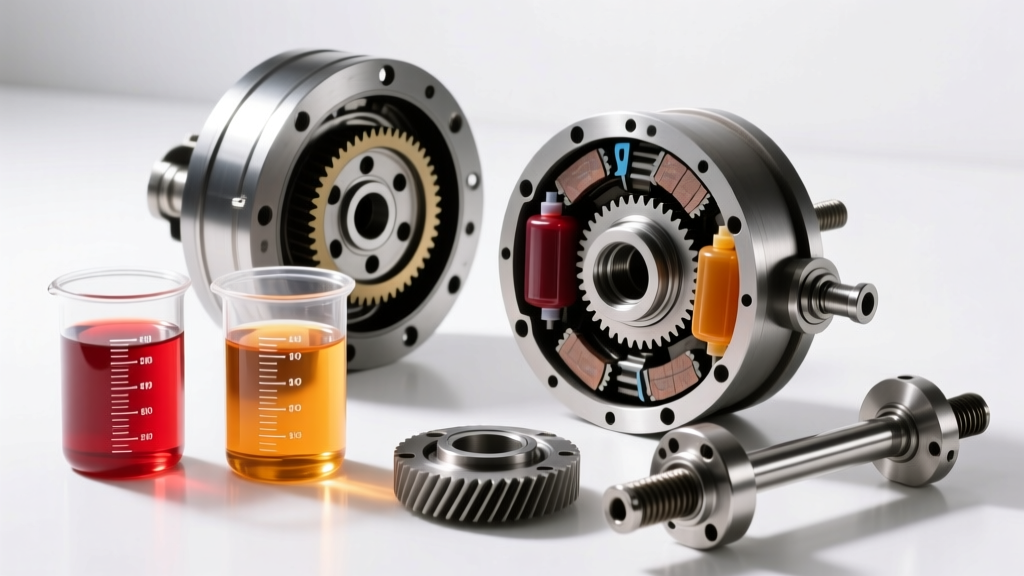
Clutch-type LSDs (like the Ford Trac-Lok or Eaton Positraction) require modifiers to prevent clutch chatter. However, a Torsen differential relies entirely on the mechanical binding friction of steel-on-steel helical or worm gears to generate its Torque Bias Ratio (TBR). Adding a friction modifier to the gear oil will artificially lower the coefficient of friction inside the unit, effectively reducing the TBR and causing the differential to behave more like an open unit under heavy load.
Fill the differential with a high-quality, GL-5 rated 75W-90 synthetic gear oil. According to JTEKT Torsen's official technical documentation, standard GL-5 gear oils contain the necessary extreme pressure (EP) additives to protect the hypoid ring and pinion gears without interfering with the Torsen's internal torque-sensing mechanics. Fill until the fluid level is even with the bottom of the fill hole (typically 2.5 to 3.0 pints for a standard Ford 8.8).
Step 6: Break-In and Post-Service Inspection
Because you have installed a new ring and pinion gear set alongside the rebuilt Torsen carrier, a proper break-in procedure is mandatory to prevent overheating and gear scoring.
- Drive the vehicle conservatively for the first 50 miles, keeping speeds under 50 mph and avoiding heavy throttle inputs.
- Allow the differential to cool completely (preferably overnight).
- Repeat this cycle for the first 200 miles.
- For severe-duty or track applications, drain and refill the differential fluid after the first 500 miles to remove the initial break-in metallic particulates from the gear oil.
Common Rebuild Mistakes to Avoid
Even seasoned mechanics can stumble when servicing a Torsen differential. Avoid these critical errors:
- Reusing Ring Gear Bolts: These are high-stress, torque-to-yield fasteners in many modern applications. Always replace them to prevent the ring gear from shearing off the carrier under hard launch conditions.
- Ignoring Pinion Depth: If you are replacing the ring and pinion during this rebuild, remember that pinion depth must be set using the manufacturer's setup shims before installing the carrier. A pinion that is even 0.003 inches too deep will result in a high-contact pattern on the ring gear tooth, leading to whining and premature failure.
- Using the Wrong Bearing Spreader: Using a pry bar on a Ford 8.8 or Subaru R180 housing will almost certainly cause micro-fractures in the cast iron or aluminum, leading to housing flex, gear misalignment, and catastrophic failure under torque.
For further technical specifications, cross-reference your specific axle housing with the setup guides available at Ring & Pinion Service Inc. to ensure your pinion depth and bearing preload settings match your exact gear manufacturer's requirements. Mastering these procedures ensures your Torsen differential will provide seamless, mechanical torque vectoring for years to come.