Understanding the Mazda CX-5 AWD Drivetrain Layout
Before grabbing your tools, it is critical to understand that the Mazda CX-5 AWD system does not use a traditional front differential. Instead, it utilizes a Power Transfer Unit (PTU) bolted directly to the front transaxle, which sends torque via a carbon-fiber driveshaft to the rear differential. Front-wheel-drive (FWD) CX-5 models lack a rear differential entirely. Therefore, this model-specific repair guide focuses exclusively on the AWD rear differential and the front PTU. When planning your Mazda CX-5 differential fluid change, addressing both units simultaneously is the best practice for preserving the AWD coupling and hypoid gear sets.
Diagnosing Differential Leaks on the CX-5
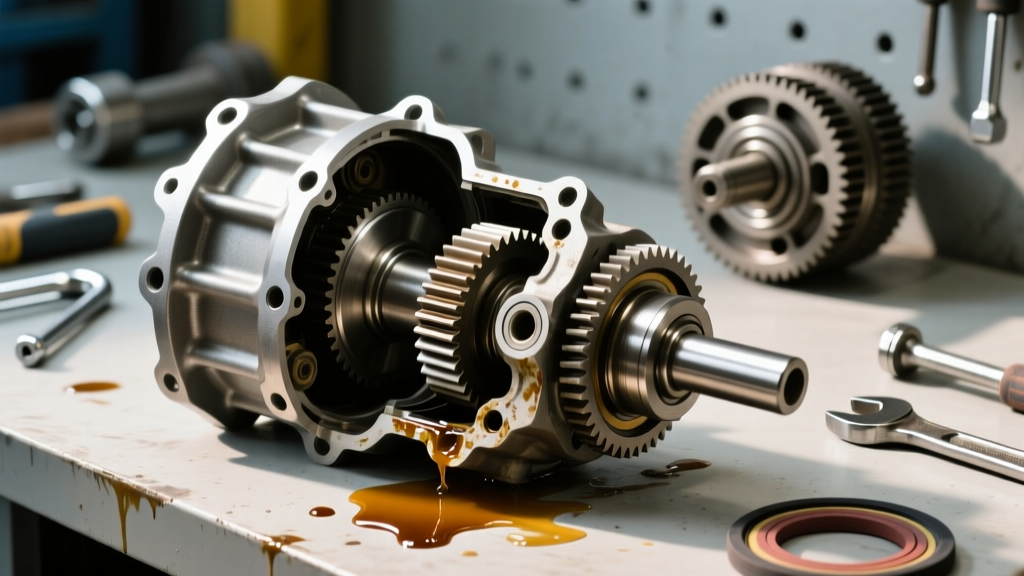
Differential leaks on the SkyActiv-era CX-5 (2013-present) typically manifest in three distinct areas. Accurate leak detection requires cleaning the differential housing with brake cleaner, taking the vehicle for a short drive, and inspecting the seepage points.
1. The Vent Tube Blowout Phenomenon
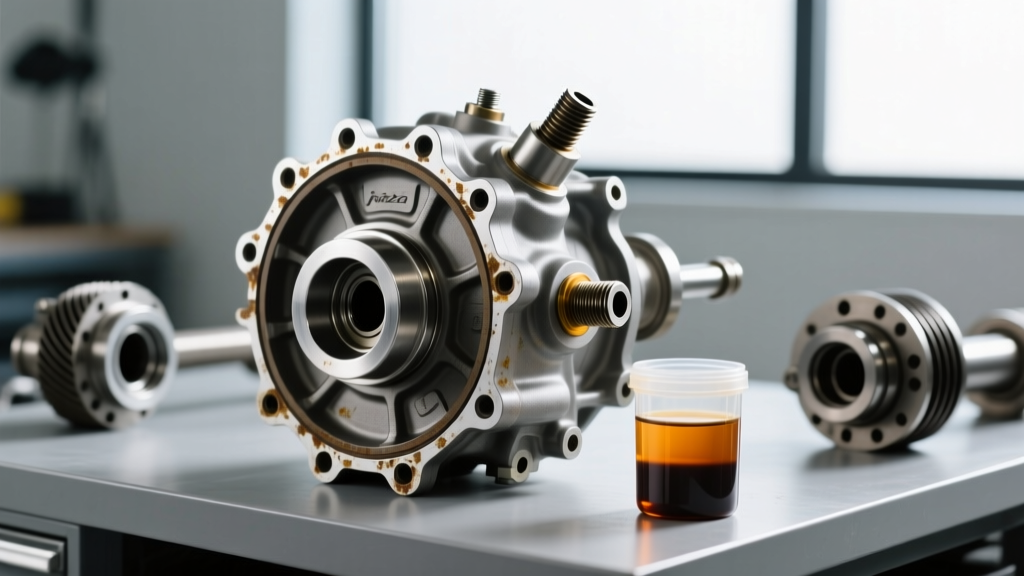
The most common cause of catastrophic seal failure on the CX-5 is a clogged rear differential breather vent. The factory vent tube routes to a low point near the rear subframe. When driving through deep puddles, snow, or off-road mud, this tube becomes blocked. As the differential heats up during highway driving, internal air expands. With the vent blocked, the pressure forces gear oil past the path of least resistance: the pinion seal or the axle seals.
Expert Tip: During your leak inspection, trace the rubber vent hose from the top of the differential housing. If it terminates pointing downward near the exhaust, zip-tie it higher up into the rear subframe cavity to prevent future hydro-locking and pressure blowouts.
2. Pinion Seal Seepage
Located where the driveshaft mates to the differential flange, the pinion seal is subjected to high rotational speeds and harmonic vibrations. If you notice oil slung in a radial pattern across the underbody or dripping from the front nose of the rear differential, the pinion seal has failed.
3. Axle Seal Leaks
Where the left and right rear CV axles enter the differential housing, you will find the axle seals. Leaks here present as wetness on the inner CV joints or fluid dripping directly onto the rear brake backing plates. Left unchecked, this fluid will contaminate the rear brake pads and rotors.
Fluid Specifications and OEM Part Numbers
Using the correct fluid is non-negotiable. The CX-5 hypoid gears require a specific friction modifier profile to prevent chatter and premature wear. Below is the definitive specification chart for the 2026 service interval.
| Component | Fluid Specification | Capacity | OEM Part Number (Seal/Gasket) |
|---|---|---|---|
| Rear Differential | Mazda Long Life Gear Oil G1 (75W-90 GL-5) | 0.45 L (15.2 oz) | Pinion: GHP9-27-350 Axle: GHP9-27-165 |
| Front PTU (Transfer Case) | Mazda Long Life Gear Oil G1 (75W-90 GL-5) | 0.55 L (18.6 oz) | PTU Output Seal: C8BZ-7228-A |
| Drain/Fill Plugs (Both) | N/A | N/A | Crush Washer: 9956-41-800 |
Note: Always replace the aluminum crush washers on the drain and fill plugs. Reusing them is the leading cause of post-service weeping. You can source OEM parts directly via the Mazda USA Parts Portal.
Executing the Mazda CX-5 Differential Fluid Change and Seal Repair
As of 2026, dealership labor rates for a rear pinion seal replacement and fluid service range from $450 to $650. Performing this repair in your driveway requires a moderate skill level, specific tools, and strict adherence to torque specifications.
Phase 1: Rear Differential Pinion Seal Replacement
Replacing the pinion seal requires care to avoid altering the gear lash and bearing preload. The CX-5 uses a prevailing torque nut rather than a traditional crush sleeve, but maintaining the exact rotational depth is still critical.
- Mark the Nut and Flange: Use a bright paint pen to mark the exact position of the pinion nut relative to the pinion shaft threads and the flange. This is your reference point for reassembly.
- Remove the Driveshaft: Unbolt the four 14mm flange bolts connecting the carbon-fiber driveshaft to the differential. Support the driveshaft with a bungee cord; do not let it hang by the center carrier bearing.
- Remove the Pinion Nut: Secure the flange using a specialized flange-holding tool or a large pry bar wedged against a subframe bolt. Use a 30mm socket and a heavy-duty breaker bar to remove the pinion nut.
- Extract the Flange and Seal: Use a gear puller to remove the flange. Pry out the old seal using a dedicated seal puller to avoid scoring the aluminum housing bore.
- Install the New Seal: Coat the outer edge of the new GHP9-27-350 seal with a thin layer of RTV silicone. Tap it into place using a seal driver tool until it sits perfectly flush with the housing lip. Lubricate the inner rubber lip with fresh gear oil.
- Reassemble to Marks: Reinstall the flange and thread the pinion nut back on. Tighten the nut until your paint pen marks align perfectly. Do not overtighten past your marks, or you will over-preload the bearings, leading to rapid differential failure.
Phase 2: Drain, Flush, and Fill Procedure
With the seal repaired, proceed with the Mazda CX-5 differential fluid change. Always remove the fill plug first before the drain plug. If the fill plug is seized or stripped, you do not want to be left with an empty differential and no way to refill it.
- Level the Vehicle: The CX-5 must be perfectly level side-to-side and front-to-back to ensure accurate fluid capacity.
- Drain the Fluid: Place a catch pan under the differential. Use a 10mm hex bit (or 24mm socket, depending on your specific model year's plug style) to remove the lower drain plug. Allow the thick 75W-90 fluid to drain completely; this may take 15 minutes due to the high viscosity.
- Install New Drain Plug: Wipe the magnet on the drain plug to remove metallic fuzz (normal wear material). Install a new 9956-41-800 crush washer and torque the plug to spec.
- Fill the Differential: Using a fluid transfer pump, pump the Mazda Long Life Gear Oil G1 into the fill hole until it reaches the exact bottom lip of the fill plug threads. The capacity is precisely 0.45L, but the visual check at the fill hole is your ultimate source of truth.
- Seal and Clean: Install the fill plug with a new crush washer, torque to spec, and wipe down the housing with brake cleaner to ensure a dry surface for future leak monitoring.
Critical Torque Specifications
Improper torque on drivetrain fasteners can lead to stripped aluminum threads or catastrophic component separation. Reference the CX5Talk DIY Forums and factory service manuals for these exact SkyActiv AWD torque values:
| Fastener | Metric (Nm) | Imperial (lb-ft) | Notes |
|---|---|---|---|
| Rear Diff Drain/Fill Plugs | 40 Nm | 30 lb-ft | Always use a new crush washer |
| Driveshaft Flange Bolts (x4) | 56 Nm | 41 lb-ft | Apply blue Loctite 242 to threads |
| Rear Axle Bearing Retainer Nuts | 85 Nm | 63 lb-ft | Use a new cotter pin after torquing |
| PTU to Transaxle Mounting Bolts | 49 Nm | 36 lb-ft | Do not cross-thread aluminum block |
Preventative Maintenance and Final Thoughts
The Mazda CX-5 AWD system is highly reliable, provided the hypoid gears are bathed in clean, high-quality lubricant. While Mazda's official maintenance schedule often labels the differential fluid as a 'lifetime' fill under normal driving conditions, real-world data from independent transmission specialists shows that fluid degradation begins around 60,000 miles. If you frequently tow, drive in mountainous terrain, or experience extreme winter weather, performing a Mazda CX-5 differential fluid change every 30,000 to 50,000 miles is the most cost-effective insurance policy you can buy for your drivetrain.
By combining your fluid service with a thorough leak inspection and addressing the vent tube routing, you will effectively eliminate the most common failure points of the CX-5 rear axle. Always prioritize OEM seals and exact torque specs to ensure your AWD system operates silently and efficiently for the life of the vehicle.