Understanding Torque Converter Diagnostic Trouble Codes (DTCs)
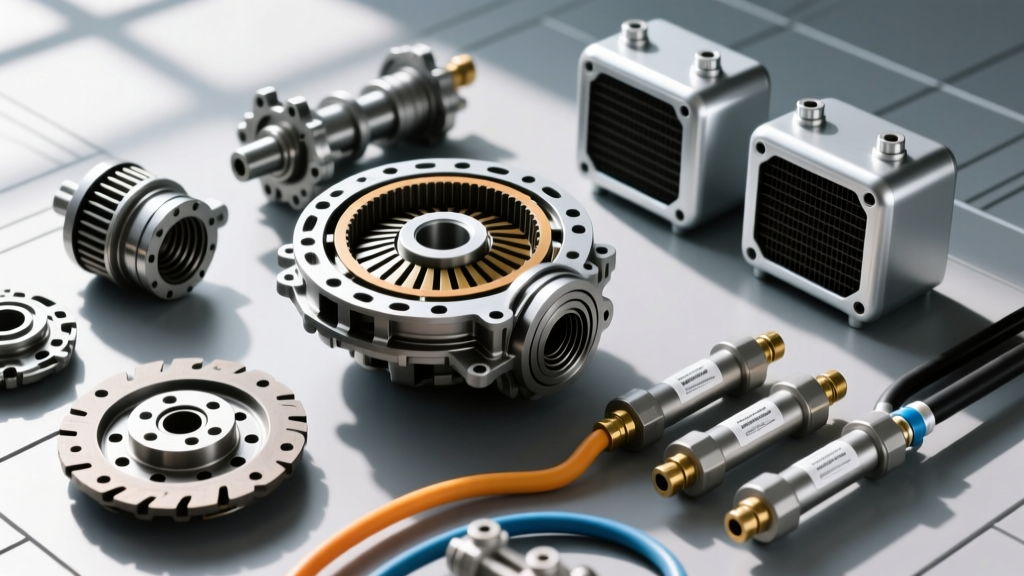
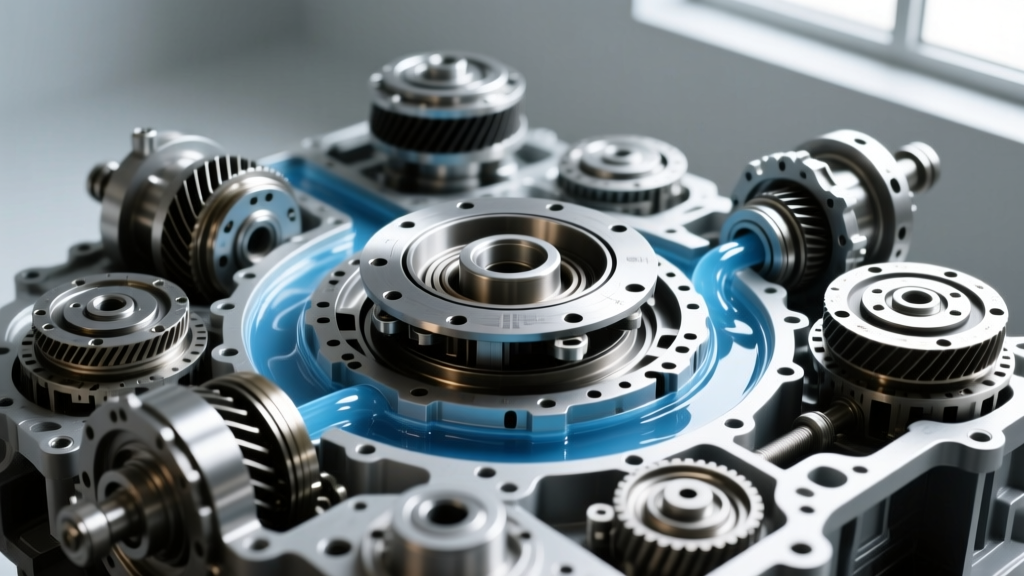
When your check engine light illuminates and a scan tool reveals a P0740-series code, it can be incredibly intimidating for a beginner. The torque converter is the fluid coupling that connects your engine to the automatic transmission, and its internal Torque Converter Clutch (TCC) is responsible for locking the engine and transmission together at highway speeds to eliminate slippage and improve fuel economy. When the vehicle's Powertrain Control Module (PCM) detects an anomaly in this system, it triggers a Torque Converter Diagnostic Trouble Code (DTC).
Before you panic and order a new unit, it is crucial to understand what these codes actually mean. A DTC does not automatically guarantee that the torque converter itself is physically destroyed. Often, the issue lies in the external wiring, the Transmission Fluid Temperature (TFT) sensor, or the internal TCC control solenoid. However, if internal friction material has degraded, a full replacement is inevitable. This leads to the most common question we receive in the shop: how long does it take to replace a torque converter?
Common Torque Converter DTCs and What They Mean
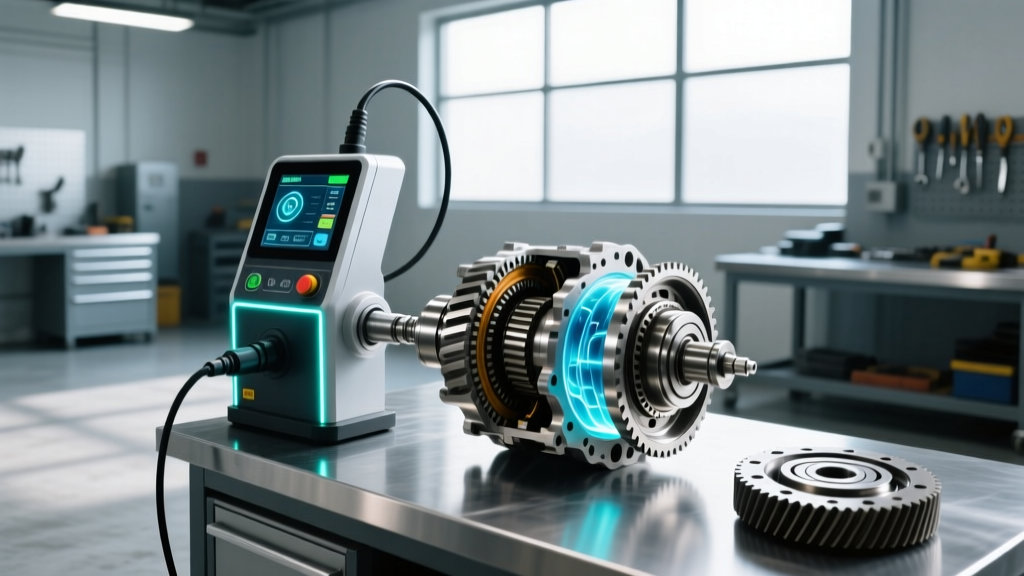
To diagnose the issue properly, you must understand the specific code your OBD-II scanner has pulled. Below is a breakdown of the most frequent TCC-related codes, their primary symptoms, and the typical root causes according to OBD-Codes P0741 Diagnostics.
| DTC Code | Description | Common Symptoms | Typical Root Cause |
|---|---|---|---|
| P0740 | TCC Circuit Malfunction | Check Engine Light (CEL), harsh shifts | Open/short in TCC solenoid wiring harness |
| P0741 | TCC Performance / Stuck Off | Highway RPM flare, poor fuel economy, shudder | Worn TCC clutch lining, low fluid pressure |
| P0742 | TCC Stuck On | Engine stalls when coming to a stop | Sticking TCC apply valve in the valve body |
| P0743 | TCC Electrical Circuit | CEL, transmission goes into limp mode | Failed TCC PWM solenoid, corroded connector |
| P0744 | TCC Circuit Intermittent | Random shudder, code clears and returns | Chafed wiring, failing PCM driver circuit |
Diagnosing the Code: Solenoid Repair vs. Full Replacement
If you pull a P0743 code on a classic GM 4L60E transmission, the culprit is frequently the TCC Pulse Width Modulation (PWM) solenoid located inside the transmission pan. Replacing this solenoid (ACDelco part # 24230298) requires dropping the pan, swapping the $45 part, and refilling the fluid. This takes about 2 to 3 hours and does not require removing the transmission.
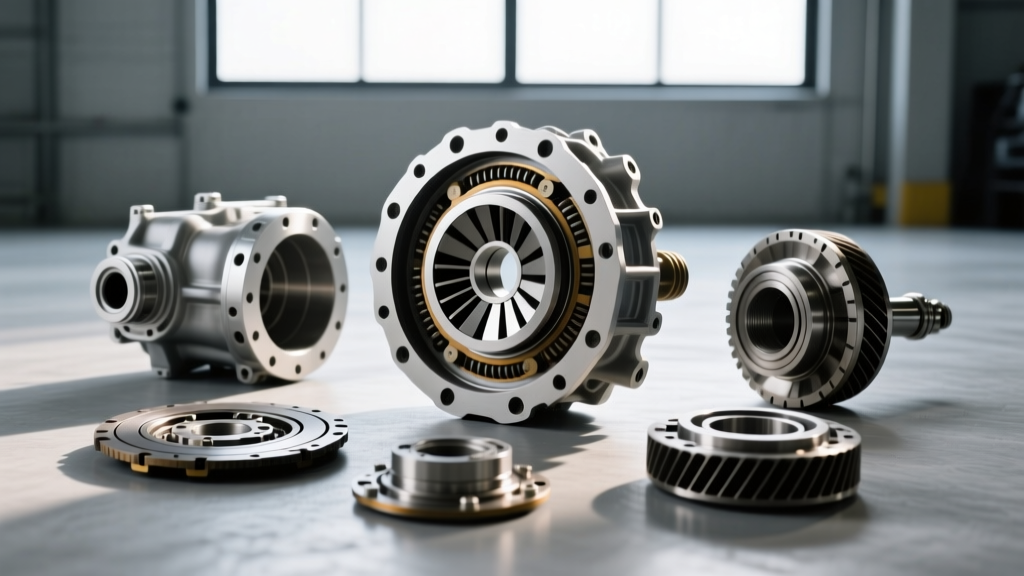
However, if you have a P0741 code accompanied by a violent shudder between 40-50 MPH, and you find dark, burnt-smelling fluid with heavy metallic clutch debris in the pan, the internal TCC friction lining has failed. No solenoid swap will fix this. The torque converter must be removed, which means the entire transmission must be pulled from the vehicle.
How Long Does It Take to Replace a Torque Converter?
When internal failure is confirmed, the labor time scales significantly based on your vehicle's drivetrain layout, ground clearance, and exhaust routing. Replacing a torque converter is not a simple 'unbolt and swap' job; it requires a full transmission Remove and Replace (R&R). Here is the real-world labor time breakdown for three of the most common automatic transmissions on the road today:
1. GM 4L60E (RWD Trucks, SUVs, and Older Muscle Cars)
- Book Time: 4.5 to 5.5 hours
- Real-World Time: 5 to 7 hours
- Complexity: Moderate. The 4L60E is relatively compact, but rusted exhaust crossover pipes and stubborn bellhousing dust covers can add an hour to the job. You must support the engine from above with a jig while dropping the trans crossmember.
2. GM 6L80 / 6L90 (Modern Silverados, Camaros, Corvettes)
- Book Time: 6.5 to 8.0 hours
- Real-World Time: 7 to 9 hours
- Complexity: High. The 6L80 features a much deeper bellhousing and an integrated Transmission Control Module (TEHCM) that requires careful unseating. Furthermore, 4WD models require unbolting the transfer case adapter, and the dual-exhaust systems on V8 trucks often require complete exhaust removal to drop the transmission jack safely.
3. ZF 8HP (Dodge Ram 1500, BMW, Jaguar, Chrysler)
- Book Time: 7.5 to 10.0 hours
- Real-World Time: 9 to 12 hours
- Complexity: Very High. As noted by ZF Group North America, the 8HP series is incredibly dense and heavily integrated. On a Ram 1500 EcoDiesel, you must deal with the complex DEF line routing, heavy transfer cases, and tight frame clearances. On European AWD applications, the front subframe often needs to be lowered to extract the transmission assembly.
The Replacement Process: Critical Torque Specs and Procedures
For the DIYer or the apprentice tech, understanding the physical replacement process is vital to preventing catastrophic failure upon startup. The most common mistake beginners make is installing a dry torque converter.
Pro-Tech Tip: Never install a dry torque converter. You must pre-fill the converter with 2 to 3 quarts of the correct specification fluid (e.g., ACDelco Dexron VI for GM, or ZF LifeguardFluid 8 for the 8HP) before sliding it onto the transmission input shaft. Failing to do so will cause the transmission oil pump to cavitate on first startup, starving the clutches and destroying the transmission in less than a mile.
Once the transmission is mated to the engine block, precise torque specifications must be followed to prevent flexplate warping or converter hub damage:
- Flexplate to Torque Converter Bolts: Typically M10x1.5. Torque to 62 Nm (46 lb-ft). Use a high-strength threadlocker (blue or red depending on OEM spec) and ensure the bolts are fully seated before tightening in a star pattern.
- Bellhousing to Engine Block Bolts: Torque to 50 Nm (37 lb-ft). Ensure the alignment dowels are perfectly seated; a misaligned transmission will bind the input shaft and crack the transmission case.
- Transmission Crossmember Mounts: Torque to 70 Nm (52 lb-ft) to prevent driveline vibration.
2026 Cost Expectations for Torque Converter Replacement
With shop labor rates in 2026 averaging between $140 and $190 per hour depending on your region, the cost of this repair is heavily weighted toward labor.
- Parts (Remanufactured Converter): $350 - $600
- Parts (OEM ZF / High-Stall Billet): $900 - $1,800+
- Transmission Fluid (12-14 Quarts): $120 - $250
- Total Expected Cost (GM 4L60E/6L80): $1,100 - $1,800
- Total Expected Cost (ZF 8HP AWD/4WD): $2,200 - $3,500
Ultimately, while a DTC like P0741 might just be a $50 solenoid fix, confirming internal clutch failure means preparing for a full-day shop visit. By understanding the diagnostic codes and the mechanical reality of the R&R process, you can confidently approve the repair or tackle the job yourself with the right tools, a heavy-duty transmission jack, and a factory service manual.