The Anatomy of TCC Shudder and Friction Coefficients
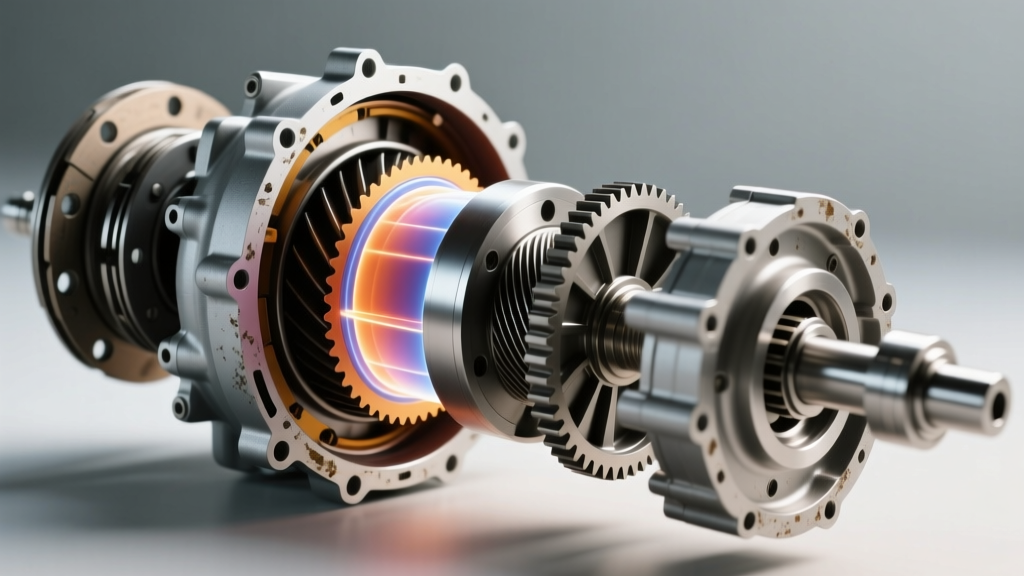
Torque converter shudder is a rhythmic, vibrating sensation typically felt between 30 and 50 mph under light throttle application. It occurs when the Torque Converter Clutch (TCC) fails to maintain a seamless lockup, rapidly slipping and grabbing. From a tribological perspective, shudder happens when the static coefficient of friction (µs) of the clutch material exceeds the kinetic coefficient of friction (µk). As the automatic transmission fluid (ATF) degrades, it loses its friction-modifying additives, causing the TCC piston to aggressively grab and release the front cover.
If ignored, this micro-slippage glazes the cellulose or Kevlar-based clutch lining, generating excessive heat and metallic debris. Ultimately, this leads to catastrophic lockup failure and a massive torque converter repair cost. As a preventive maintenance guide, we will outline exact diagnostic protocols, transmission-specific quirks, and tiered repair strategies to keep your drivetrain intact and your wallet protected.
Step-by-Step Diagnostic Protocol
Before replacing any hard parts, you must isolate the shudder from engine misfires, worn CV axles, or degraded engine/transmission mounts. Follow this exact diagnostic sequence used by top-tier transmission specialists.
1. Scan Tool Parameter Identification
Connect a bi-directional OBD2 scan tool (such as an Autel MaxiSys or Snap-on Zeus) and monitor the following live data PIDs while driving:
- TCC Slip Speed: During steady-state lockup (usually 4th, 5th, or 6th gear), slip should be between -10 and +20 RPM. If the PID bounces erratically between -60 and +100 RPM, the TCC is shuddering.
- TCC Solenoid Duty Cycle: Observe the Pulse Width Modulation (PWM) solenoid command. A healthy system commands a steady 40% to 90% duty cycle during apply. Rapid fluctuations indicate the PCM is desperately trying to compensate for hydraulic pressure loss or mechanical slip.
- Transmission Fluid Temperature (TFT): Most modern PCMs inhibit TCC apply until the fluid reaches 140°F (60°C). Ensure your road test accounts for this thermal threshold.
2. The 'Throttle Lift' Road Test
Drive the vehicle at 45 mph in the highest available gear with the throttle held steady at roughly 15% TPS. When the shudder begins, slightly lift your foot off the accelerator. If the vibration instantly disappears, the issue is isolated to the TCC apply circuit. If the vibration persists, you are likely dealing with a driveline harmonic issue, such as a failing center support bearing or an out-of-phase driveshaft.
Transmission-Specific Shudder Profiles
Different transmission architectures fail in unique ways. Understanding your specific unit is critical to avoiding an unnecessary full teardown and minimizing your overall repair expenses.
GM 6L80 and 6L90 (RWD/AWD)
The GM 6L80 and 6L90 are notorious for TCC shudder, often stemming from bore wear in the valve body's TCC apply valve. As the aluminum bore wears, PWM hydraulic pressure bleeds off, causing the clutch to slip. Furthermore, early Dexron VI fluid formulations were prone to shear under heavy towing loads.
Preventive Fix: Drop the transmission pan using an AC Delco 24230298 filter kit. Install a Sonnax 104740-06K TCC apply valve kit to restore hydraulic integrity, and refill the system with exactly 11.8 quarts of fresh, high-quality Dexron VI (such as Valvoline MaxLife Multi-Vehicle). According to Sonnax technical resources, addressing valve bore wear early prevents the need for a complete transmission rebuild.
Ford 6R80 (ZF 6HP26 Architecture)
The Ford 6R80 relies heavily on ZF-specification fluid dynamics. Shudder here is frequently linked to fluid degradation and the PCM's adaptive memory 'learning' the degraded friction coefficient. The lockup clutch in the 6R80 is a multi-plate design, making it highly sensitive to varnish buildup.
Preventive Fix: Perform a high-volume fluid exchange using 13.2 quarts of Motorcraft Mercon LV. Crucially, you must use a scan tool to reset the Keep Alive Memory (KAM) and clear the TCC adaptive tables. This forces the PCM to relearn the lockup ramp rate with the new fluid's friction profile.
Honda and Acura 5AT / 6AT
Honda refers to this phenomenon as 'judder.' It is incredibly common in V6 models like the Odyssey and Accord. The issue is often a combination of fluid breakdown and an overly aggressive factory lockup ramp rate programmed into the Powertrain Control Module (PCM).
Preventive Fix: Avoid aggressive power flushing. Instead, perform three consecutive drain-and-fill cycles (each requiring 3.1 quarts of Honda Genuine DW-1 fluid) over 500 miles. Follow this with a PCM software update via the Honda HDS tool, which alters the TCC slip parameters. Detailed case studies on Honda judder can be found via the Transmission Digest archives.
The Preventive Maintenance Matrix
Use this decision matrix to determine the correct intervention level based on your diagnostic findings. Catching the issue at Level 1 or 2 is the key to avoiding a severe torque converter repair cost.
| Intervention Level | Procedure | Target Scenario | Estimated Cost |
|---|---|---|---|
| Level 1: Chemical | Fluid Exchange + Friction Modifier (e.g., Lubegard Platinum #96000) | Early-stage shudder (<5k miles), no debris in pan, slip RPM < 60. | $250 - $450 |
| Level 2: Hydraulic | Valve Body TCC Valve / PWM Solenoid Replacement | Persistent shudder, burnt fluid smell, visible clutch material in pan. | $600 - $1,100 |
| Level 3: Mechanical | Full Torque Converter R&R and Transmission Flush | Severe slip, TCC slip RPM > 150, Check Engine Light (P0741/P2763). | $1,800 - $3,400 |
Calculating the True Torque Converter Repair Cost
When preventive maintenance fails and the TCC lining is completely destroyed, you are facing a Level 3 intervention. The true cost of a torque converter replacement goes far beyond the price of the part itself. Labor is the primary driver of this expense.
Labor and Torque Specifications
Replacing the torque converter requires removing the entire transmission assembly. On a typical RWD truck (like a Chevy Silverado with a 6L80), book time is 6.5 to 8.5 hours. At an average shop rate of $165 per hour, labor alone will range from $1,072 to $1,402.
When reinstalling, strict adherence to factory torque specifications is non-negotiable to prevent flexplate warping and immediate shudder recurrence:
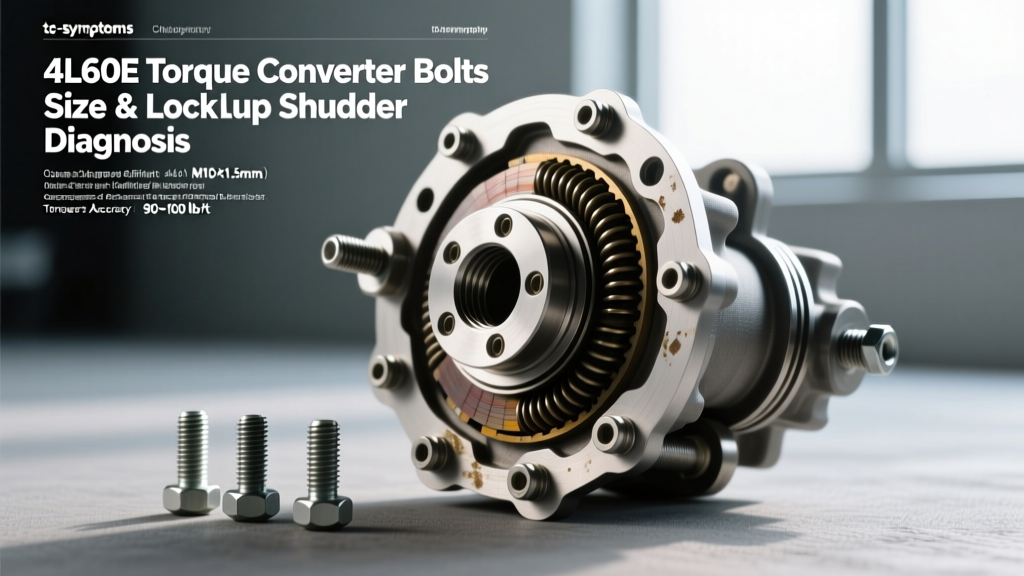
- Torque Converter to Flexplate Bolts: 35 lb-ft (47 Nm). Must be coated with Loctite 262 (high-strength red) to prevent backing out under high-stall loads.
- Transmission Bellhousing to Engine Block: 37 lb-ft (50 Nm) for the upper M12 bolts, and 22 lb-ft (30 Nm) for the lower M10 bolts.
- Transmission Crossmember to Frame: 50 lb-ft (68 Nm).
Parts Selection: OEM vs. Performance Remanufactured
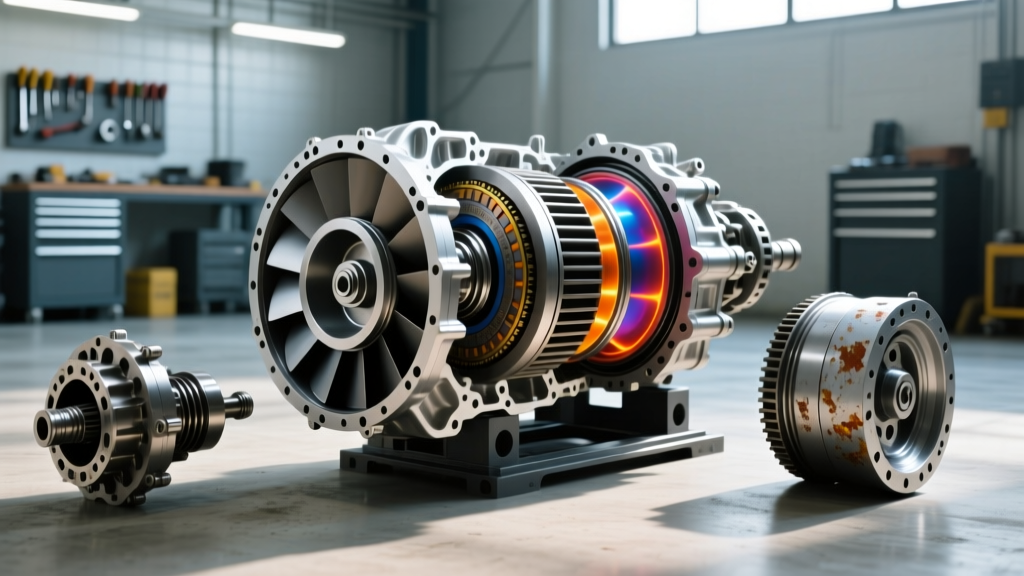
While an OEM torque converter from a dealership can cost upwards of $1,200, many transmission experts recommend upgraded remanufactured units from specialists like Precision Industries or Circle D. These units often feature upgraded stator clutches, furnace-brazed fins, and high-carbon TCC friction materials that are far more resistant to shudder than factory paper-based linings. A high-quality aftermarket unit typically costs between $650 and $900, offering a superior return on investment.
Expert Verdict on Preventive Care
Torque converter shudder is rarely a sudden, catastrophic failure; it is a progressive symptom of hydraulic degradation and friction material exhaustion. By monitoring TCC slip RPMs via live data and adhering to strict fluid exchange intervals (every 45,000 to 60,000 miles for severe-duty cycles), you can maintain the µs/µk friction balance required for smooth lockup. Addressing valve body wear and utilizing targeted friction modifiers will keep your drivetrain operating flawlessly, ensuring you never have to absorb the steep financial penalty of a full torque converter repair cost.