When you set out to perform a Toyota Tacoma rear differential fluid change, you might expect a simple drain-and-fill procedure similar to an engine oil change. However, the Toyota Tacoma’s solid rear axle houses a mechanical marvel that requires a bit more nuance. More importantly, this routine maintenance interval provides the perfect opportunity to inspect the heart of your drivetrain: the ring and pinion gear setup.
Whether you are driving a 2nd-generation or 3rd-generation Tacoma, understanding how your differential works—and how to read the wear patterns on your gears—can save you from catastrophic drivetrain failure. This beginner-friendly explainer will bridge the gap between basic fluid maintenance and intermediate gear diagnostics.
The Tacoma Rear Axle Paradox: Where is the Drain Plug?
Before we can inspect the gears, we have to get the fluid out. If you are currently crawling under your Tacoma with a drain pan looking for a bottom drain plug on the rear differential housing, stop looking. It does not exist.
Unlike the front clamshell differential or the rear differentials found on heavy-duty trucks (which feature bolt-on inspection covers), the Tacoma’s 8-inch and 8.75-inch rear axles utilize a drop-out third member (often called a "pumpkin"). The differential carrier, ring gear, and pinion gear are all pre-assembled into this third member, which bolts into the front of the axle housing.
Two Methods for Fluid Extraction
- The Extractor Method: You can remove the top fill plug and use a manual or pneumatic fluid extractor pump to suck the old gear oil out through the fill hole. This is the easiest method but leaves behind heavy metallic sludge at the bottom of the housing.
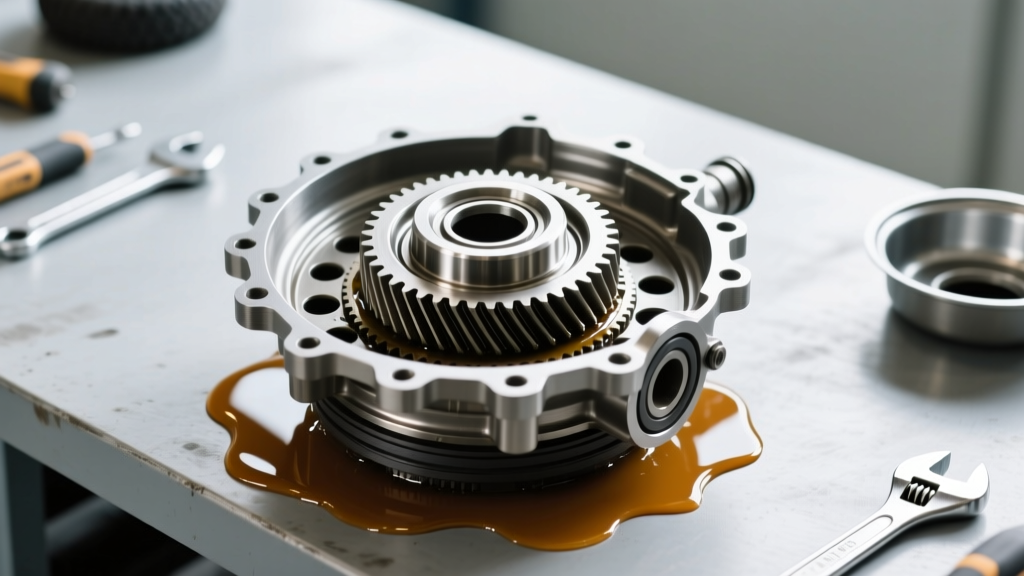
- The Third-Member Removal Method: By unbolting the 12mm nuts securing the third member to the axle housing, you can pull the entire differential assembly out. This allows the housing to drain completely, lets you clean out metallic debris, and exposes the ring and pinion gear setup for visual inspection.
For the purpose of this guide, we highly recommend the third-member removal method at least once every 60,000 miles to properly evaluate your gear health.
Ring and Pinion Gear Setup 101: The Hypoid Design
The Tacoma rear differential uses a hypoid gear set. Unlike standard bevel gears where the pinion intersects the exact center of the ring gear, a hypoid pinion is offset below the centerline. This design lowers the driveshaft, reducing the transmission tunnel hump in your cab, while simultaneously increasing the surface area of the gear teeth for massive torque multiplication.
Because the teeth slide against one another under extreme pressure rather than just rolling, the gear setup must be mathematically perfect. If the pinion depth or ring gear backlash is off by even a few thousandths of an inch, the gears will whine, overheat, and eventually shatter.
Reading the Tea Leaves: Inspecting the Gear Pattern
With the third member removed and the old 75W-85 gear oil cleaned away, it is time to inspect the gear pattern. You will need a tube of Permatex Gear Marking Compound (Part #80038), a yellow ocher paste specifically designed for this task.
How to Apply the Compound
- Wipe three or four teeth on the ring gear completely clean with brake cleaner.
- Apply a thin, even layer of the yellow marking compound to both the Drive side (convex) and Coast side (concave) of those teeth.
- Using a wrench on the pinion nut, rotate the ring gear back and forth through the painted teeth while applying moderate resistance (drag) to the ring gear with a gloved hand or a rag.
- Inspect the resulting pattern.
Decoding the Pattern: What the Paint Tells You
A perfect gear pattern will sit squarely in the middle of the tooth face, from top to bottom, on both the Drive and Coast sides. If your Tacoma has high mileage, the pattern will be worn into the bare metal, but the edges of the wear mark should still be centered. If you are setting up new gears or diagnosing a whining differential, use this diagnostic chart:
| Pattern Appearance | Diagnostic Meaning | Required Adjustment |
|---|---|---|
| Centered on both Drive & Coast | Ideal Setup / Healthy Wear | None. Clean and reassemble. |
| High on Drive, Low on Coast | Pinion Gear is Too Deep | Remove pinion depth shim (move pinion away from ring gear). |
| Low on Drive, High on Coast | Pinion Gear is Too Shallow | Add pinion depth shim (move pinion closer to ring gear). |
| Pattern biased toward the Toe (inner edge) | Backlash is Too Tight | Adjust side carrier nuts to move ring gear away from pinion. |
| Pattern biased toward the Heel (outer edge) | Backlash is Too Loose | Adjust side carrier nuts to move ring gear closer to pinion. |
Pro Tip: For a deep dive into visual examples of these patterns, the industry-standard Ring-Pinion.com Gear Setup Guide is an invaluable bookmark for any DIY mechanic.
Checking Backlash: The Dial Indicator Method
While the paint pattern gives you a visual representation of gear mesh, you must also verify the physical clearance between the ring and pinion teeth, known as backlash. Backlash is the amount of rotational "slop" the ring gear has when the pinion is held completely stationary.
For a Toyota Tacoma rear differential, the factory service manual (available via Toyota TechInfo) specifies a backlash range of 0.13 mm to 0.18 mm (0.0051" - 0.0071").
Measuring Backlash Without a Full Teardown
- Mount a magnetic base dial indicator to the axle housing or a heavy steel block resting on the bench.
- Position the indicator’s plunger perpendicular to the face of a ring gear tooth.
- Hold the pinion flange completely still with a wrench.
- Gently rock the ring gear back and forth. The total movement displayed on the dial indicator is your backlash.
- Check at least four equally spaced points around the ring gear. If the backlash varies wildly from point to point, your ring gear is warped, the carrier bearings are failing, or the ring gear bolts were not torqued evenly.
Reassembly, Fluid Specs, and Torque Values
Once you have verified that your ring and pinion gear setup is healthy, it is time to reassemble the axle and complete your Toyota Tacoma rear differential fluid change.
Sealing the Third Member
Do not reuse the old crush gasket. Clean the mating surfaces on the axle housing and the third member with brake cleaner. Apply a continuous 3mm bead of RTV silicone (Toyota Genuine FIPG or Permatex Ultra Black) to the third member flange. Allow it to skin over for 10 minutes before mating it to the housing to prevent silicone from squeezing into the gear oil.
Fluid Selection and Capacity
The Tacoma rear differential requires a GL-5 rated gear oil. While the factory fill is typically Toyota Genuine Differential Gear Oil LT 75W-85, many owners upgrade to a full synthetic 75W-90 GL-5 (such as AMSOIL Severe Gear or Mobil 1 Synthetic) for better high-temperature shear stability, especially if towing or running larger aftermarket tires.
- Fluid Capacity: Approximately 3.0 to 3.2 Quarts (varies slightly by exact housing and third-member size).
- LSD Additive: If your Tacoma is equipped with a mechanical Limited Slip Differential (LSD), you MUST add a friction modifier additive to prevent clutch-pack chatter during tight turns. If you have an open diff or an electronic locking diff (e-locker), no additive is required.
Critical Torque Specifications
Proper torque is vital to prevent housing leaks and stud failure. Use a calibrated torque wrench for the following fasteners:
- Third Member Nuts (12mm): 37 ft-lbs (50 Nm) in a criss-cross pattern.
- Differential Fill Plug (24mm / 10mm Hex): 29 ft-lbs (39 Nm). Always replace the aluminum crush washer.
- Ring Gear Bolts (if removed): 54 ft-lbs (74 Nm) with red Loctite.
Conclusion
A Toyota Tacoma rear differential fluid change is much more than a maintenance checklist item; it is a vital diagnostic window into your truck’s drivetrain health. By taking the extra time to pull the third member, apply gear marking compound, and verify your backlash, you transition from a simple parts-swapper to a true drivetrain technician. Whether you are wheeling on 33-inch tires or just commuting to the job site, ensuring your ring and pinion gear setup is dialed in guarantees your Tacoma will deliver power to the pavement reliably for hundreds of thousands of miles.