Many DIY mechanics start their weekend project by searching for the 2001 Silverado rear differential fluid capacity. Usually, this is a routine maintenance query. However, if you are draining your axle housing because you are about to tackle a ring and pinion gear setup, you are stepping into the deep end of drivetrain mechanics. Whether you are regearing to accommodate larger 33-inch tires or replacing a worn-out set of 3.73s, setting up a differential requires precision, patience, and the right fluid.
In this beginner-friendly explainer, we will cover the exact fluid capacities for the 2001 Chevrolet Silverado rear axles, and then transition into a comprehensive, easy-to-understand guide on how a ring and pinion gear setup actually works. By the end of this guide, you will understand the critical measurements that separate a whining, destroyed differential from a quiet, bulletproof setup.
The Baseline: 2001 Silverado Rear Differential Fluid Capacity
Before tearing into the gears, you need to know what you are working with. The 2001 Silverado 1500 and 2500HD left the factory with a few different rear axle options. Knowing your exact axle dictates both your gear setup strategy and your fluid volume.
- GM 8.625-Inch (10-Bolt): Standard on most half-ton 1500 models. Fluid Capacity: 2.1 Quarts (approx. 67 oz).
- GM 9.5-Inch (14-Bolt Semi-Floating): Found on 1500HD and some 6-lug 2500 models. Fluid Capacity: 2.75 Quarts (approx. 88 oz).
- GM 10.5-Inch (14-Bolt Full-Floating): Standard on 2500HD and 3500 models. Fluid Capacity: 3.5 to 4.0 Quarts (depending on cover design).
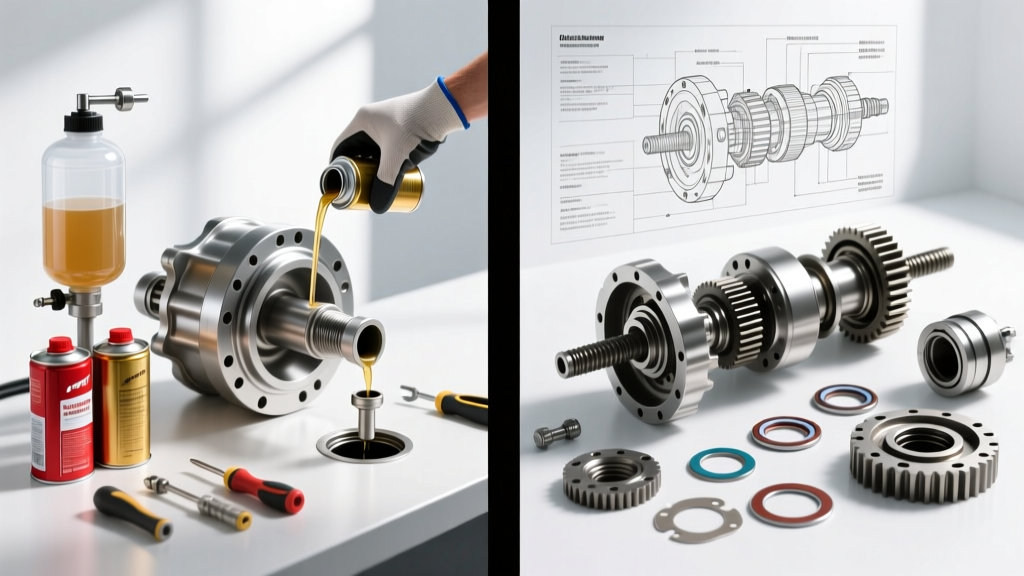
If you are merely doing a fluid service on the 10-bolt, buy three quarts of 75W-90 Synthetic GL-5 gear oil. But if you are doing a ring and pinion gear setup, you will need to flush the housing with brake cleaner and cheap gear oil to remove metal shavings before doing the final fill.
Ring and Pinion Gear Setup: A Beginner-Friendly Explainer
Setting up a ring and pinion is often described as a 'dark art' by forum veterans, but it is actually just a series of four measurable adjustments. When you install a new ring and pinion in your 2001 Silverado's 8.625-inch differential, your goal is to mesh the gears perfectly so they transfer torque without generating excess heat or noise.
According to installation guidelines from Yukon Gear & Axle, a successful setup relies on mastering four critical variables:
1. Pinion Depth
Pinion depth dictates how close the pinion gear sits to the centerline of the ring gear. This is adjusted by placing shims behind the inner pinion bearing cup. If the pinion is too deep, it will bind and whine; if it is too shallow, it will snap teeth under load. For the GM 8.625-inch axle, the target pinion depth is usually stamped on the head of the pinion gear (e.g., 2.650 inches), measured from the centerline of the carrier bearing caps to the pinion head.
2. Backlash
Backlash is the amount of 'slop' or rotational play between the ring gear and the pinion gear before they make contact. You measure this using a dial indicator mounted to the axle housing. For a daily-driven 2001 Silverado, you generally want a backlash between 0.006 and 0.010 inches. You adjust this by moving the carrier bearing adjuster sleeves (or shims) side-to-side.
3. Bearing Preload
Preload is the rotational resistance of the bearings when there are no gears meshing. You need enough preload to keep the bearings seated under heavy acceleration, but not so much that they overheat.
- Pinion Bearing Preload: Measured in inch-pounds using a beam-style torque wrench. Target: 15 to 25 in-lbs (new bearings).
- Carrier Bearing Preload: Achieved by spreading the axle housing slightly via the adjuster nuts to apply side-load on the carrier bearings.
4. The Gear Contact Pattern
This is the ultimate truth-teller. You paint the ring gear teeth with yellow gear marking compound, rotate the assembly under load, and inspect the footprint.
Pro Tip: Never trust the numbers alone. If your micrometer says your pinion depth is perfect, but your marking compound shows a 'heel-biased, deep' pattern, you must shim the pinion out. The pattern is the final judge.
GM 8.625-Inch Setup Specifications & Tolerances
Keep this data table handy on your workbench when setting up the ubiquitous GM 10-bolt rear end found in the 2001 Silverado 1500.
| Measurement | Target Specification | Acceptable Tolerance |
|---|---|---|
| Backlash | 0.008 inches | 0.006 - 0.010 inches |
| Pinion Bearing Preload | 20 in-lbs | 15 - 25 in-lbs (New Bearings) |
| Ring Gear Runout | Less than 0.002 inches | Max 0.004 inches |
| Pinion Depth | Varies (See Pinion Head Stamp) | +/- 0.003 inches |
Reading the Gear Pattern: Avoiding Catastrophic Failure
As an automotive transmission and drivetrain expert, I cannot stress enough how vital reading the pattern is. In 2026, with replacement gear sets costing between $250 and $400, a mistake here is an expensive lesson. Here is how to read the marking compound:
- Ideal Pattern: The mark is centered evenly from the top (face) to the bottom (flank) of the tooth, and centered horizontally between the heel (inner edge) and toe (outer edge).
- Pattern is Too Deep: The mark is concentrated near the root (bottom) of the tooth. Fix: Decrease pinion depth shim thickness.
- Pattern is Too Shallow: The mark is concentrated near the top (face) of the tooth. Fix: Increase pinion depth shim thickness.
Always check both the Drive Side (convex side of the tooth, loaded during acceleration) and the Coast Side (concave side, loaded during engine braking). The drive side pattern is the most critical for longevity.
Crucial Torque Specs for the 2001 Silverado 10-Bolt
Using an impact wrench to assemble a differential is a guaranteed way to snap bolts and ruin housings. Always use a calibrated torque wrench. Referencing data from ARP Fasteners and GM service manuals, adhere to these specs:
- Ring Gear to Carrier Bolts: 75 ft-lbs (Always use red Loctite 271 and replace old bolts with high-grade Grade 8 or ARP hardware).
- Carrier Bearing Cap Bolts: 65 ft-lbs (Mark the caps and housing with a paint pen before removal; caps are line-bored from the factory and are NOT interchangeable).
- Pinion Nut: 120 to 150 ft-lbs (This is a crush-sleeve or solid spacer dependent torque. Tighten incrementally while checking rotating preload with an inch-pound wrench).
Final Assembly: Gear Oil and Additives
Once your ring and pinion gear setup is verified, the pattern looks perfect, and all bolts are torqued, it is time to address that initial search query: the fluid fill. For the 2001 Silverado 8.625-inch rear diff, you will need exactly 2.1 quarts of 75W-90 GL-5 gear oil.
According to lubrication specialists at AMSOIL, synthetic GL-5 is mandatory for hypoid gears because it contains extreme pressure (EP) additives like sulfur-phosphorus, which prevent the sliding action of hypoid gears from tearing the metal surfaces. Warning: If you are installing a limited-slip differential (like an Eaton Truetrac or Auburn LSD) during your gear setup, you MUST add a friction modifier additive to your gear oil, or the clutch packs will chatter violently during tight turns.
The 500-Mile Break-In Rule
New ring and pinion gears generate immense friction and heat as the microscopic machining marks wear into one another. After your initial fill, drive the truck for 15-20 minutes to bring the diff up to operating temperature, then let it cool. Repeat this for the first 500 miles. At the 500-mile mark, drain the fluid immediately. You will be shocked by the amount of glitter and fine metal paste suspended in the oil. Refill with fresh 75W-90 synthetic, and your differential will easily survive the next 150,000 miles.
Tackling a ring and pinion setup on your 2001 Silverado is a rite of passage for DIY truck enthusiasts. By respecting the fluid capacities, adhering to strict torque specs, and letting the gear pattern dictate your shim sizes, you will build a rear axle that is quiet, durable, and ready for whatever you throw at it.