The Mechanics of a Pop Clutch Start Motorcycle Maneuver
When riders attempt to pop clutch start motorcycle models equipped with heavy multi-plate wet clutches, they are inadvertently subjecting the drivetrain to extreme transient shock loads. Commonly known as "bump starting," this technique involves turning the ignition on, engaging a gear (usually second or third), and rapidly releasing the clutch lever while the rear wheel is turning. The kinetic energy of the moving motorcycle is transferred backward through the transmission, primary drive, and clutch assembly to rotate the engine crankshaft and initiate combustion.
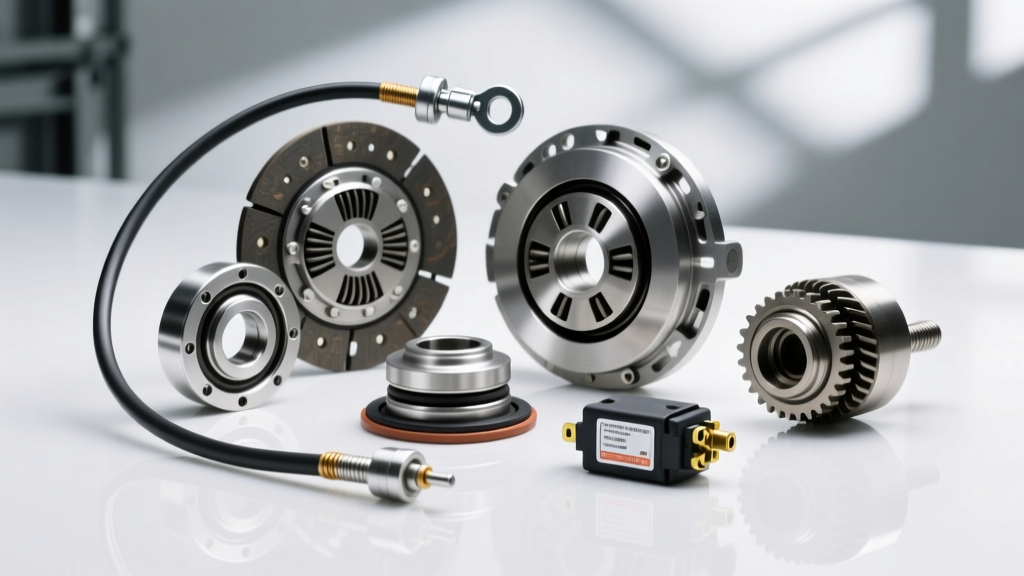
While this is a vital emergency skill, the abrupt engagement forces the clutch release mechanism—often colloquially referred to by automotive crossover mechanics as the "throw-out bearing"—to absorb massive rotational friction and axial shock before the friction plates fully lock. Over time, or after just a few aggressive bump starts on a heavy cruiser, this component can suffer catastrophic Brinelling (denting of the bearing races), leading to distinct whining, grinding, and eventual clutch engagement failure.
Model Focus: Harley-Davidson Sportster (2004–2022) Clutch Release System
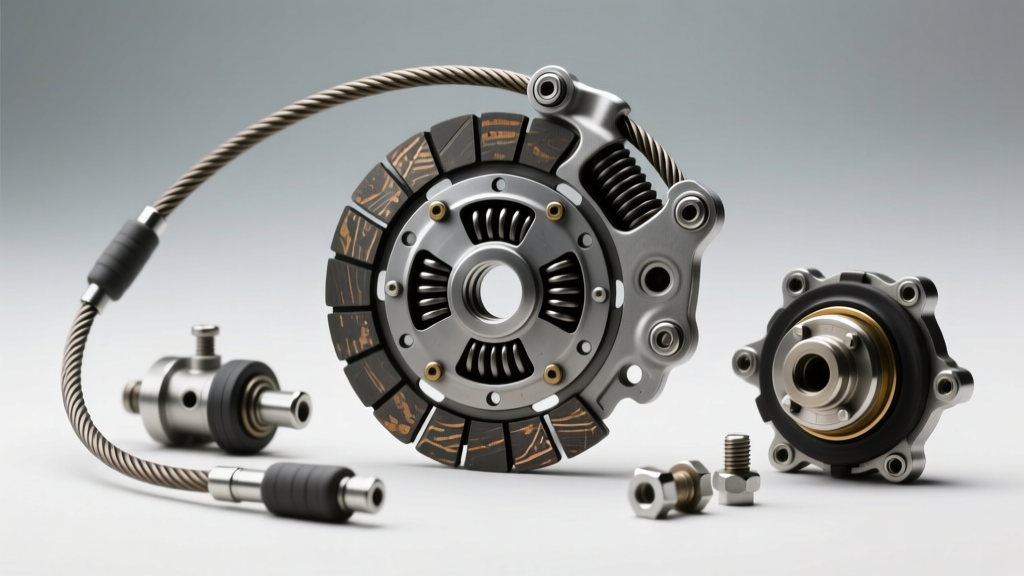
For this model-specific repair guide, we are focusing on the Harley-Davidson Sportster platform (specifically the 2004–2022 rubber-mounted 883 and 1200 models). Unlike automotive manual transmissions where the throw-out bearing rides on a transmission input shaft collar, the Sportster utilizes a primary chaincase housing a wet multi-plate clutch. The clutch release mechanism consists of a diaphragm spring, a release plate, a pushrod, and the critical clutch release bearing (the motorcycle equivalent of the throw-out bearing) seated in the primary cover.
Why the Bearing Takes the Brunt of the Abuse
During a pop clutch start, the transmission mainshaft is spinning at road speed while the engine is stationary. When the rider abruptly dumps the clutch lever, the release bearing is forced to manage the differential speed between the spinning clutch basket and the stationary inner hub. The needle-roller or sealed ball bearings inside the release assembly experience severe lateral shearing forces. As of 2026, aftermarket manufacturers like Barnett Clutches have engineered upgraded sealed ball-bearing release kits specifically to combat the premature wear caused by aggressive riding and emergency bump starts.
Diagnosing Throw-Out Bearing Noise vs. Primary Chain Slap
One of the most common diagnostic errors in the V-twin world is misidentifying primary chain slap as a failing clutch release bearing. Accurate diagnosis requires isolating the noise profile and lever feedback.
- The Whine/Growl Test: With the motorcycle in neutral and the engine idling, slowly pull the clutch lever toward the grip. If a high-pitched whine, metallic growl, or gritty rattling sound emerges precisely as the clutch begins to disengage, the release bearing is failing. The noise will peak when the lever is fully pulled in, as this is when the bearing is under maximum axial load from the diaphragm spring.
- Lever Feedback: A healthy Sportster clutch lever should feel progressive. A failing bearing will transmit a gritty, vibrating sensation directly through the clutch cable into your fingers. You may also notice the clutch lever "notching" or feeling inconsistent at the friction zone.
- Primary Chain Slap Contrast: Chain slap typically presents as a metallic rattling or ticking at idle that diminishes as RPMs rise. Crucially, chain slap noise does not change pitch or intensity when the clutch lever is pulled in, whereas throw-out bearing noise is entirely dependent on clutch lever actuation.
Step-by-Step Sportster Clutch Release Bearing Replacement
Replacing the clutch release bearing on a Sportster requires draining the primary fluid and removing the outer primary cover. You do not need to split the engine cases or remove the clutch basket for this specific repair, making it a highly accessible driveway job.
- Drain the Primary Chaincase: Place a drain pan beneath the primary. Remove the primary drain plug (usually a 5/8" or 16mm bolt) and allow the fluid to drain completely. Remove the derby cover to relieve any vacuum lock.
- Remove the Outer Primary Cover: Loosen the perimeter bolts in a crisscross pattern. Carefully pry the cover off using a plastic trim tool to avoid marring the aluminum mating surfaces. Be prepared for residual fluid.
- Extract the Old Bearing: The release bearing is pressed into the center of the outer primary cover. Depending on the year, it may be retained by a snap ring or a staked collar. Remove the retention mechanism. Use a blind bearing puller or a hydraulic press to push the old bearing out toward the outside of the cover.
- Inspect the Pushrod and Ramp: Before installing the new bearing, inspect the clutch release pushrod and the cam ramp mechanism inside the primary cover. If the pop clutch start maneuver has gouged or blued the pushrod tip, replace it immediately, as it will destroy the new bearing in under 500 miles.
- Press in the New Bearing: Freeze the new bearing and gently heat the aluminum primary cover with a heat gun. Press the new bearing in squarely using a bearing driver or a threaded rod with appropriately sized washers. Ensure it seats fully against the internal shoulder.
- Reassembly and Sealing: Clean the primary cover mating surface with brake cleaner. Apply a thin bead of high-temp RTV silicone or install a new OEM paper gasket. Reinstall the cover, torquing the bolts in a star pattern.
Critical Torque Specs and Parts Matrix
Precision is paramount when reassembling the primary drive. The following table outlines the exact specifications, part numbers, and fluid requirements for the 2004–2022 Sportster platform.
| Component / Specification | OEM / Standard Spec | Aftermarket Upgrade (Recommended) |
|---|---|---|
| Clutch Release Bearing (Throw-Out) | HD Part # 37850-94A (Needle) | Barnett # 518-30-10005 (Sealed Ball) |
| Primary Cover Bolt Torque | 80 - 100 in-lbs (Do NOT over-torque) | 85 in-lbs with medium Loctite |
| Derby Cover Torque | 84 - 108 in-lbs | 90 in-lbs |
| Primary Fluid Capacity | 32 oz (1 Quart) to bottom of diaphragm | AMSOIL V-Twin Primary Fluid |
| Clutch Hub Nut (If basket removed) | 70 - 80 ft-lbs (LEFT-HAND THREAD) | Red Loctite 271 Required |
Note: Always verify primary fluid levels by looking through the derby cover hole while the bike is upright. The fluid should just touch the bottom edge of the clutch diaphragm spring. Overfilling will cause clutch drag and severe release bearing wear.
Long-Term Preventative Strategies
To protect your clutch release bearing from the devastating effects of bump starting, always prioritize maintaining a healthy charging system and battery. If you must execute a pop clutch start motorcycle maneuver in an emergency, use second gear rather than first. Second gear reduces the mechanical leverage and softens the initial shock load transferred through the primary chaincase and release bearing. Furthermore, avoid "riding the clutch" in stop-and-go traffic, as the continuous friction and heat will degrade the bearing's internal grease, accelerating the failure timeline. For riders who frequently track or tour their Sportsters, upgrading to a sealed ball-bearing release kit and utilizing dedicated primary-specific lubricants from brands like AMSOIL will drastically extend the service interval of the entire clutch release assembly.