The Basics: Understanding the AC Compressor Clutch
Welcome to AutoGearNexus. While our primary focus is usually on transmission friction clutches and drivetrain torque transfer, the accessory drive belt relies on a crucial electromagnetic component: the AC compressor clutch. For beginners wondering how to tell if ac clutch is engaging, it is essential to first understand what this component actually does. Unlike the hydraulic or mechanical clutches in your manual or automatic transmission that manage engine-to-wheel torque, the AC clutch is an electromagnetic friction device. It bridges the gap between the engine's serpentine belt system and the internal swashplate or scroll mechanism of the AC compressor.
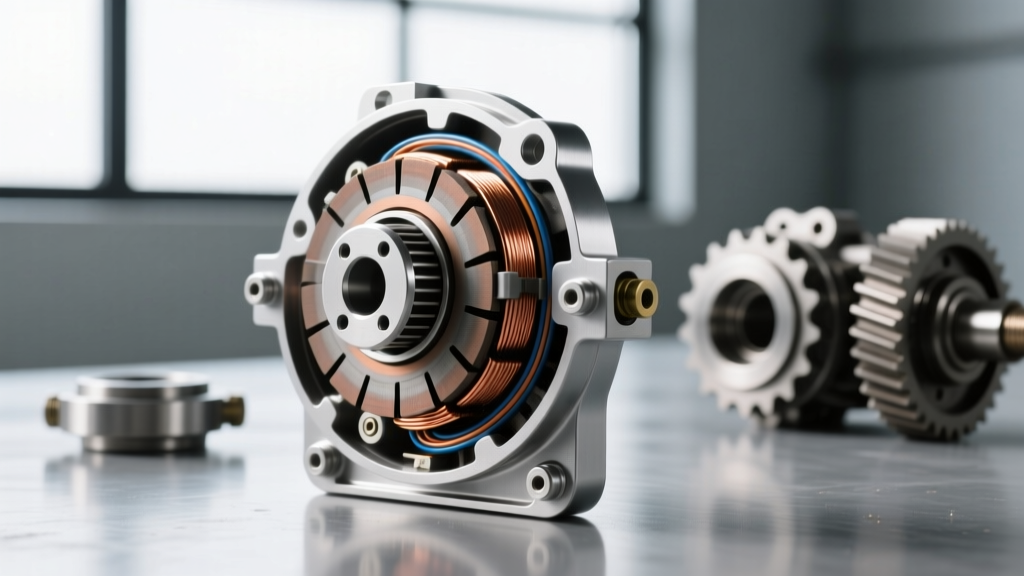
When your vehicle's climate control module requests cooling, it sends a 12-volt signal to an electromagnetic coil mounted behind the pulley. This coil generates a magnetic field, pulling a steel friction plate (the armature) against the spinning pulley face. This locks the center hub to the pulley, forcing the compressor's internal shaft to spin and pump refrigerant. When the cabin reaches the target temperature, or if system pressures become unsafe, the voltage is cut, the magnetic field collapses, and return springs pull the friction plate away, allowing the pulley to freewheel on its bearing while the center hub remains stationary.
Sensory Cues: Visual and Auditory Engagement Signs
Before reaching for a multimeter, you can perform a basic sensory diagnostic to determine if the clutch is engaging properly. This beginner-friendly method requires no tools and can be done right in your driveway.
- The Auditory 'Click': Have a helper turn the AC to the maximum cold setting while the engine is idling. Stand near the front of the vehicle and listen for a distinct, metallic 'clack' or 'click' from the compressor. This is the sound of the friction plate slamming against the pulley face.
- The RPM Dip: Engaging the AC clutch introduces significant parasitic drag to the engine. You should see a slight drop in the tachometer (usually 50-100 RPM), followed immediately by the electronic throttle body or idle air control valve compensating to bring the idle back up. If the RPM never dips, the clutch is likely not engaging.
- The Visual Spin: Shine a flashlight on the front of the compressor. The outer pulley will always spin with the serpentine belt. However, the center hub (the flat plate with the bolt in the middle) should only spin when the AC is turned on. If the center hub remains completely stationary while the AC is blasting, the clutch is disengaged or slipping.
Step-by-Step Electrical Diagnostics
If the visual and auditory cues indicate a failure to engage, the next step is to isolate whether the issue is electrical (a lack of power) or mechanical (a failed coil or excessive air gap). According to HVAC diagnostic standards outlined by AA1Car's Automotive HVAC Repair Library, voltage drop and coil resistance are the two most critical metrics.
Testing Voltage at the Pigtail
Unplug the electrical connector leading to the compressor clutch coil. Set your multimeter to DC Volts. With the engine running and the AC set to maximum, probe the harness-side connector. You must read at least 11.5 volts. If you read zero, the issue is upstream—likely a blown fuse, a faulty AC relay, a bad pressure switch, or an evaporator temperature sensor telling the ECU to keep the clutch disabled to prevent freezing.
Testing Coil Resistance (Ohms)
If you have 12V at the plug but the clutch still won't engage, the electromagnetic coil is likely burnt out. Turn the engine off and set your multimeter to Ohms (Ω). Probe the two pins on the compressor-side clutch connector.
| Metric | Normal Specification (12V System) | Failure Indication | Corrective Action |
|---|---|---|---|
| Coil Resistance | 3.0 Ω to 5.0 Ω | OL (Open) or < 1.0 Ω (Short) | Replace clutch coil assembly |
| Supply Voltage | 11.5V to 14.2V (Engine Running) | Below 11.0V | Check relay, wiring, and grounds |
| Air Gap | 0.020' to 0.035' (0.5mm - 0.9mm) | > 0.040' (Slipping when hot) | Remove hub and adjust shims |
| Center Hub Torque | 15 Nm to 25 Nm (Model Dependent) | Loose bolt causing wobble | Retorque with threadlocker |
Mechanical Engagement Failures: The Air Gap Dilemma
One of the most common, yet misunderstood, engagement issues is an incorrect air gap. The air gap is the physical distance between the friction plate and the pulley face when the clutch is disengaged. Over time, the friction material on the plate wears down, widening this gap.
Why does this matter? Because an electromagnetic coil's pulling strength decreases as it heats up (due to increased electrical resistance in the copper windings). A clutch with a 0.045-inch gap might engage perfectly fine on a cold morning. However, after sitting in traffic on a 95°F day, the under-hood heat and coil heat cause the magnetic field to weaken. The weakened magnet can no longer pull the friction plate across the widened gap, resulting in a clutch that inexplicably stops engaging only when the car is fully warmed up. This is a classic 'hot-soak' disengagement failure.
The Fix: You must measure the gap with a feeler gauge. If it exceeds 0.035 inches, you need to remove the center hub bolt (typically an M8 or M10 requiring 15-25 Nm of torque upon reassembly, depending on if you have a Denso 10S17C or a Sanden SD7 compressor). Once the hub is pulled off using a specialized puller tool, remove one of the thin metal shims from the shaft to decrease the gap back to the 0.020-inch to 0.030-inch sweet spot.
Edge Cases: Thermal Limiters and Drivetrain Drag
Sometimes, the clutch coil and air gap are perfectly fine, but the system still refuses to engage. On many older GM R4 and HV6 compressors, as well as some Ford FS10 units, the clutch hub features a built-in thermal limiter switch (a thermal fuse). If the compressor seizes internally or the clutch slips excessively, the extreme friction heat melts a small solder pellet inside this switch, permanently breaking the electrical circuit to the coil to prevent a fire or belt failure. If your coil tests good but won't engage, check for continuity across the thermal limiter on the back of the clutch plate.
The Drivetrain Impact of a Seized Clutch
While we are diagnosing engagement, we must also address disengagement failures. If the clutch bearing fails or the friction plate warps and permanently drags against the pulley, the AC compressor is essentially locked to the engine at all times. This introduces massive parasitic drag. Drivers often misdiagnose this as a transmission torque converter lockup shudder or a failing engine mount, as the vehicle will vibrate heavily at idle, stall when coming to a stop, and emit a severe serpentine belt squeal. Always verify that the center hub stops spinning immediately when the AC is turned off.
2026 Market Note on Variable Displacement & EV Systems: Modern vehicles increasingly use variable displacement compressors (like the Denso 10S17C or newer electric swashplate designs). While many still use a traditional cycling clutch for engagement and failsafe decoupling, some modern systems utilize internal electronic control valves (ECVs) to manage refrigerant flow without ever physically disengaging the clutch plate while the engine is running. Furthermore, in modern EVs, the AC compressor is driven by a dedicated high-voltage electric motor, entirely eliminating the belt-driven electromagnetic clutch. Always consult your specific vehicle's service manual before assuming a physical clutch is present.
Repair Costs and Part Sourcing
If you have confirmed the clutch is dead, you do not always need to replace the entire compressor or evacuate the refrigerant system. In many cases, you can purchase a standalone clutch coil and pulley kit. According to parts data from Denso's Global Automotive Air Conditioning Division, standalone clutch assemblies are widely available for popular compressor models.
- Clutch Coil & Pulley Kit: $45 to $120 (Aftermarket brands like Four Seasons or GPD).
- OEM Complete Compressor Assembly: $250 to $650 (If the internal compressor shaft is seized, necessitating a full system flush and replacement).
- Professional Labor: 1.0 to 1.5 hours if replacing just the clutch on the vehicle (no refrigerant recovery required), or 2.5 to 4.0 hours if replacing the entire compressor and performing a vacuum/recharge.
By mastering these basic sensory, electrical, and mechanical diagnostic steps, you can confidently determine exactly why your AC clutch is failing to engage, saving yourself from unnecessary parts swapping and expensive dealership diagnostic fees.