The Anatomy of Harley-Davidson Clutch Diagnostics
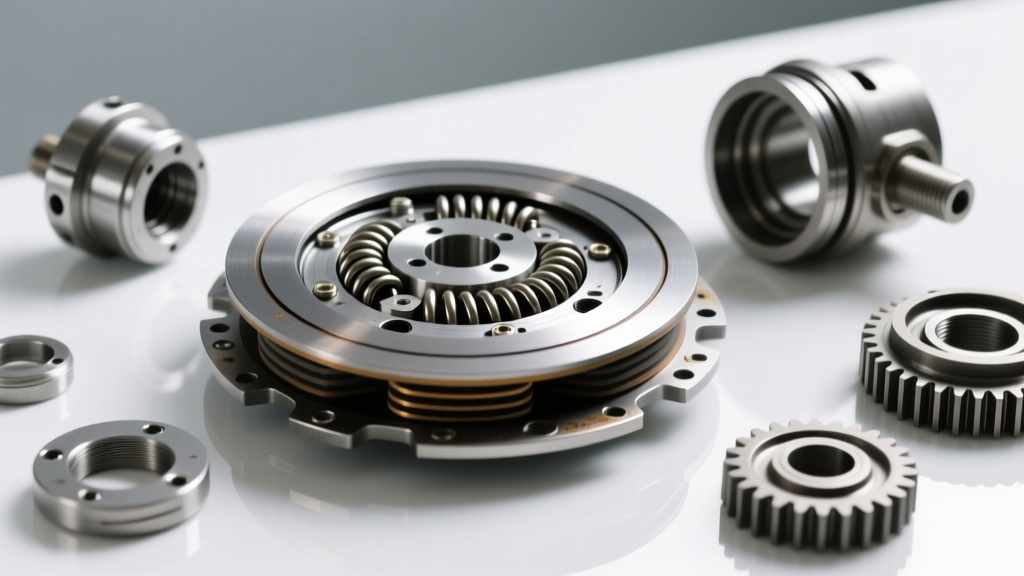
Unlike the hydraulic actuation systems found on modern sportbikes or the complex ZF 8HP wet-clutch modules in automotive applications, Harley-Davidson motorcycles rely on a robust, mechanically actuated clutch system. As we navigate the 2026 riding season, the aging population of high-mileage Twin Cam 103/110 and early Milwaukee-Eight 107/114 engines has made meticulous drivetrain maintenance more critical than ever. The mechanical linkage—comprising the lever, the steel-braided or polymer-jacketed cable, the clutch release mechanism (often called the 'mushroom' actuator), and the diaphragm spring—requires precise adjustment to prevent premature wear, clutch slip, or catastrophic primary chaincase failure.
Before tearing into the primary drive, technicians and advanced DIYers must perform a systematic evaluation. This guide outlines the definitive clutch system inspection checklist, ensuring that when a Harley Davidson clutch cable replacement is performed, it addresses the root cause of the drivetrain symptom rather than masking a deeper mechanical failure.
Comprehensive Clutch System Inspection Checklist
A proper diagnostic sequence isolates variables from the handlebar lever down to the transmission mainshaft. Follow this checklist before ordering replacement parts or draining primary fluid.
- Handlebar Lever Free Play Measurement: Measure the free play at the end of the clutch lever. The specification is strictly 1/16-inch to 1/8-inch (1.6mm - 3.2mm). Excessive free play causes incomplete disengagement (gear clunking, creeping); insufficient free play causes the clutch to slip under load, burning the friction plates.
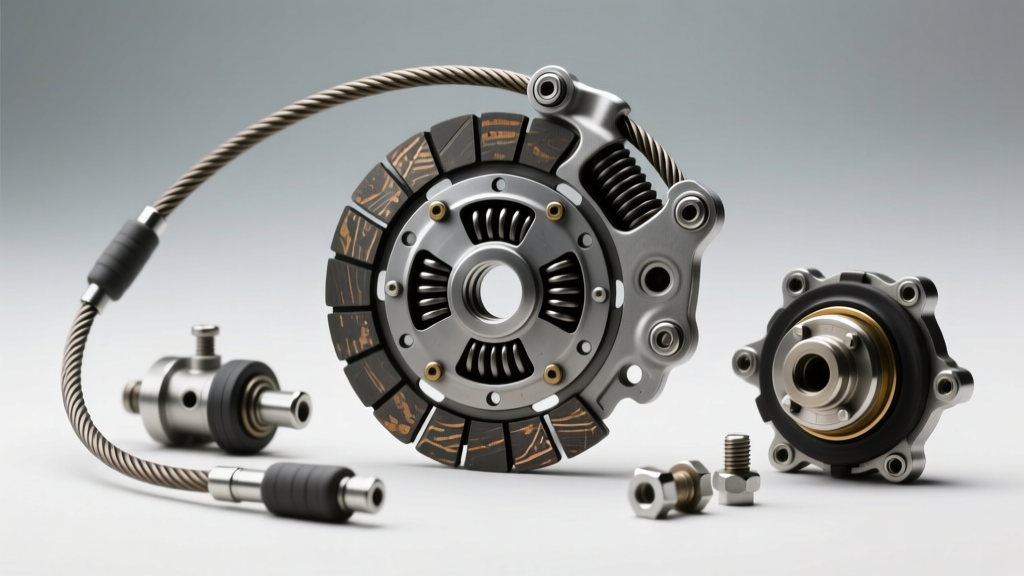
- Cable Jacket and Ferrule Integrity: Inspect the 90-degree ferrule where the cable enters the transmission derby cover. Look for crushed polymer jackets, frayed outer housing, or rust weeping from the inner wire. A compromised jacket alters the pull ratio and introduces friction.
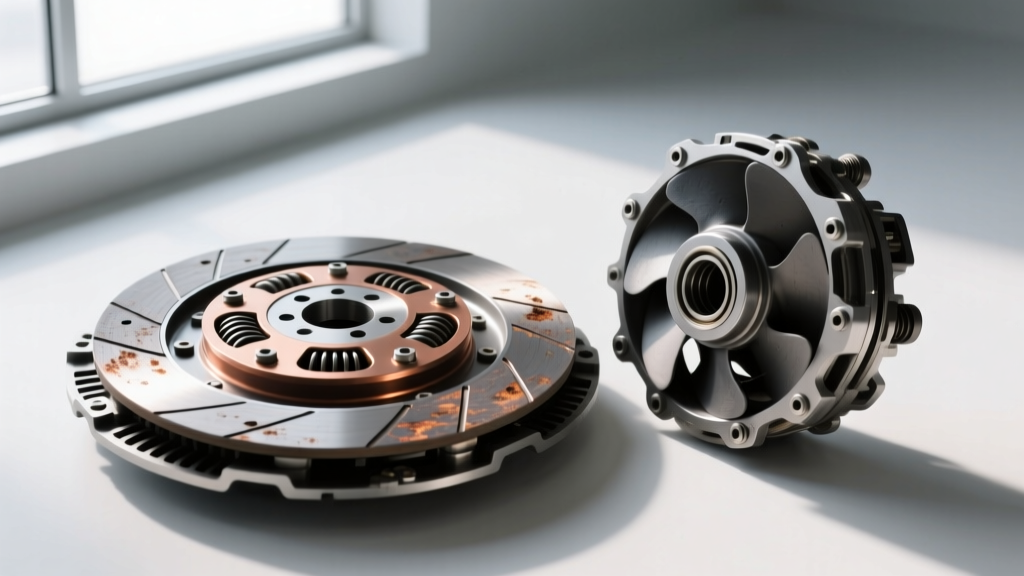
- Clutch Diaphragm Spring Tension: With the primary cover removed, inspect the diaphragm spring. Check for bluing (heat damage) or cracked fingers. Measure the spring free length; for most Big Twin applications, the service limit is typically 1.65 inches. If the spring has sagged past this threshold, no amount of cable adjustment will restore proper clamping force.
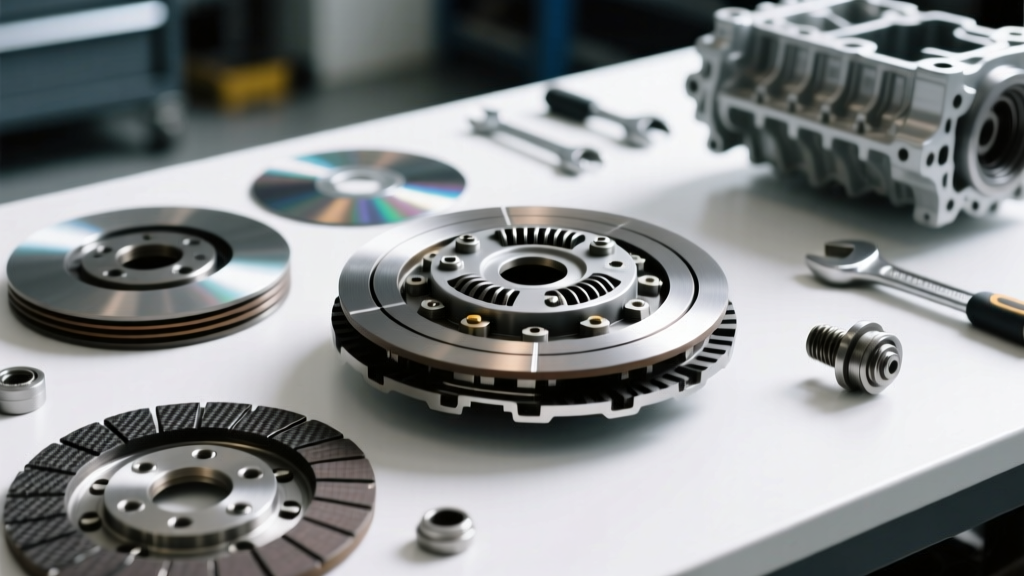
- Friction and Steel Plate Micrometer Check: Pull the clutch pack. Measure the friction plates with a micrometer. Standard thickness is generally around 0.118 inches, with a strict wear limit of 0.098 inches. Inspect steel plates for warping using a machinist's straightedge; runout exceeding 0.004 inches mandates replacement.
- Release Bearing and Mushroom Actuator: Remove the clutch release cover on the transmission side. Inspect the thrust bearing for gritty rotation or axial play. Check the ramp mechanism for deep grooves worn into the metal by the bearing.
- Primary Chain Slack: While the primary is open, measure chain deflection. The spec is 3/8-inch to 1/2-inch of up-and-down play in the bottom strand. A loose primary chain can whip and strike the clutch cable routing, causing erratic lever feel.
Executing the Harley Davidson Clutch Cable Replacement
When your diagnostic checklist points to excessive internal friction, a stretched inner wire, or a compromised housing, a complete Harley Davidson clutch cable replacement is mandatory. Attempting to salvage a fatigued cable with chemical lubricants is a temporary band-aid that will inevitably leave you stranded in traffic.
Routing and Adjuster Integration
The replacement procedure requires careful attention to the cable routing path. On Touring models with fairing lowers, the cable must be routed precisely to avoid pinch points against the engine guard or voltage regulator. When installing the new cable (such as an OEM replacement or an upgraded Barnett Platinum Series cable), thread the adjuster all the way in before seating the ferrule into the transmission case. This ensures you have maximum adjustment range available as the new cable undergoes its initial bedding-in stretch.
After seating the cable, adjust the internal 'mushroom' actuator screw inside the derby cover. Back the screw out until you feel zero resistance, then turn it inward until it lightly seats against the clutch release bearing. Back it off exactly 1/2 to 5/8 of a turn and secure the locknut. Finally, set your handlebar lever free play to the 1/16-inch specification.
Critical Torque Specifications and Clearances
Reassembling the primary chaincase requires strict adherence to factory torque specifications. Over-torquing the derby cover will strip the aluminum crankcase threads, while under-torquing the clutch hub nut will result in the hub walking off the mainshaft, destroying the transmission.
| Component | Torque Specification | Lubricant / Threadlocker |
|---|---|---|
| Primary Chaincase Cover | 84 - 108 in-lbs | None (Use new O-ring) |
| Derby Cover (Clutch Inspect) | 84 - 108 in-lbs | None |
| Clutch Hub Nut | 70 - 80 ft-lbs | Loctite 271 (Red) |
| Compensator Sprocket Bolt | 150 - 165 ft-lbs | Loctite 271 (Red) |
| Cable Adjuster Locknut | 72 - 96 in-lbs | Anti-seize on threads |
Differential Diagnosis: Cable Stretch vs. Friction Plate Wear
One of the most common misdiagnoses in V-Twin drivetrains is confusing a stretched cable with a worn clutch pack. Both present with similar symptoms: the motorcycle creeps forward when the lever is pulled to the grip, and finding neutral at a stoplight becomes difficult. However, the mechanical root causes are entirely different.
The 'Slip' vs. 'Drag' Test
If the motorcycle accelerates but the RPMs climb disproportionately to the road speed under heavy throttle (especially in 4th or 5th gear), you are experiencing clutch slip. This is rarely a cable issue; it indicates oil contamination, glazed friction plates, or a weakened diaphragm spring. Conversely, if the motorcycle lurches forward with the lever fully engaged against the grip, you are experiencing clutch drag. This is typically caused by a stretched inner cable wire, warped steel plates, or an incorrectly adjusted internal actuator screw.
Expert Insight: Never lubricate a Harley-Davidson clutch cable with standard WD-40 or lightweight chain lube. These solvents attract grit and degrade the internal nylon liner. If a cable requires lubrication, use a dedicated PTFE dry-film cable lube injected via a mechanical cable oiler tool. However, in 2026, the cost of OEM cables (typically $45-$75) makes outright replacement the only reliable standard of care.
Primary Fluid Analysis: The Hidden Diagnostic Tool
Before draining the primary chaincase, inspect the fluid. The condition of the primary oil offers a window into the health of the clutch pack and the compensator assembly. We highly recommend using dedicated V-Twin primary fluids, such as those formulated by AMSOIL, which are designed to handle the specific shear forces of the wet clutch and primary chain.
- Dark, Burnt Odor: Indicates severe friction plate glazing and overheating. The clutch pack is slipping and generating excessive thermal energy.
- Golden/Cloudy Fluid: Suggests water intrusion, often from a compromised primary cover gasket or riding in heavy rain without proper sealing.
- Metallic Flakes (Magnetic): Points to wear in the clutch hub splines or the primary chain stretching and wearing against the tensioner shoe. If you find heavy metallic paste on the primary drain plug magnet, a clutch cable replacement will not solve your drivetrain noise; a complete primary teardown is required.
Conclusion
A systematic approach to Harley-Davidson clutch diagnostics separates professional-grade repairs from guesswork. By utilizing this inspection checklist, you ensure that every Harley Davidson clutch cable replacement is justified, correctly routed, and perfectly adjusted. Whether you are maintaining a legacy Twin Cam cruiser or a modern Milwaukee-Eight bagger, respecting the precise tolerances of the mechanical actuation system guarantees smooth shifts, predictable lever feel, and the long-term survival of your primary drive components. For genuine replacement components and factory service manuals, always consult Harley-Davidson Genuine Parts or trusted aftermarket manufacturers.