The Physics of Motorcycle Clutch Chatter in Modern Sportbikes
When launching a high-performance motorcycle or rolling on the throttle in second gear, a violent hopping from the rear suspension is more than just an annoyance—it is a critical drivetrain warning. Clutch chatter is fundamentally a stick-slip friction phenomenon. When the friction coefficient between the clutch plates oscillates rapidly during engagement, it generates torsional vibrations that travel through the transmission input shaft, the drive chain, and ultimately manifest as rear-wheel hop. In the 2026 track-day environment, where ride-by-wire throttle mapping and electronic quickshifters are highly sensitive to drivetrain shock, unresolved chatter can confuse the ECU, trigger false neutral faults, and prematurely destroy transmission dogs.
While many riders immediately suspect warped steel plates or a notched clutch basket, the root cause often traces back to a much simpler, yet frequently misunderstood variable: improper bike clutch cable adjustment. Understanding the mechanical relationship between cable tension, pressure plate clamping force, and friction material behavior is the first step in diagnosing and eliminating performance-robbing vibration.
Why Bike Clutch Cable Adjustment is the First Diagnostic Step
The clutch cable is the mechanical link between the rider's input and the pressure plate. If this linkage is compromised or incorrectly adjusted, the clutch pack cannot operate within its designed thermodynamic and frictional parameters.
The Micro-Slip and Glazing Cascade
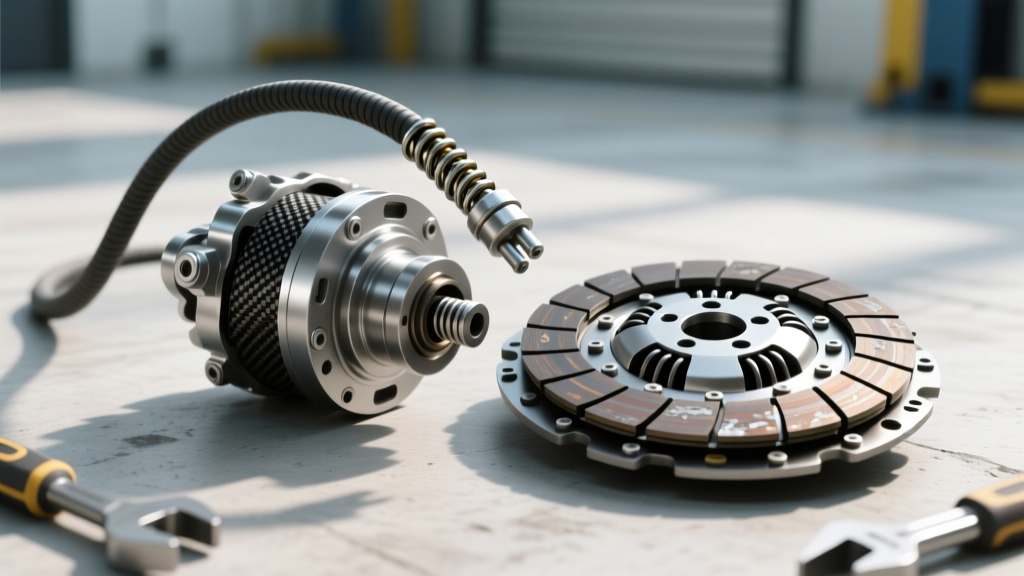
A common misconception among amateur track-day riders is that running zero free play at the lever allows for faster, more direct shifts. In reality, a bike clutch cable adjustment that lacks the mandatory 10-15mm of free play prevents the clutch springs from fully seating the pressure plate. This results in continuous micro-slipping under heavy load. Micro-slipping generates extreme localized heat (often exceeding 400°F at the friction interface), which rapidly glazes Kevlar or carbon-fiber friction materials. Once glazed, the plates lose their progressive bite. Instead of engaging smoothly, they grab and release in milliseconds, creating the violent stick-slip chatter felt through the chassis.
Asymmetric Clamping and High-Frequency Vibration
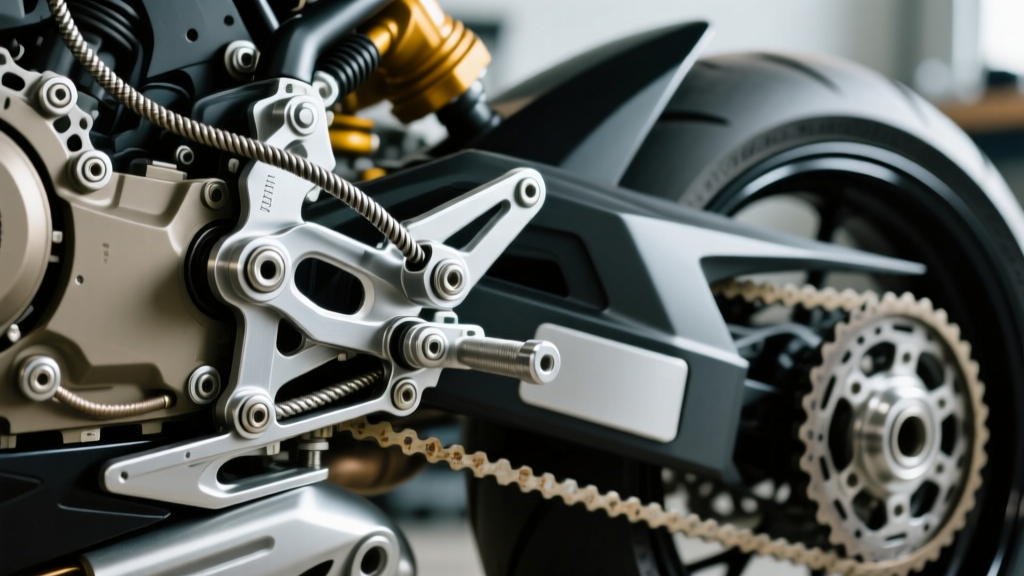
Conversely, if a cable is improperly routed, kinked, or suffering from internal fraying, the pull on the clutch actuator arm becomes uneven. This asymmetric force tilts the pressure plate slightly during engagement, causing the clutch pack to compress unevenly. The result is a high-frequency vibration felt primarily through the footpegs and handlebars during mid-RPM engagement, rather than the low-frequency rear-end hop associated with glazed plates.
Differentiating Cable-Induced Chatter from Hardware Failure
Before tearing down the engine cases to inspect the clutch basket, you must isolate the variable. Use the following diagnostic matrix to determine if your chatter is adjustment-induced or requires hard-part upgrades.
| Symptom Profile | Primary Suspect | Diagnostic Test | Corrective Action |
|---|---|---|---|
| Low-frequency rear hop in 1st/2nd gear under load; lever feels overly stiff. | Glazed plates due to tight cable (zero free play). | Check for a burning smell post-ride. Inspect plates for a glossy, hardened surface. | Correct cable free play to 10-15mm. Replace friction plates with Barnett Carbon/Kevlar kit. |
| High-frequency buzzing/vibration through footpegs during partial engagement. | Asymmetric pressure plate loading from frayed/routed cable. | Inspect cable routing for sharp bends. Check actuator arm for uneven wear. | Install Teflon-lined aftermarket cable. Verify actuator arm pivot play. |
| Chatter accompanied by a metallic 'clack' at the lever; lever feel is notchy. | Notched OEM cast aluminum clutch basket fingers. | Remove clutch cover. Attempt to slide friction plates laterally; they will hang up on notches. | Upgrade to 7075-T6 Billet Clutch Basket (e.g., Hinson or STM). |
| Chatter only occurs when engine is fully heat-soaked (after 20+ mins). | Thermal expansion altering cable tension. | Measure free play cold, then measure again at operating temp (180°F+). | Adjust lower barrel adjuster to compensate for thermal jacket expansion. |
Performance Upgrades to Eliminate Vibration at the Source
If your diagnostic tests reveal that your OEM hardware is the limiting factor, or if you are pushing over 180 rear-wheel horsepower where stock clutches inevitably fail, targeted upgrades are required to maintain a chatter-free drivetrain.
Teflon-Lined Cables and Hydraulic Conversions
Standard OEM cables use a bare steel inner wire inside a vinyl-lined housing. Under high-temperature conditions near the engine block, the vinyl degrades, increasing friction and causing the cable to 'stick' upon release, leading to uneven engagement. Upgrading to a Motion Pro Teflon-lined cable reduces internal friction by up to 40%, ensuring the pressure plate returns to its fully clamped state instantly and evenly. For ultimate consistency, many superbike teams utilize hydraulic clutch actuation (using a Brembo or Magura radial master cylinder paired with a CNC slave cylinder), which self-compensates for plate wear and completely eliminates cable stretch variables.
Billet Clutch Baskets and Heavy-Duty Springs
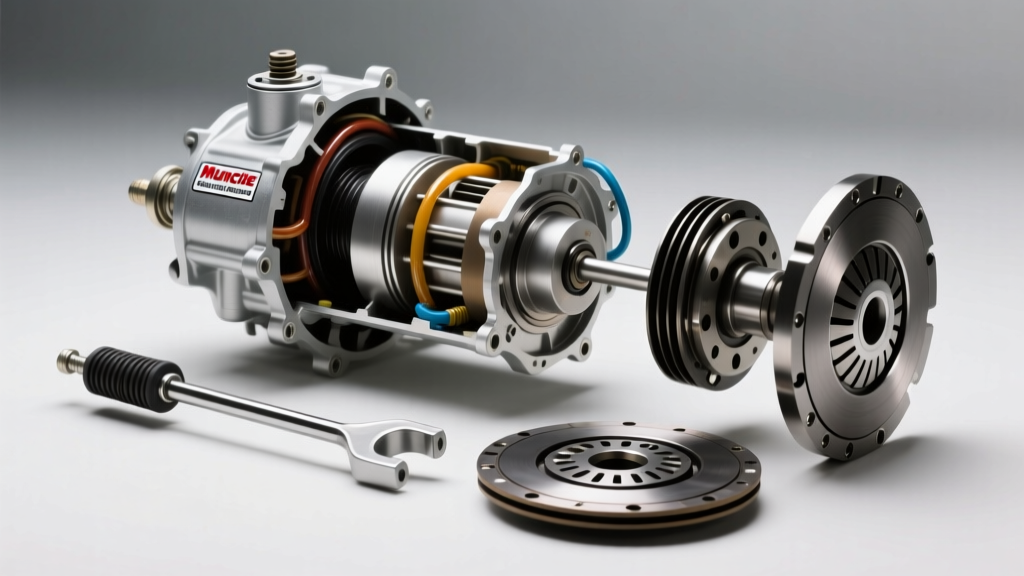
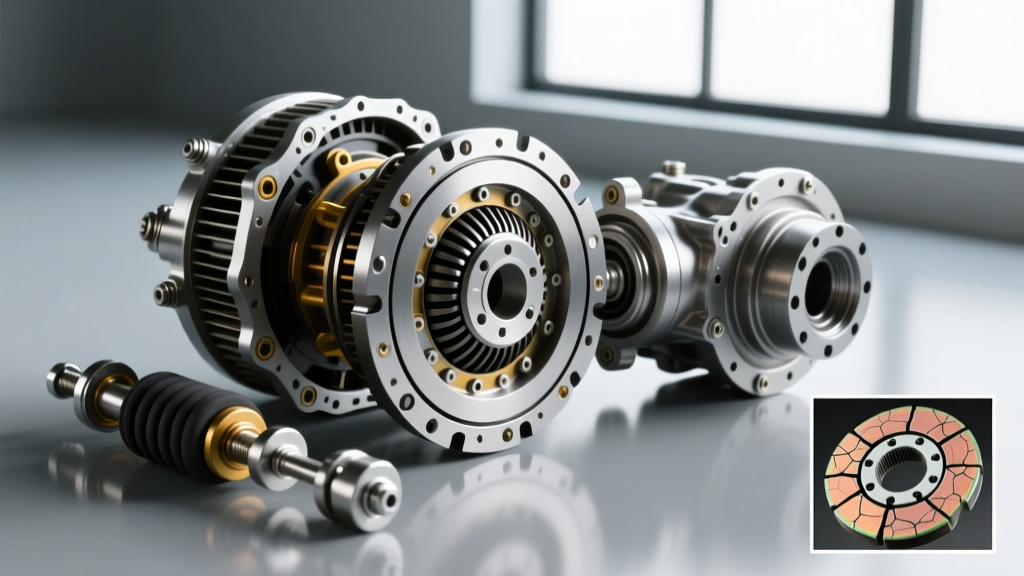
OEM cast aluminum clutch baskets are prone to developing notches on the fingers where the steel plates ride. When plates hang up in these notches, they cannot expand outward when the lever is pulled, and they slam inward unevenly when released, causing severe mechanical chatter. Upgrading to a Hinson Billet Clutch Basket (machined from 7075-T6 aerospace aluminum, typically $425-$475) features hard-anodized fingers that resist notching entirely. Pair this with heavy-duty clutch springs (rated 10-15% stiffer than OEM) to increase clamping force without altering the lever ratio, ensuring the plates lock together instantly to prevent the slip-stick cycle.
Step-by-Step Precision Adjustment Procedure
To achieve the perfect engagement zone and eliminate chatter, follow this precision adjustment protocol. This procedure assumes a modern Japanese inline-four or European V4 platform (e.g., Yamaha YZF-R1, Kawasaki ZX-10R, Ducati Panigale V4).
- Reset the System: Back the barrel adjuster at the handlebar lever all the way in to create maximum slack. Loosen the locknut on the lower cable adjuster located at the engine case.
- Set the Base Actuator Clearance: Turn the lower adjuster until you feel slight resistance on the clutch actuator arm, then back it off exactly one-half turn. This ensures the throw-out bearing or pushrod is not pre-loaded against the pressure plate, which would cause micro-slipping and subsequent chatter.
- Dial in Lever Free Play: Adjust the handlebar barrel adjuster to achieve 10-15mm of free play measured at the very tip of the lever. This specific measurement accounts for thermal expansion of the cable housing during aggressive riding.
- Verify the Friction Zone: Start the bike in gear with the rear brake applied. Slowly release the lever. The engagement should be progressive, not abrupt. If it grabs instantly (causing a stall or hop), add 2mm of free play. If it slips or requires pulling to the bar, reduce free play by 2mm.
- Secure and Seal: Tighten all locknuts. Apply a drop of blue Loctite 242 to the lower adjuster threads to prevent vibration-induced backing out, a common cause of mid-session chatter on the track.
Critical Torque Specs for Internal Hardware
If your diagnosis requires removing the clutch pack to replace glazed plates or install a billet basket, adherence to factory torque specifications is non-negotiable to prevent warping and vibration.
- Clutch Center Nut: Typically 75-85 Nm (55-63 lb-ft) on models like the Yamaha CP4 engine. Must be torqued using a dedicated clutch holding tool (e.g., Motion Pro 08-0411) to prevent transmission shock loading.
- Pressure Plate Spring Bolts: 8-10 Nm (71-89 lb-in). These are small M5 or M6 bolts that strip easily. Always use a criss-cross tightening pattern in three stages to ensure the pressure plate seats perfectly flat. An unevenly seated pressure plate guarantees high-frequency chatter.
- Clutch Cover Bolts: 10-12 Nm. Use a torque wrench to avoid warping the magnesium or thin-cast aluminum cover, which can lead to oil weeping and improper internal clearances.
Final Thoughts on Drivetrain Harmony
In the pursuit of lap times and canyon-carving precision, riders often overlook the foundational mechanics of the clutch system. As outlined by technical experts at Cycle World, regular inspection of the clutch cable and friction materials is just as critical as brake fluid flushes or chain maintenance. By mastering your bike clutch cable adjustment, recognizing the early symptoms of stick-slip chatter, and investing in high-quality billet and carbon-fiber upgrades when necessary, you will transform your motorcycle's drivetrain from a source of vibration into a seamless, predictable extension of your right hand.