Diagnosing Mechanical Linkage Failure: The Symptoms
Owning a classic GM muscle car equipped with a legendary Muncie M20, M21, or M22 'Rock Crusher' 4-speed transmission is a rite of passage. However, the antiquated mechanical Z-bar clutch linkage found in 1960s and 1970s A-body and F-body chassis is notorious for degrading over time. Before tearing into your drivetrain, it is critical to perform a proper clutch diagnosis by symptom. If you are experiencing the issues below, a muncie 4 speed hydraulic clutch conversion is the most reliable permanent fix.
Symptom 1: Erratic Pedal Feel and Binding
A healthy mechanical clutch should offer smooth, linear resistance. If your pedal feels 'notchy,' binds at the top of the stroke, or requires excessive effort (over 45 lbs of force), the issue usually traces back to the Z-bar pivot bushings or the clutch fork pivot ball. In engine bays that have seen decades of heat cycling, the factory nylon or bronze bushings wear into oval shapes. This introduces lateral play, causing the clutch fork to bind against the transmission bellhousing window rather than pushing the throwout bearing squarely against the diaphragm spring fingers.
Symptom 2: Drivetrain Clunking and Vibration
Vibration that occurs specifically when the clutch pedal is depressed—or a harsh 'clunk' upon engagement—is a hallmark of a failing mechanical linkage. When the Z-bar is bent or the engine mounts are sagging, the geometry between the engine block pivot and the transmission bellhousing shifts. This misalignment forces the throwout bearing to ride at an angle against the pressure plate. The resulting uneven clamping load induces harmonic vibration through the input shaft, which you feel in the shifter and the chassis. Furthermore, a worn pivot ball can create a metallic rattling noise at idle that disappears when the pedal is pressed.
Symptom 3: Incomplete Disengagement (Gear Crunch)
If shifting into first or reverse from a stop results in gear crunching, your clutch is not fully disengaging. While this can indicate a warped friction disc, in the context of classic GM manuals, it is frequently caused by flex in the mechanical linkage. Under heavy pedal load, a worn Z-bar and stamped-steel clutch fork will physically flex, absorbing up to 0.100 inches of travel that never reaches the throwout bearing. This lack of travel prevents the pressure plate from fully releasing the disc.
Why Convert? Mechanical vs. Hydraulic Data
As of 2026, upgrading to a hydraulic system is the gold standard for restomods and daily-driven classics. A hydraulic setup uses fluid to transfer pedal force, completely eliminating the geometric variables introduced by engine torque roll and worn bushings.
| Feature | Factory Mechanical Z-Bar | Internal Hydraulic Throwout Bearing (HTOB) |
|---|---|---|
| Pedal Effort | High (35-50 lbs) | Low (15-25 lbs) |
| Geometry Sensitivity | High (affected by motor mounts) | None (fluid transfers force) |
| Maintenance | Grease pivot points, replace bushings | Check DOT 4 fluid, bleed system |
| Travel Consistency | Varies with component flex | 100% consistent 1:1 ratio |
| Typical 2026 Kit Cost | $150 - $250 (Replacement parts) | $850 - $1,300 (Complete conversion) |
Step-by-Step: Muncie 4 Speed Hydraulic Clutch Conversion
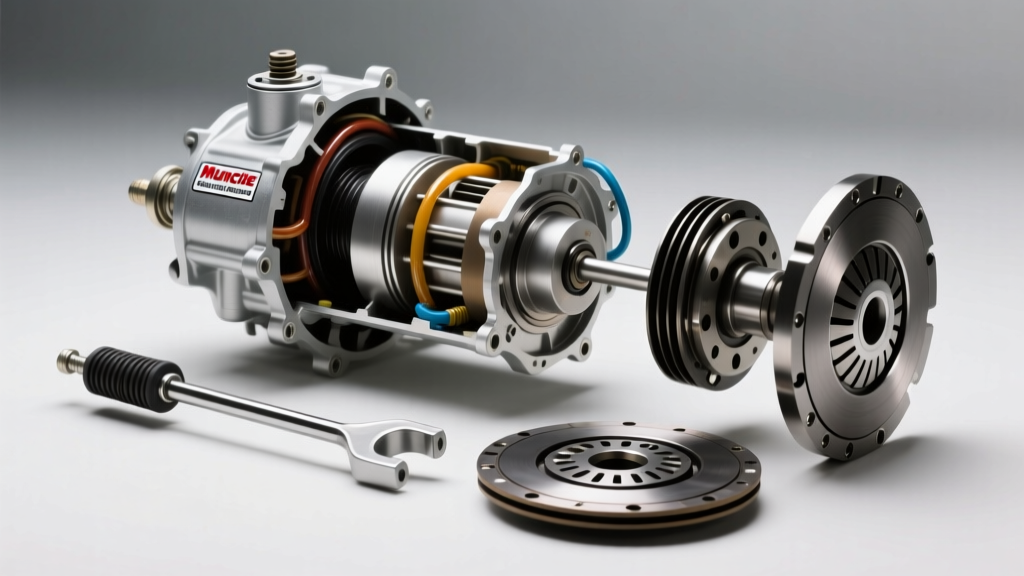
When you have confirmed that your symptoms point to linkage failure, it is time to perform the conversion. This guide assumes the use of a modern internal Hydraulic Throwout Bearing (HTOB) kit, such as those offered by McLeod Racing or American Powertrain.
Step 1: Removal of the Z-Bar and Mechanical Linkage
Begin by safely supporting the vehicle and removing the driveshaft and transmission crossmember. Unbolt the mechanical clutch fork from the Z-bar, then remove the Z-bar from the engine block pivot bracket and the bellhousing stud. Remove the clutch fork and the original mechanical throwout bearing from the Muncie's front bearing retainer collar. Inspect the retainer collar; early Muncies typically feature a 1.375-inch diameter collar, while later heavy-duty versions or aftermarket cases may vary. Clean the collar thoroughly with brake cleaner.
Step 2: Bellhousing Preparation and Measurement
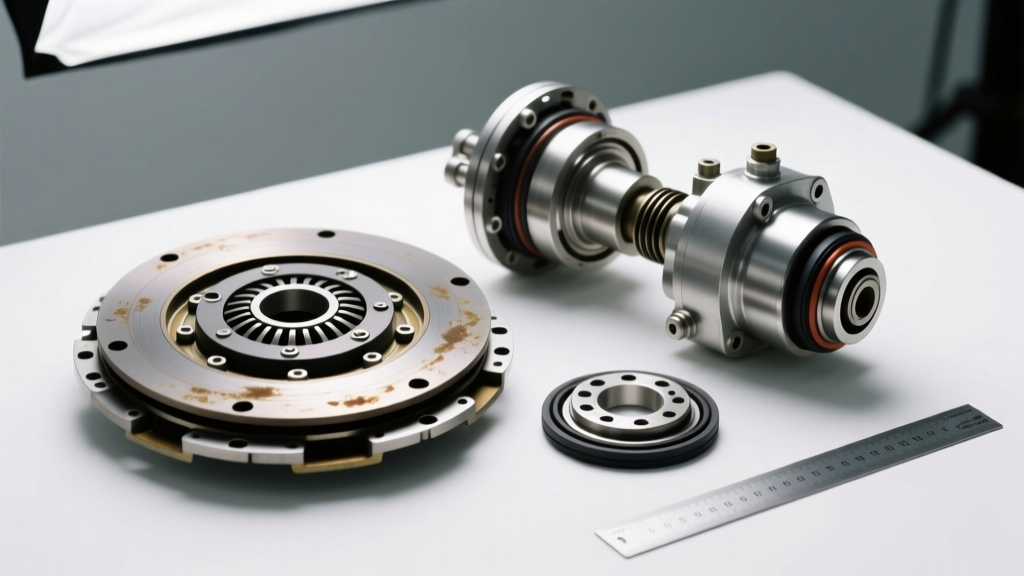
Proper HTOB setup requires precise measurements to ensure the bearing maintains the correct air gap (or preload, depending on the manufacturer). With the bellhousing removed and the new pressure plate bolted to the flywheel, use a dial caliper to measure the distance from the bellhousing mating surface to the tips of the pressure plate diaphragm fingers. Record this measurement. Next, measure the HTOB from its mounting flange to the bearing face in its fully compressed state. The difference between these two numbers dictates the shim stack required to achieve the manufacturer's specified air gap (typically 0.100 to 0.150 inches for McLeod units). Install the provided shims onto the Muncie retainer collar.
Step 3: Installing the Hydraulic Throwout Bearing
Slide the shimmed HTOB over the transmission's front bearing retainer. Ensure the anti-rotation pin or tab aligns with the slot in the retainer collar to prevent the bearing from spinning with the input shaft. Route the AN-4 hydraulic supply and return lines through the bellhousing inspection window, using high-temperature silicone to seal the exit point against road debris and moisture. Reinstall the bellhousing to the engine block, torquing the 3/8-inch bolts to 35 lb-ft and the 7/16-inch bolts to 50 lb-ft.
Step 4: Master Cylinder Mounting and Line Routing
Mount the hydraulic master cylinder to the firewall. Most classic GM conversions require drilling a new 1-inch hole in the firewall for the pushrod, alongside two 5/16-inch mounting holes. Use a reinforced firewall plate to prevent the sheet metal from flexing under pedal pressure. Connect the hard line or braided stainless hose from the master cylinder to the HTOB supply line. Ensure all AN fittings are tightened to 15-20 lb-ft using an aluminum wrench to avoid marring the fittings.
Step 5: Bleeding the System and Pedal Adjustment
Fill the master cylinder reservoir with high-quality DOT 4 fluid (such as Motul RBF 600), which offers a higher boiling point than standard DOT 3, crucial for exhaust-adjacent routing in classic muscle cars. Open the bleeder screw on the HTOB or the remote bleeder kit if your bellhousing lacks an access hole. Gravity bleed the system first, then use a pressure bleeder set to 15 PSI to force out any micro-bubbles trapped in the HTOB piston. Once the fluid runs clear and bubble-free, adjust the master cylinder pushrod to provide exactly 1/8-inch of free play at the top of the pedal to ensure the HTOB fully retracts and does not ride the pressure plate fingers.
Troubleshooting Post-Conversion Symptoms
Even with a flawless installation, you must verify the repair by diagnosing the new system's feel and operation.
- Symptom: Spongy Pedal Feel. This indicates trapped air. HTOBs are notorious for trapping air in the internal piston cavity. Elevate the front of the car to force the air bubble back toward the master cylinder and re-bleed.
- Symptom: Pedal Slowly Sinking to the Floor. You likely have a leak at an AN fitting, or the master cylinder internal cup seal is bypassing fluid. Check for weeping at the firewall pushrod.
- Symptom: High-Pitch Squeal Upon Release. The HTOB air gap is too tight, causing the bearing to lightly contact the spinning diaphragm fingers at rest. You must pull the transmission and add shims to increase the gap.
By methodically diagnosing your initial mechanical symptoms and executing a precision hydraulic conversion, your Muncie 4-speed will shift with the smooth, effortless precision of a modern performance vehicle, entirely eliminating the vibration and binding of the past.