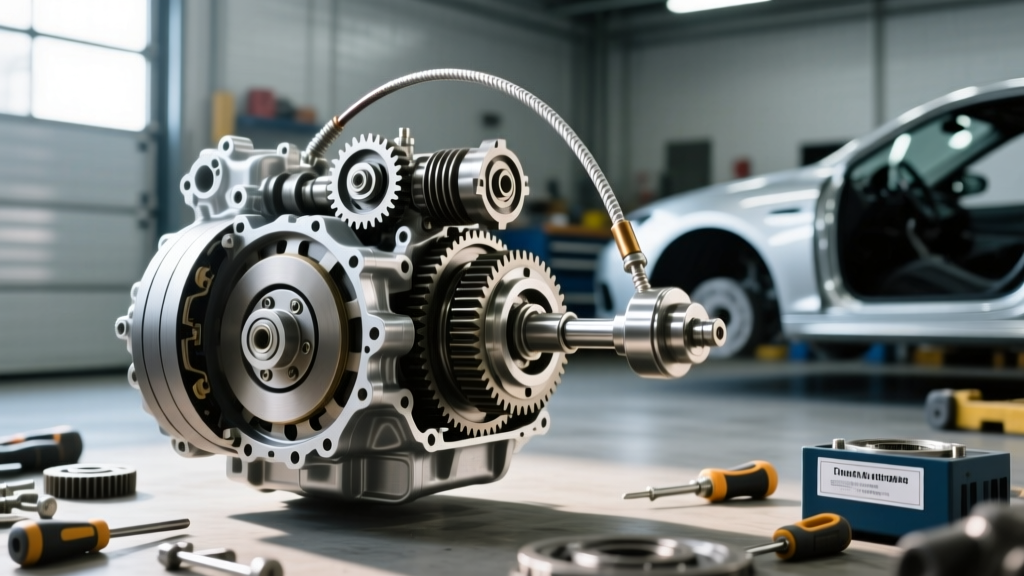
One of the most common questions we receive from novice gearheads and daily commuters alike is a variation of a simple query: when should you downshift automatic transmissions manually, and why is my vehicle doing it erratically on its own? Understanding the mechanics behind your vehicle's gear selection is critical for both performance and longevity. While modern vehicles rely heavily on electronic solenoids and transmission control modules (TCMs), the physical linkages and cables connecting your gear selector to the transmission case remain a vital, often overlooked, mechanical bridge.
If your automatic transmission is hunting for gears, refusing to downshift under load, or slamming into gear with violent force, the culprit is frequently not a failing computer, but a stretched, misadjusted, or binding shift cable. In this comprehensive beginner-friendly explainer, we will break down exactly when your automatic transmission should be downshifting, the difference between shift linkage cables and Throttle Valve (TV) cables, and how to perform a precise adjustment to restore factory shift quality.
The Basics: When Should You Downshift Automatic Transmissions?
Before diving under the hood, it is essential to understand the ideal shift points. Under normal driving conditions, your transmission's computer or hydraulic governor dictates upshifts and downshifts based on vehicle speed, engine load, and throttle position. However, there are specific scenarios where you should manually intervene or expect the transmission to kick down:
- Engine Braking on Steep Descents: When towing or driving down a mountain grade, you should manually select a lower gear (e.g., shifting from 'D' to '3' or 'L') to utilize engine compression and prevent brake fade.
- Passing and Merging: Under heavy acceleration, the transmission should automatically downshift (kickdown) to access the engine's peak torque band. If this doesn't happen, your vehicle will feel dangerously sluggish.
- Navigating Deep Snow or Mud: Starting in a higher gear (like 2nd) prevents wheel spin, but downshifting to a lower gear helps you rock the vehicle or maintain momentum in thick sludge.
If your vehicle fails to execute these downshifts, or if the shift points feel entirely disconnected from your right foot, you likely have a cable adjustment issue.
Shift Linkage vs. TV Cable: Knowing the Difference
To diagnose and fix your shift points, you must understand that 'shift cables' actually refer to two entirely different systems depending on the age and design of your transmission.
1. The PRNDL Shift Linkage Cable
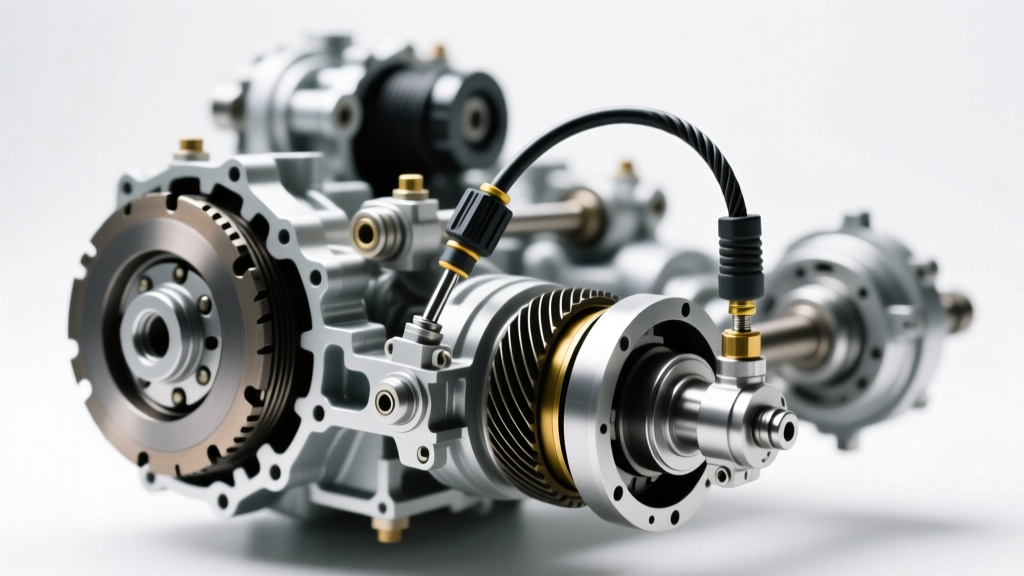
Found on almost every automatic transmission—from the classic GM 4L60E to the modern ZF 8HP—the shift linkage cable connects your steering column or console shifter to the transmission's manual valve. This cable tells the transmission whether you are in Park, Reverse, Neutral, Drive, or Low. If this cable is stretched or misadjusted, the manual valve sits between detents. This causes line pressure to bleed off, resulting in delayed engagements, harsh shifts, or the transmission failing to recognize that you are in 'Drive' or 'Low', effectively ruining your ability to manually downshift.
2. The Throttle Valve (TV) / Kickdown Cable
On older hydraulic and early electronic transmissions (such as the GM 700R4, 4L60E, and Ford AOD), a secondary cable called the TV cable connects the throttle body to the transmission. This cable physically modulates internal line pressure and dictates exactly when the transmission should downshift based on how far you press the gas pedal. If the TV cable is misadjusted, your shift points will be completely ruined. Note: Modern transmissions like the GM 6L80, 8L90, and ZF 8HP do not use a TV cable; they rely on electronic throttle position sensors (TPS) and solenoids to manage downshifts.
Diagnostic Chart: Is Your Cable Misadjusted?
Use the table below to determine whether your erratic downshifts are caused by a mechanical cable issue or an internal electronic fault.
| Symptom | Shift Linkage Cable Issue | TV / Kickdown Cable Issue (Older Autos) | Electronic / Solenoid Issue |
|---|---|---|---|
| Harsh, slamming engagement into Drive or Reverse | Highly Likely (Manual valve misaligned) | Highly Likely (Line pressure too high at idle) | Unlikely |
| Delayed engagement or slipping in gear | Highly Likely (Bleeding line pressure) | Highly Likely (Line pressure too low) | Possible (Failing pump or worn clutches) |
| Failure to downshift under heavy acceleration | Unlikely | Highly Likely (Cable too loose or broken) | Highly Likely (Bad TPS or kickdown solenoid) |
| Vehicle rolls in 'Park' | Highly Likely (Park pawl not engaged) | N/A | N/A |
Step-by-Step: Adjusting the TV Cable (GM 4L60E / 700R4)
If you are driving a classic GM truck or muscle car equipped with a 700R4 or early 4L60E, adjusting the TV cable is mandatory for setting correct downshift points and preventing catastrophic clutch burn-up. According to the Automatic Transmission Service Group (ATSG), an improperly adjusted TV cable is the number one cause of premature 700R4 failure.
Tools Required
- GM TV Cable Adjustment Tool (J-38532) or aftermarket equivalent (e.g., Lisle 45120)
- 10mm and 13mm sockets
- Calipers or precision ruler
The Adjustment Procedure
- Locate the Cable: Find the TV cable connected to the throttle linkage on your engine bay. Follow it down to the transmission pan.
- Release the Tension: Press the metal release tab on the cable housing collar and push the housing toward the firewall to slacken the cable.
- Set Idle Position: With the engine off and the throttle at curb idle (closed), the cable stopper should protrude from the housing by exactly 3/16 to 1/4 of an inch. Use your adjustment tool or calipers to measure this. If it is flush, the cable is too loose, and the transmission will slip and burn the 3-4 clutches. If it protrudes more than 1/4 inch, shifts will be violently harsh.
- Set Wide Open Throttle (WOT): Have a helper press the gas pedal to the floor (WOT). The cable should be pulled to its absolute maximum travel, but the plastic stopper should not bottom out so hard that it bends the throttle bracket.
- Test Drive: The transmission should now upshift and downshift smoothly, with a firm kickdown into a lower gear when you floor it at highway speeds.
Step-by-Step: Adjusting the PRNDL Shift Linkage Cable
For modern vehicles like those equipped with the GM 6L80, or even the shift-by-wire ZF 8HP (which still utilizes a mechanical override cable for Park/Neutral), aligning the shift linkage ensures the manual valve is perfectly centered in its detents. This guarantees that when you select 'L' or 'M' for manual downshifting, the transmission actually receives the command.
The Adjustment Procedure
- Secure the Vehicle: Place the vehicle on jack stands or a lift. Chock the wheels and ensure the parking brake is engaged.
- Set the Cabin Shifter: Place the gear selector inside the cabin firmly into the 'Park' position.
- Align the Transmission Manual Shaft: Crawl under the vehicle and locate the shift lever on the side of the transmission case. Rotate the manual shaft fully clockwise (or counter-clockwise, depending on the manufacturer) until it clicks into the Park detent. You will feel the internal park pawl engage.
- Adjust the Cable Housing: Loosen the retaining bolt or clip on the shift cable bracket. Slide the cable housing forward or backward until the alignment pin on the cable end slides into the transmission shift lever without any binding or resistance. You should not have to pull or push the transmission lever to get the pin to seat.
- Torque to Spec: Tighten the cable bracket retainer bolt. For most GM and Ford applications, the torque spec for this bracket bolt is 15 to 18 lb-ft (20 to 25 Nm). Over-tightening can warp the bracket and cause binding.
- Verify Park Pawl Engagement: With the vehicle still in the air, attempt to turn the driveshaft by hand. If the driveshaft turns freely, the cable is still misadjusted, and the park pawl is not fully engaged. This is a severe safety hazard flagged by the National Highway Traffic Safety Administration (NHTSA) in multiple shift linkage recalls.
When to Replace Instead of Adjust
Cables do not last forever. The inner steel wire can stretch, and the outer Teflon-lined housing can become brittle, crack, and allow moisture to cause internal rust and binding. If you find yourself adjusting the cable repeatedly, or if the cable feels 'notchy' and stiff when moving the shifter, replacement is required.
Pro-Tip from the Bench: Never lubricate the inside of a factory shift cable with WD-40 or heavy grease. These products attract dirt and degrade the internal Teflon liner. If a cable is binding, it must be replaced.
Part Numbers and Pricing (2026 Estimates)
- Dorman 727-110 (Shift Linkage Cable): Fits various GM Silverado/Sierra trucks with column shifters. Retail price ranges from $45 to $75.
- Dorman 720-102 (TV / Kickdown Cable): Fits classic GM 700R4/4L60E applications. Retail price ranges from $35 to $55.
- ACDelco Professional Shift Cables: OEM replacements for late-model GM 6L80/8L90 applications. Expect to pay $90 to $140 for the part.
Labor costs for a professional shop to replace and adjust these cables typically range from $120 to $250, depending on whether the intake manifold or exhaust components must be removed to access the transmission bracket.
Final Thoughts on Shift Quality
Knowing when you should downshift automatic transmissions is only half the battle; ensuring the mechanical hardware is calibrated to execute those commands is where true automotive mastery begins. Whether you are setting the TV cable on a classic 4L60E to ensure firm, timed kickdowns, or aligning the PRNDL linkage on a modern 6L80 to protect your park pawl, taking the time to measure, adjust, and torque your shift cables to factory specifications will transform your vehicle's drivability. For more deep-dive transmission diagnostics, be sure to consult your factory service manual or reference trusted industry resources like Dorman Products for reliable replacement hardware.