Is Downshifting Bad for Automatic Transmission? The Engineering Reality
When navigating steep mountain grades or towing heavy loads, drivers frequently ask: is downshifting bad for automatic transmission longevity? From a purely mechanical standpoint, the answer is no. Downshifting to utilize engine braking is an excellent preventive maintenance technique that saves your service brakes from overheating and fading. However, the safety of this maneuver is entirely dependent on one often-overlooked component: the shift cable and linkage adjustment.
If your transmission's mechanical linkage is out of adjustment, manually selecting a lower gear (such as dropping from 'D' to '2' or 'L') can result in catastrophic internal damage. As of 2026, while modern vehicles rely heavily on electronic sensors, millions of vehicles on the road still utilize physical shift cables that require periodic inspection and adjustment to ensure safe downshifting.
Shift-by-Wire vs. Mechanical Linkage
To understand the risk, we must contrast modern and legacy transmission architectures. Modern transmissions like the ZF 8HP or Ford's 10R80 utilize shift-by-wire technology and sophisticated Transmission Control Modules (TCMs). If you attempt to downshift into a gear that would exceed the engine's redline, the TCM will simply reject the command, flashing the gear indicator on the dash and protecting the engine and clutch packs.
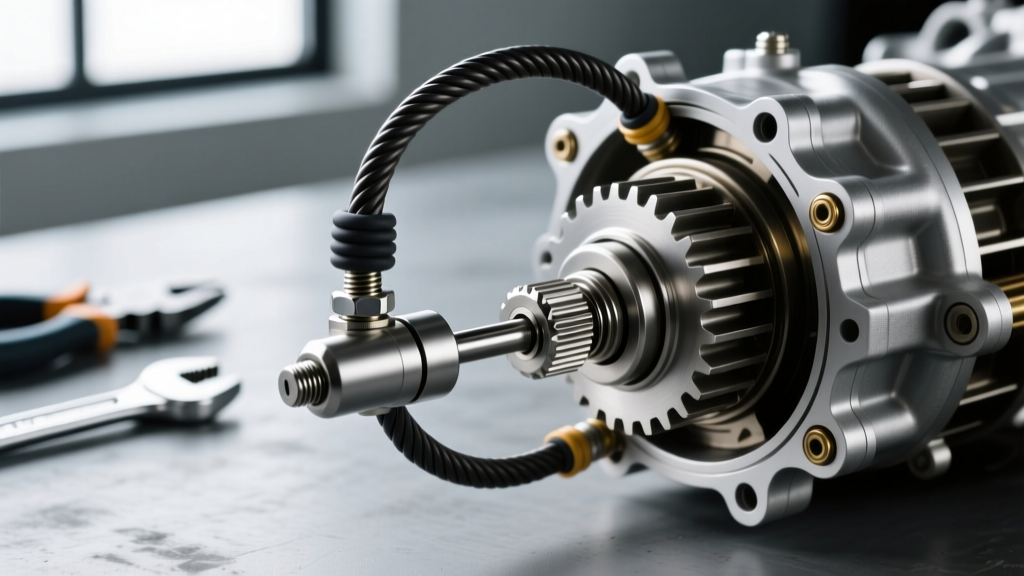
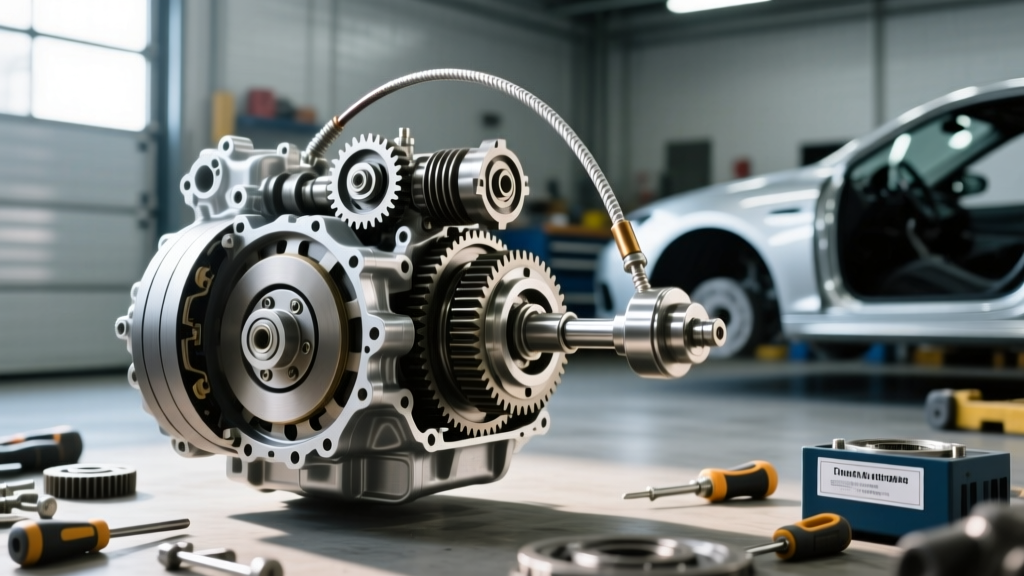
Conversely, legendary workhorse transmissions like the GM 4L60E, 4L80E, or the Ford 4R70W rely on a physical shift cable connecting the cabin shifter to the transmission's manual valve lever. When you move the shifter, the cable physically moves the manual valve inside the valve body to route hydraulic pressure to the corresponding clutch packs. If that cable is stretched, or if the plastic retaining bushings have degraded, the cabin shifter might indicate '2', but the transmission manual valve might be caught between 'Neutral' and '2'.
Why Shift Cable Adjustment is Critical Preventive Maintenance
According to industry analyses by Transmission Digest, linkage misalignment is a leading cause of unexplained clutch pack burnout and 'neutral drops' in older automatic vehicles. When a shift cable is misadjusted, the following sequence of destruction can occur during a manual downshift:
- The Neutral Flare: The manual valve fails to fully align with the hydraulic port for the lower gear. The transmission momentarily enters a neutral state while the engine is revving high.
- The Delayed Engagement: As hydraulic pressure finally bleeds into the correct clutch pack (e.g., the 2-4 band or 3-4 clutch), it engages while the engine RPM is vastly higher than the output shaft speed.
- Catastrophic Over-Rev: The sudden mechanical shock can snap the reaction sun shell, strip the sprag clutch, or instantly burn the friction material off the clutch discs, contaminating the entire fluid system with debris.
Expert Insight: Never manually downshift an automatic transmission for engine braking if you have noticed any 'slop' or play in the gear shifter, or if the gear indicator on the dashboard/column does not perfectly align with the PRNDL detents. This is a primary symptom of a stretched cable or worn linkage bushing.
Step-by-Step Shift Cable Adjustment (GM 4L60E / 4L80E Focus)
Preventive maintenance dictates that you verify your shift cable adjustment whenever you service the transmission fluid, replace the pan gasket, or install a new shifter assembly. Below is the industry-standard procedure for adjusting the shift cable on a typical GM 4L60E/4L80E application (common in Silverado, Sierra, and Tahoe platforms).
Required Tools and Torque Specifications
- Tools: 15mm wrench, flathead screwdriver, transmission jack (if accessing from below), safety glasses.
- Bracket Bolts: The transmission shift cable bracket bolts must be torqued to 25 Nm (18 lb-ft). Over-torquing can warp the thin stamped-steel bracket, altering the cable geometry.
- Retainer Clip: Ensure the locking tab is fully seated to prevent the cable from walking out of the bracket under heavy vibration.
The Adjustment Procedure
- Secure the Vehicle: Place wheel chocks and ensure the parking brake is fully engaged. Start the engine, shift into Neutral, and turn the engine off.
- Verify Cabin Shifter: Ensure the cabin shifter is resting exactly in the 'N' (Neutral) detent. Do not apply forward or backward pressure to the shifter.
- Locate the Manual Lever: Crawl under the vehicle and locate the shift cable bracket on the driver's side of the transmission oil pan. The manual lever should be resting in the Neutral detent (typically the middle position, verified by the alignment of the manual lever tab with the neutral switch indicator).
- Release the Locking Tab: Using a flathead screwdriver, gently pry up the plastic locking tab on the shift cable adjuster at the bracket.
- Zero the Slack: With the tab released, the cable housing will slide freely. Push or pull the cable housing until the cable end stud sits perfectly centered in the manual lever hole without pushing or pulling the lever itself out of its Neutral detent. You want zero slack, but zero preload.
- Lock and Verify: Snap the locking tab back down. Cycle the shifter through all gears (P-R-N-D-3-2-1) and verify that the manual lever clicks firmly into each detent and that the engine only starts in Park and Neutral (verifying the neutral safety switch alignment).
Diagnostic Matrix: Symptoms of a Failing Shift Cable
How do you know if your shift cable requires adjustment or replacement before you attempt a mountain descent? Use this diagnostic table to evaluate your linkage health.
| Symptom | Mechanical Cause | Potential Transmission Damage |
|---|---|---|
| Shifter feels loose or 'mushy' | Degraded plastic bushing at the manual lever (Very common on 2007-2018 GM trucks) | Failure to engage Park; vehicle rollaway risk |
| Engine cranks in Reverse or Drive | Cable stretched or adjusted too tightly toward the front of the vehicle | Starter ring gear damage; neutral safety switch failure |
| Harsh 'clunk' when shifting into gear | Cable adjusted with excessive preload, holding the manual valve slightly off-center | Premature wear on the forward clutch band and accumulator springs |
| RPM flare during manual downshift | Detent misalignment; manual valve crossing neutral before engaging lower gear | Instant burnout of 2-4 band or 3-4 clutch pack |
Parts Sourcing and Cost Breakdown
If inspection reveals that the cable is stretched beyond the adjuster's travel limits, or the bushings are disintegrated, replacement is mandatory. Sourcing high-quality components from reputable suppliers like RockAuto or your local dealer ensures proper metallurgy and plastic longevity.
| Component | Part Number Example | Estimated Cost (2026) | Application Notes |
|---|---|---|---|
| Shift Cable Bushing Kit | Dorman 780-102 | $6.00 - $12.00 | Fixes loose shifter without replacing the whole cable. Includes multiple sizes. |
| OEM Shift Cable Assembly | GM 15242204 | $65.00 - $95.00 | Direct fit for many GMT800/900 platforms. Includes new bracket clips. |
| Aftermarket Cable Assembly | Dorman 780-110 | $25.00 - $45.00 | Cost-effective alternative; verify length matches OEM exactly. |
| Professional Labor | N/A | $150.00 - $250.00 | Typically 1.0 to 1.5 hours of shop time for R&R and adjustment. |
Final Verdict: Safe Downshifting Protocols
So, is downshifting bad for automatic transmission components? No, provided your shift linkage is perfectly adjusted and you respect the RPM limits of your engine. Engine braking via manual gear selection is a vital driving technique for preserving your brake rotors and pads during long descents or when towing heavy trailers.
However, as a rule of preventive maintenance, you must treat your shift cable as a critical safety component. Inspect the cable bushings at every oil change, verify the PRNDL alignment, and perform a zero-preload adjustment if you ever remove the transmission pan or service the valve body. By maintaining the mechanical link between your right hand and the transmission's hydraulic brain, you ensure that every downshift is smooth, immediate, and safe for your drivetrain.
For further reading on maintaining hydraulic pressures and linkage geometry, consult your vehicle's specific factory service manual or visit resources like Hagerty Media's Maintenance and Tech archives for model-specific linkage diagrams and torque sequences.