The Hidden Danger of Sloppy Shift Linkages on Steep Grades
Mountain driving exposes every mechanical weakness in your drivetrain. Whether you are tackling the 6% grades of the Eisenhower Pass on I-70 or navigating the tight, steep switchbacks of the Rubicon Trail, precise gear selection is a matter of safety, not just performance. While modern 2026 trail rigs equipped with shift-by-wire transmissions like the ZF 8HP or GM 10L80 rely on electronic sensors, millions of highly capable off-road vehicles, tow rigs, and classic trucks still utilize mechanical cable linkages. If you are driving a vehicle with a GM 700R4/4L60E, a Toyota A340E, or a Ford AOD, understanding how to adjust automatic transmission shift cable linkages is a critical performance upgrade for high-altitude survival.
A stretched or misadjusted shift cable does more than just create a sloppy, vague shifter feel in the cabin. On a steep descent, it can prevent the transmission's internal manual valve from fully seating in the detent groove. This misalignment causes dangerous line-pressure cross-leaks, clutch slip, and catastrophic thermal failure exactly when you need engine braking the most.
Why Precision Gear Selection Matters in the Mountains
Engine Braking and Thermal Management
When descending a long mountain grade, relying solely on your friction brakes invites brake fade—a life-threatening scenario where brake fluid boils and pedal pressure drops to zero. The correct technique is to manually select a lower gear (typically 2nd or Low) to use the engine's compression for braking. However, if your shift cable is out of adjustment by even 3/16 of an inch, pulling the cabin shifter into '2' might leave the transmission's rooster comb (detent lever) hovering between 'Drive' and 'Second'.
According to Sonnax Transmission Tech Resources, when the manual spool valve fails to fully align with the valve body's hydraulic ports, fluid bleeds into adjacent clutch apply circuits. This partial engagement causes the clutches to slip continuously. On a mountain descent, this slip generates massive friction, pushing Automatic Transmission Fluid (ATF) temperatures past 260°F. At this threshold, the fluid varnishes, the friction material delaminates, and the transmission destroys itself before you even reach the bottom of the grade.
Diagnosing Cable Stretch and Detent Misalignment
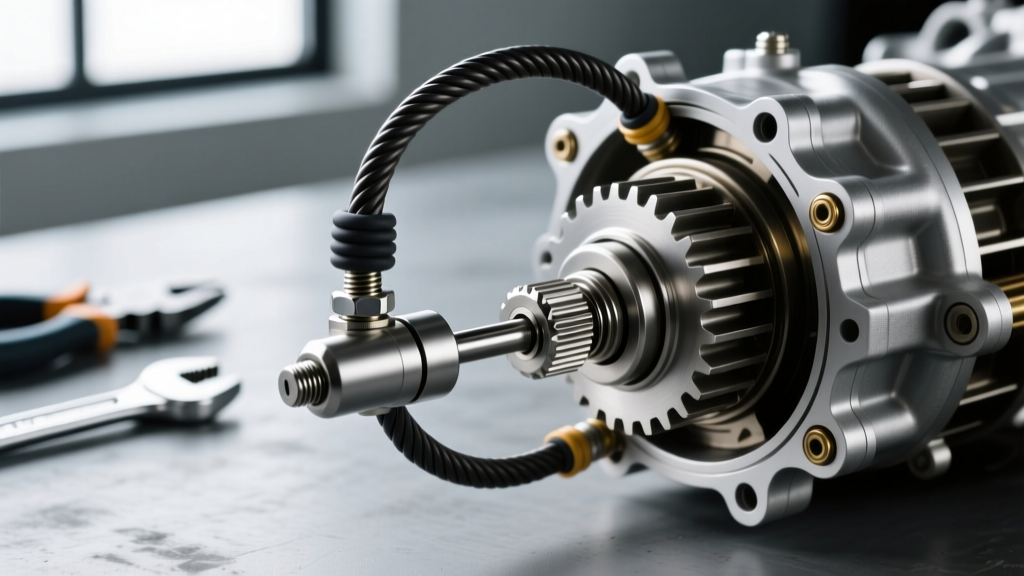
Before grabbing a wrench, you must verify if your cable requires adjustment or a complete performance upgrade. Factory OEM cables utilize a polymer inner liner and a steel braided core. Over years of heat cycling and mechanical tension, the polymer compresses, and the cable stretches.
- The Neutral Safety Switch Test: With the parking brake firmly engaged, turn the key to the 'Start' position while slowly wiggling the shifter between Park and Neutral. If the engine only cranks when you pull the shifter slightly back from the Park detent, your cable is stretched or misadjusted.
- The Manual Valve Engagement Test: While parked on level ground, shift from Park to Reverse. Note the physical 'clunk' and the time it takes for the gear to engage. A properly adjusted cable yields an immediate, firm engagement (under 0.5 seconds). A sluggish or soft engagement indicates the manual valve is not fully opening the reverse hydraulic circuit.
- The Detent Count: Have an assistant move the shifter through the gates while you count the distinct 'clicks' at the transmission linkage. The cabin clicks must perfectly match the transmission detent spring clicks.
Step-by-Step: How to Adjust Automatic Transmission Shift Cable
Performing this adjustment requires patience, a clean workspace, and basic hand tools. The following procedure applies to the widely used GM 4L60E/700R4 and Toyota A340E platforms, which dominate the overlanding and mountain-towing segments.
Tools and Preparation
You will need a 10mm and 12mm socket set, a torque wrench (inch-pounds and foot-pounds), a pair of needle-nose pliers, and a high-quality flashlight. Safety first: secure the vehicle on jack stands, chock the wheels heavily, and ensure the parking brake is fully engaged. You are working directly over the transmission pan and exhaust components, so allow the vehicle to cool completely.
The Alignment Procedure
- Set the Cabin Shifter: Place the interior gear selector firmly into the 'Park' detent. Ensure the parking pawl is fully engaged inside the transmission extension housing.
- Locate the Transmission Detent Lever: Crawl under the vehicle and locate the shift linkage on the driver's side of the transmission case. Identify the manual lever (rooster comb) and the shift cable mounting bracket.
- Verify the Transmission Lever Position: The transmission manual lever must also be in the 'Park' position. For a GM 4L60E, this is typically the furthest clockwise or counter-clockwise position depending on the specific tailhousing orientation. Consult your factory service manual to confirm the 'Park' detent groove on the rooster comb.
- Release the Cable Lock: Locate the cable adjustment lock tab on the cable housing barrel near the transmission bracket. Use a flathead screwdriver or needle-nose pliers to pop the locking tab upward, freeing the cable housing to slide back and forth.
- Set the Tension: Push the cable housing forward or backward until the cable end stud slides perfectly into the hole on the transmission manual lever without any binding, pushing, or pulling. The lever should remain completely relaxed in its Park detent.
- Lock and Torque: Press the locking tab down to secure the housing. Reattach the cable end stud to the manual lever. The retaining nut must be torqued to exactly 11 lb-ft. Over-torquing can bend the manual lever shaft, causing internal valve body binding.
- Verify Bracket Torque: Check the bolts securing the shift cable bracket to the engine block or bellhousing. These should be torqued to 15-18 lb-ft to prevent bracket flex under heavy load.
Performance Upgrade Matrix: OEM vs. Aftermarket Cables
If your OEM cable is stretched beyond the adjustment limit of the barrel nut, or if you are building a dedicated mountain-towing rig, upgrading to a performance shift cable is mandatory. Aftermarket performance cables eliminate polymer compression, ensuring 1:1 shifter-to-valve-body translation.
| Cable Type | Example Part Number | Estimated Cost | Construction & Mountain Suitability |
|---|---|---|---|
| OEM Replacement | Dorman 746-100 / ACDelco Pro | $35 - $65 | Standard polymer liner with steel core. Prone to heat-induced stretch. Adequate for daily driving, but marginal for heavy mountain towing. |
| Hi-Tech Performance | Lokar SRK-4000 | $130 - $165 | Stainless steel braided housing with Teflon inner liner. Zero-stretch design. Ideal for precise manual gear holding on steep descents. |
| Heavy-Duty Ratcheting | B&M MegaShifter Cable | $95 - $120 | Reinforced core designed for ratcheting shifters. Excellent tactile feedback, though requires specific cabin shifter compatibility. |
According to installation guides featured in Summit Racing Technical Articles, when installing a Teflon-lined performance cable, it is vital to maintain a minimum bend radius of 4 inches. Kinking a stainless steel cable on a tight frame rail will destroy the inner liner and cause immediate binding.
Complementary Drivetrain Upgrades for High-Altitude Descents
Adjusting or upgrading your shift cable is only one piece of the mountain-driving puzzle. To maximize the effectiveness of your newly calibrated manual gear selection, consider these complementary upgrades:
- Deep Transmission Pan & External Cooler: When manually holding 2nd gear on a 5-mile descent, the torque converter may partially unlock, generating heat. An aftermarket deep aluminum pan (e.g., PPE or Mag-Hytec) adds 2-3 quarts of fluid capacity and features cooling fins to dissipate heat. Pair this with a 20,000 GVW external cooler mounted in front of the A/C condenser.
- Heavy-Duty Detent Spring: If you frequently shift manually under load, the factory detent spring inside the transmission case can weaken over time, allowing the rooster comb to vibrate out of gear on rough mountain washboards. Upgrading to a reinforced steel detent spring (available from transmission rebuild kits like TransGo) ensures the lever stays locked in your selected gear.
- High-Viscosity Synthetic ATF: For extreme mountain towing, consider switching to a high-quality synthetic fluid like Amsoil Signature Series or Red Line D4. These fluids maintain their shear stability and film strength at the 220°F+ temperatures commonly seen during high-altitude engine braking.
Testing the Detent Engagement Under Load
Once the adjustment is complete and the vehicle is back on the ground, you must perform a dynamic load test before hitting the mountain pass. Find a safe, empty incline (such as an empty parking garage ramp or a quiet suburban hill). Accelerate to 25 MPH and firmly pull the shifter into '2' or 'L'.
With a properly adjusted, zero-stretch cable, the transmission should immediately downshift, the RPMs should flare to match the road speed, and you should feel aggressive deceleration from engine braking. If the engine flares but the vehicle does not decelerate, or if the transmission slips and the fluid smells burnt, you have an internal clutch issue or a lingering cross-leak that requires immediate valve body inspection.
Final Thoughts on Mountain Drivetrain Sympathy
Mastering how to adjust automatic transmission shift cable linkages bridges the gap between casual driving and true mechanical sympathy. In the mountains, your transmission is your secondary braking system. By eliminating linkage slack, upgrading to Teflon-lined cables, and verifying precise manual valve alignment, you ensure that when you command a lower gear to save your brakes on a treacherous downgrade, the drivetrain responds instantly and reliably. For more advanced diagnostic procedures and valve body hydraulic schematics, refer to the Hagerty Maintenance and Tech Archives to keep your rig trail-ready for the steepest terrain.