Mastering Seven Speed Dual Clutch Transmission Diagnostics
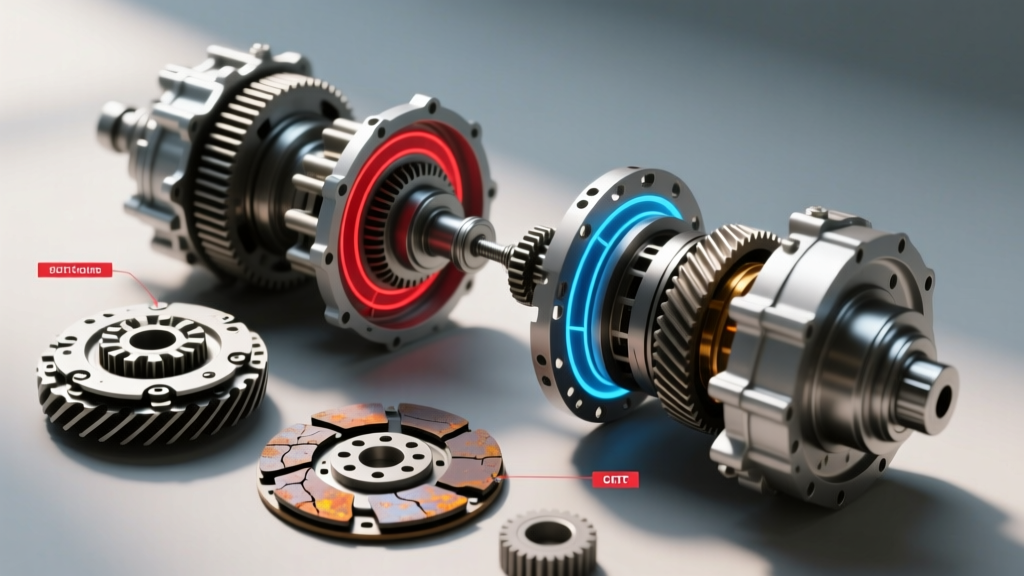
The seven speed dual clutch transmission (DCT) represents a pinnacle of power transfer efficiency, utilizing overlapping clutch packs to achieve lightning-fast gear exchanges. Whether you are working on a Volkswagen/Audi DQ500 (0BT/0BH) wet-clutch transaxle, a Porsche PDK (ZF 7DT), or a Hyundai/Kia dry-clutch 7DCT, the fundamental architecture remains similar. However, diagnosing clutch degradation requires a highly systematic approach. Unlike traditional torque-converter automatics or single-plate manual transmissions, DCT symptoms often blur the line between mechanical friction material wear, dual-mass flywheel (DMF) failure, and mechatronic hydraulic faults.
This step-by-step guide will walk you through isolating seven speed dual clutch transmission symptoms by categorizing them into three sensory domains: noise, vibration, and feel, followed by mechatronic telemetry verification.
Phase 1: Isolate the Acoustic Baseline (Noise Diagnostics)
Acoustic anomalies in a DCT are frequently misdiagnosed as internal gearset damage when they are actually rooted in the clutch assembly or the DMF. The first step in your diagnostic protocol is to establish a static and dynamic acoustic baseline.
Step 1: The Neutral Idle Rattle Test
With the vehicle stationary, the engine idling (typically 750–850 RPM), and the transmission in Park or Neutral, listen for a low-frequency metallic rattling. In a seven speed dual clutch transmission, the input shafts and clutch housings are constantly driven by the engine. If the DMF's internal torsional springs have fatigued or the grease has migrated due to heat cycling, you will hear a distinct rattle.
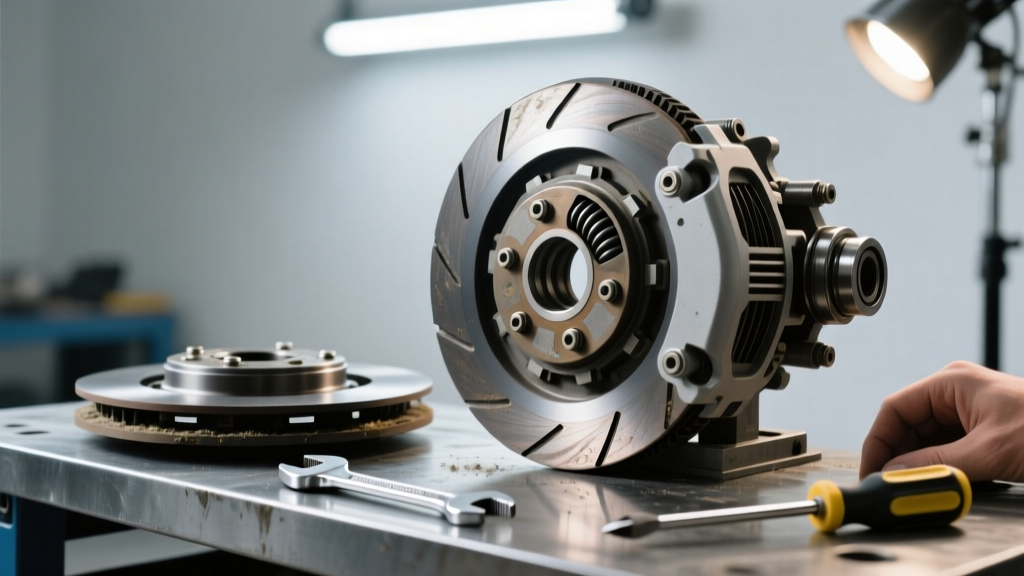
Diagnostic Verification: Engage the clutch by shifting into Drive or Reverse and lightly loading the brake. If the rattle immediately dampens or disappears, the DMF primary-to-secondary mass damping is failing. According to Sonnax Transmission Technical Resources, DMF lateral runout must be measured with a dial indicator; any reading exceeding 0.5mm at the outer friction surface mandates replacement. Do not attempt to resurface a DMF.
Step 2: Engagement Chatter vs. Solenoid Whine
As you begin to roll forward, listen for high-frequency metallic chatter. Clutch chatter occurs when the friction coefficient oscillates rapidly during the micro-slip phase of engagement. This is common in dry-clutch 7DCTs when the diaphragm springs lose tension or the friction discs develop hot spots. Conversely, a high-pitched hydraulic whine during the 1-2 or 3-4 shift points indicates a failing mechatronic accumulator or a starving hydraulic pump, not a clutch pack failure.
Phase 2: Kinematic Takeoff Analysis (Vibration Diagnostics)
Vibration in a DCT is heavily dependent on whether the unit utilizes a wet or dry clutch configuration. Wet clutches (like the VAG DQ500) rely on specialized Dual Clutch Transmission Fluid (DCTF) to manage friction and heat, while dry clutches rely purely on surface material dynamics.
Step 3: The First-Gear Takeoff Shudder
Find a flat, open surface. Apply the brake, select Drive, and smoothly release the brake while applying 10-15% throttle. A healthy DCT should engage with the linear predictability of a well-tuned manual transmission. If you experience a 3-5 Hz shudder through the chassis and steering wheel during the first 1,500 RPM of takeoff, you are witnessing friction instability.
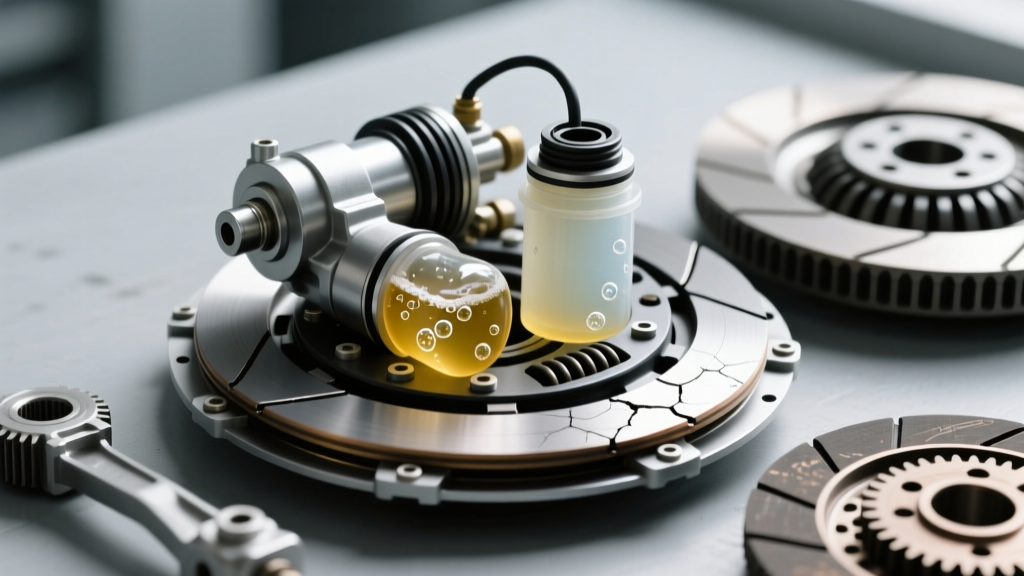
- Wet Clutch Shudder (e.g., DQ500, PDK): This is almost exclusively caused by the degradation of friction modifiers in the DCTF. Over 40,000 miles, the fluid's anti-shudder additives deplete, causing the clutch plates to grab and release microscopically. A fluid and filter service using OEM-spec fluid (e.g., VW G 052 182 or Pentosin FFL-3) resolves this in 80% of cases.
- Dry Clutch Shudder (e.g., Hyundai/Kia 7DCT): Dry clutches are highly susceptible to thermal warping. If the vehicle is frequently driven in stop-and-go traffic, the clutch actuator may have been 'riding' the clutch to prevent rollback, generating immense surface heat. This requires a physical inspection of the clutch pack for bluing and a mandatory replacement of the clutch kit.
Pro-Tip from the Bench: When replacing a wet clutch pack in a transverse seven speed dual clutch transmission, always verify the mechatronic hydraulic pressure accumulator charge. A weak accumulator will cause delayed clutch clamping pressure, leading to premature burnout of the brand-new friction plates within the first 5,000 miles.
Phase 3: Load-Bearing Friction Assessment (Feel Diagnostics)
The 'feel' of a DCT is dictated by the mechatronic unit's ability to modulate hydraulic pressure to the clutch packs. Clutch slip under load is a critical failure mode that can destroy a transmission if ignored.
Step 4: The Wide-Open Throttle (WOT) Slip Test
Take the vehicle to a safe, legal highway environment. Accelerate normally to 4th or 5th gear (typically around 45-55 mph). Once settled, apply Wide-Open Throttle (WOT). Monitor the tachometer closely. In a healthy seven speed dual clutch transmission, the RPM should climb in perfect lockstep with vehicle speed.
If you observe the RPM flare by 50 to 150 RPM without a corresponding increase in vehicle speed, you have clutch micro-slip. This occurs when the physical clearance between the friction discs and steel separator plates exceeds the mechatronic unit's maximum hydraulic adaptation limit. The clamping pressure is maxed out, and the clutch is physically slipping under high torque loads.
Step 5: Low-Speed Creep and 'Kick-Down' Hesitation
In heavy traffic, a DCT should creep smoothly. If the vehicle feels 'jerky' or exhibits a sudden lurch when the brake is released, the clutch touch-point adaptation has drifted. Modern DCTs continuously adapt the 'bite point' of the clutch. If the friction material wears down, the mechatronic unit adjusts the solenoid duty cycle to compensate. Once the adaptation limit is reached, the engagement becomes abrupt and binary.
Phase 4: Mechatronic Telemetry & Adaptation Limits
Sensory diagnostics must always be corroborated by OBD-II telemetry. To properly diagnose a seven speed dual clutch transmission, you need manufacturer-level or advanced enthusiast scan tools capable of reading Measuring Value Blocks (MVBs) or advanced data PIDs.
Step 6: Interrogating Clutch Wear Indices
Using a tool like VCDS (for VAG products) or PIWIS (for Porsche), access the Transmission Control Module (TCM). According to the Ross-Tech VCDS Wiki, you must pull the specific adaptation groups for Clutch 1 (Odd gears) and Clutch 2 (Even gears).
Look for the following critical data points:
- Clutch Adaptation Limit / Tolerance: This value indicates how far the TCM has had to adjust the hydraulic pressure to achieve clutch engagement. If this value is near its maximum threshold (often displayed as a percentage or specific milliampere current limit), the clutch pack is mechanically worn out.
- Clutch Slip RPM: Read this while driving under load. Any steady-state slip RPM greater than 10-15 RPM in a locked gear indicates severe friction material loss or glazed steel plates.
- Hydraulic System Pressure: The main line pressure should hover between 40 and 60 bar depending on the model. If the pressure drops significantly during a shift event, the issue is likely a leaking mechatronic valve body or worn solenoid bore, rather than the clutch pack itself.
For deeper engineering insights into how these hydraulic circuits manage overlapping clutch engagement, the ZF DCT Engineering Documentation provides excellent foundational knowledge on the hydraulic overlap timing required to prevent torque interruptions during the 1-2 and 3-4 shifts.
Diagnostic Matrix: Symptom to Solution
Use the following table as a quick-reference framework when evaluating a seven speed dual clutch transmission in your service bay.
| Symptom Profile | Primary Suspect | Diagnostic Verification | 2026 Avg. Repair Cost (USD) |
|---|---|---|---|
| Low-frequency rattle at idle, disappears when clutch is loaded (in gear) | Dual-Mass Flywheel (DMF) torsional spring failure | Dial indicator runout test (>0.5mm fails); visual inspection of grease migration | $1,200 - $1,800 (Parts + Labor) |
| 3-5 Hz shudder during 1st gear takeoff (Wet Clutch) | DCTF friction modifier depletion / Glazed clutch plates | Fluid analysis; perform basic clutch adaptation reset and road test | $450 - $700 (Fluid/Filter Service) |
| RPM flare (50+ RPM) under WOT in 4th/5th gear | Clutch pack clearance exceeded / Friction material loss | Scan tool MVB check: Clutch Adaptation Limit maxed out; Slip RPM >15 | $2,800 - $4,500 (Clutch Pack & Seal Kit) |
| Jerky, abrupt engagement from stop; binary 'on/off' feel | Clutch touch-point adaptation limit reached / Actuator wear | VCDS Basic Settings 060/061 adaptation failure code; dry clutch actuator current draw | $1,500 - $2,500 (Actuator / Clutch Kit) |
| High-pitched whine during 1-2 shift, accompanied by harsh engagement | Mechatronic accumulator pressure loss / Valve body wear | Log main hydraulic pressure during shift; pressure drop >15 bar indicates leak | $2,000 - $3,500 (Mechatronic Unit Rebuild) |
Final Torque and Assembly Specifications
If your diagnostic protocol dictates a physical clutch replacement, precision during reassembly is non-negotiable. When mating the new DMF to the crankshaft, always use new OEM stretch bolts. For most transverse VAG 2.0L TSI/TDI applications utilizing the DQ500, the M10x1.0 flywheel bolts must be torqued to 60 Nm + 90 degrees in a star pattern.
Furthermore, before installing the mechatronic unit, ensure the clutch pack shim clearance is measured with a feeler gauge and dial indicator. The air gap between the snap ring and the clutch pack must fall strictly within the manufacturer's specification (typically between 0.8mm and 1.4mm, depending on the specific Luk or BorgWarner clutch kit). Failure to shim the clutch pack correctly will result in immediate mechatronic adaptation faults and a burnt clutch pack within the first 100 miles.
Summary
Diagnosing a seven speed dual clutch transmission requires moving beyond generic 'transmission slip' assumptions. By systematically isolating acoustic DMF failures, kinematic fluid-degradation shudders, and load-bearing friction slip, you can accurately pinpoint the exact failing component. Always corroborate your physical road-test findings with mechatronic telemetry data to ensure you are replacing the correct hardware, saving time, money, and comebacks in the service bay.