The Step-by-Step Guide to Clutch Symptom Diagnosis
Identifying the early signs of clutch wear is critical for preventing catastrophic drivetrain failure and avoiding secondary damage to the flywheel, transmission input shaft, and bell housing. Whether you are driving a traditional manual transmission, an automated manual, or a performance-oriented Dual-Clutch Transmission (DCT), the friction modulation system relies on precise mechanical tolerances. By 2026, with the widespread adoption of high-torque turbocharged engines and complex Dual-Mass Flywheels (DMFs), clutch diagnostics require a systematic approach rather than guesswork.
This step-by-step how-to guide will teach you how to isolate and diagnose clutch system failures based on three primary sensory inputs: pedal feel, auditory feedback (noise), and physical vibration. We will reference specific torque specifications, OEM part numbers, and real-world diagnostic frameworks used by professional transmission technicians.
Step 1: Evaluating Pedal Feel and Hydraulic Engagement
The clutch pedal is your direct mechanical or hydraulic link to the release bearing. Changes in pedal resistance, free-play, and engagement point are often the very first signs of clutch wear or hydraulic degradation.
Measuring Free-Play and Pushrod Clearance
For cable-actuated systems (found on older platforms and some lightweight sports cars), you should measure 1 to 1.5 inches of free-play at the pedal pad before resistance is felt. For modern hydraulic systems, such as the Tremec MT-82 manual transmission found in the Ford Mustang GT, the clutch master cylinder (CMC) pushrod clearance must be strictly maintained between 0.1mm and 0.5mm. Excessive clearance leads to incomplete disengagement and gear crunching, while zero clearance causes the clutch to slip prematurely because the release bearing is constantly pre-loaded against the pressure plate diaphragm springs.
Diagnosing Spongy vs. Stiff Pedals
- Spongy Pedal: Typically indicates air in the hydraulic line or a failing Concentric Slave Cylinder (CSC). The internal CSC designs used in GM LS and LT platforms are notorious for internal seal blowouts when exposed to high-temperature brake fluid degradation. If the pedal drops to the floor, bleed the system using a pressure bleeder at 30 PSI. If the sponginess returns within 48 hours, the CSC requires replacement.
- Stiff or Notchy Pedal: Often points to a binding clutch fork pivot ball, a worn release bearing guide tube, or a failing pressure plate diaphragm. On high-mileage Honda K-Series engines, wear on the aluminum clutch fork pivot ball creates a distinct notchy feel right at the engagement point. Upgrading to an aftermarket steel pivot ball (e.g., part number from brands like K-Tuned or Karcepts) resolves this mechanical bind.
Step 2: Auditory Diagnostics — Isolating Bearing and Gear Noise
Clutch noise diagnosis requires isolating the sound based on engine RPM, vehicle speed, and pedal position. Misdiagnosing a bearing noise can lead to unnecessary transmission teardowns. According to diagnostic protocols outlined by AA1Car, auditory clues must be categorized by their exact trigger point.
The Pedal-Position Noise Test
With the vehicle in neutral and the engine idling, perform the following auditory checks:
- Noise present with pedal released, disappears when pressed: This is the classic symptom of a worn transmission input shaft bearing. The bearing is unloaded when the clutch is disengaged (pedal pressed), silencing the growl.
- Noise appears only when the pedal is pressed: This indicates a failing throwout bearing (release bearing). As the bearing is forced against the spinning pressure plate fingers, worn internal races or dried-out grease generate a high-pitched squeal or metallic grind.
- Squeal during initial clutch engagement (pedal releasing): This usually points to a dry or seized pilot bearing/bushing located in the center of the crankshaft. If the pilot bearing seizes, the input shaft continues to spin even when the clutch is fully disengaged, causing synchronizer damage and a loud chirping noise as the friction disc attempts to mate with the flywheel.
Expert Diagnostic Tip: Never use a stethoscope directly on a spinning bell housing. Instead, use a mechanic's stethoscope with the probe removed, placing the open tube against the bell housing inspection cover to safely amplify high-frequency bearing harmonics without risking entanglement.
Step 3: Analyzing Drivetrain Vibration and DMF Runout
Vibration is one of the most complex signs of clutch wear, as it can originate from the engine, the flywheel, the clutch disc damper springs, or the driveline. In modern European vehicles, such as the VW/Audi MQB platform (Golf GTI, Audi S3), the Dual-Mass Flywheel (DMF) is the primary culprit for low-frequency drivetrain vibrations.
Evaluating Dual-Mass Flywheel (DMF) Failure
A DMF utilizes internal coil springs and a friction plate to absorb torsional vibrations from the crankshaft before they reach the transmission. Over time, the internal grease carbonizes, and the springs lose their damping tension. Symptoms of DMF failure include a metallic 'clunk' upon engine shutdown, severe chassis vibration at idle (specifically between 750 and 900 RPM), and clutch chatter during takeoff in first gear.
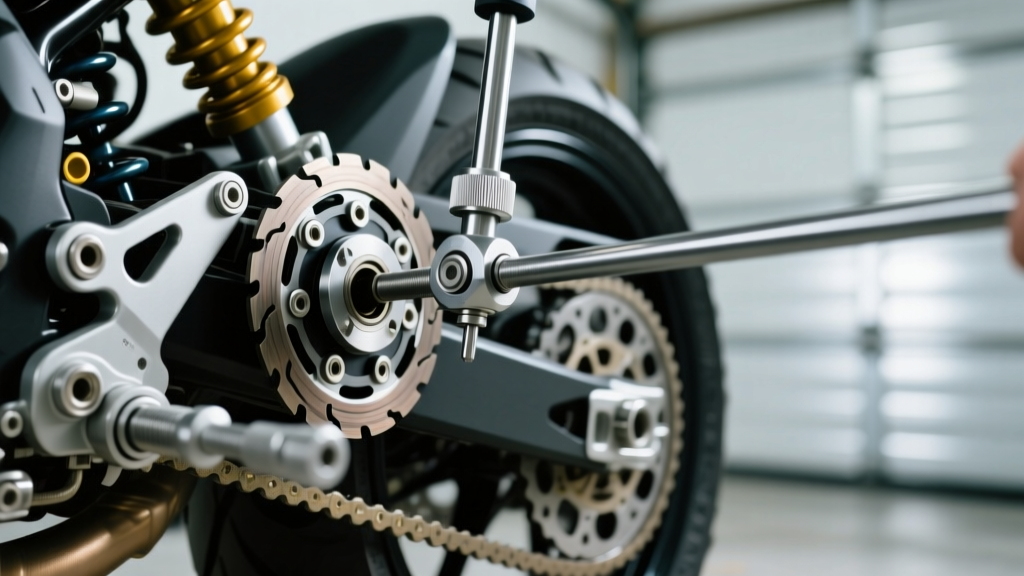
According to ZF Sachs Aftermarket, the definitive test for a DMF is measuring radial and axial runout. Using a dial indicator mounted to the engine block:
- Radial Runout (Outer Ring to Inner Ring): Maximum allowable is typically 0.5mm. Anything exceeding 1.5mm indicates internal spring collapse.
- Axial Runout (Face of the Flywheel): Maximum allowable is generally 0.2mm. Warping beyond this spec will cause uneven friction disc wear and severe clutch chatter.
If the DMF fails, it must be replaced as a matched set with the clutch kit. For example, a Sachs ZMS (Zweimassenschwungrad) kit for a 2.0T TSI engine includes the DMF, pressure plate, friction disc, and alignment tool. When reinstalling, the M10x1.5 flywheel-to-crankshaft bolts are strictly torque-to-yield; the OEM specification is typically 60 Nm followed by a 90-degree turn. Reusing these bolts will result in catastrophic flywheel detachment.
Step 4: The Load-Test and Slippage Verification
Friction material wear (glazing or balding) manifests as clutch slippage under load. To verify this without tearing down the transmission, perform a controlled stall test.
Executing the Safe Stall Test
Find a safe, open stretch of road. Bring the vehicle to approximately 30 MPH in 3rd gear. Apply moderate throttle (around 2,000 RPM), then abruptly apply wide-open throttle (WOT).
- Healthy Clutch: Engine RPM and vehicle speed will rise in perfect unison.
- Worn Clutch: Engine RPM will flare or spike rapidly while vehicle speed increases at a noticeably slower rate. This indicates the friction coefficient of the disc has degraded, or the pressure plate diaphragm springs have fatigued and can no longer provide adequate clamping force (measured in pounds of clamp load, often dropping from 2,400 lbs to under 1,800 lbs on worn OEM units).
For performance applications utilizing ceramic or Kevlar friction materials, Exedy USA mandates a strict 500-mile break-in period using half-throttle shifts. Failure to bed the friction material properly will result in permanent glazing and immediate slippage under high-boost conditions.
2026 Clutch Symptom Diagnostic Matrix
Use the following matrix to cross-reference your symptoms with probable causes and current market repair estimates. Labor rates are based on a 2026 national average of $145 to $195 per hour for specialized drivetrain shops.
| Primary Symptom | Probable Component at Fault | Diagnostic Action Required | Est. Parts Cost (OEM/OE) | Est. Labor Time |
|---|---|---|---|---|
| Slippage under WOT (3rd/4th gear) | Friction Disc Wear / Weak Pressure Plate | Stall Test, Check Pedal Free-Play | $250 - $450 | 4.5 - 6.0 Hours |
| Chatter/Vibration on 1st Gear Takeoff | Dual-Mass Flywheel / Oil Contamination | Dial Indicator Runout Test, Inspect Rear Main Seal | $600 - $1,100 (DMF Kit) | 5.5 - 7.5 Hours |
| Grinding Noise when Pedal Pressed | Throwout Bearing (Release Bearing) | Auditory Isolation Test (Neutral vs. Depressed) | $45 - $90 (Bearing Only) | 5.0 - 6.5 Hours (Trans Out) |
| Spongy Pedal / Incomplete Disengagement | Concentric Slave Cylinder (CSC) / Air in Line | Pressure Bleed, Inspect Bell Housing for Fluid | $80 - $160 (CSC) | 5.0 - 6.5 Hours (Trans Out) |
| Chirping on Engagement, Crunching Gears | Pilot Bearing / Bushing Seizure | Input Shaft Drag Test, Bell Housing Auditory Check | $15 - $35 | 5.0 - 6.5 Hours (Trans Out) |
Final Verification and Next Steps
Diagnosing the signs of clutch wear is an exercise in systematic elimination. Never replace a clutch disc without thoroughly inspecting the flywheel surface for heat checking (blue spots), measuring the pressure plate step height with a micrometer, and verifying the integrity of the hydraulic actuation system. If the flywheel step height falls outside the OEM tolerance (typically 0.020 to 0.040 inches depending on the application), the new clutch will suffer from immediate engagement issues and accelerated wear. Always refer to the manufacturer's specific service manual for exact torque sequences and alignment procedures to ensure a lasting, vibration-free repair.