Introduction: Automotive Precision Applied to the Road Bike Drivetrain
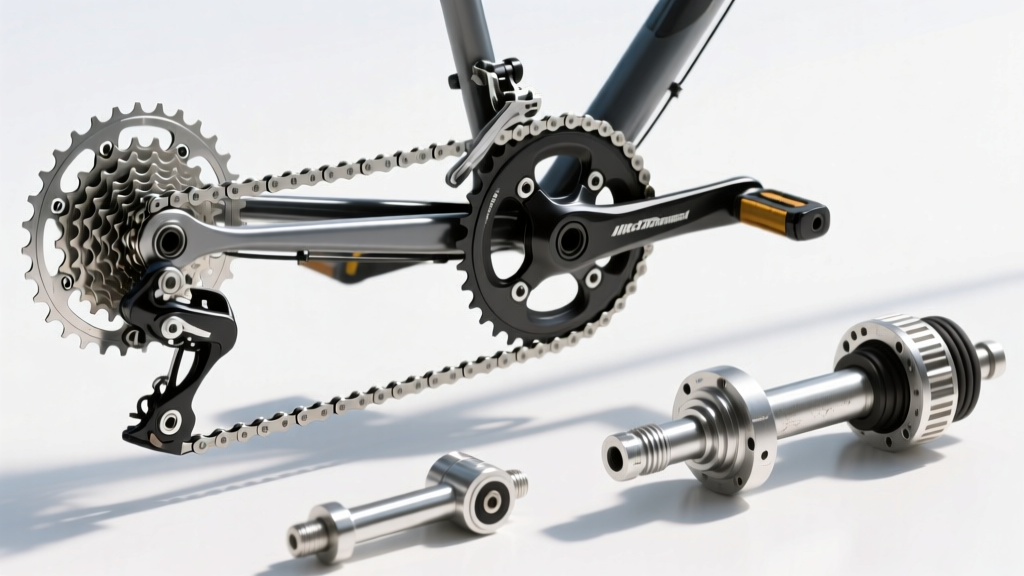
At AutoGear Nexus, we typically dissect heavy-duty automotive powertrains like the ZF 8HP or the GM 6L80. However, the fundamental physics of torque transfer, rotational mass, and bearing tolerances are universal. By 2026, modern 12-speed electronic road bike groupsets (Shimano Di2, SRAM AXS, and Campagnolo EPS) operate at razor-thin chainline tolerances. A 5.5mm chain width and cog spacing measured in fractions of a millimeter mean that even minor misalignments result in audible friction, micro-rub, and accelerated wear.
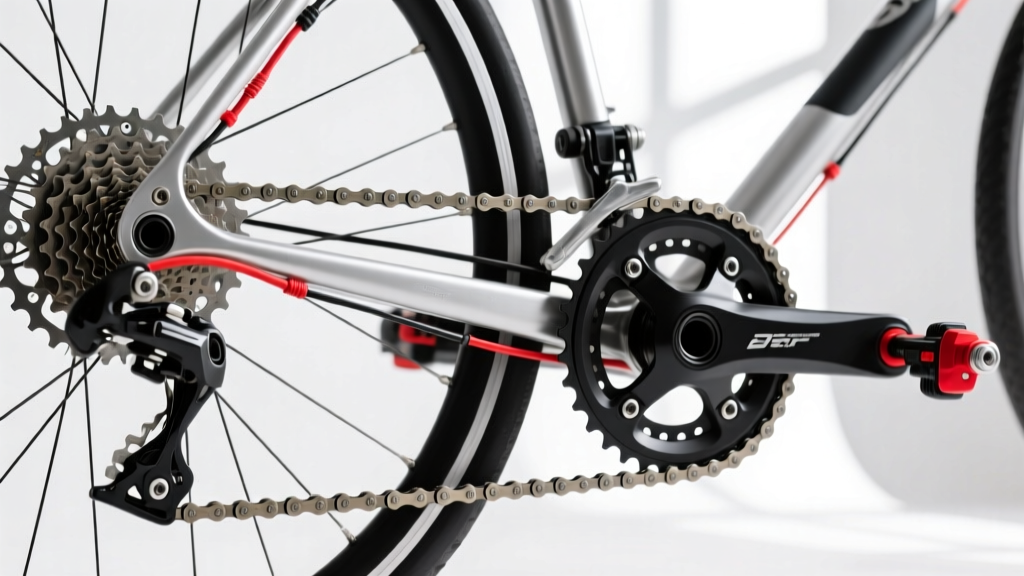
Diagnosing a noisy road bike drivetrain requires the same methodical, step-by-step isolation process used in automotive transmission troubleshooting. This guide will walk you through a systematic road bike drivetrain noise diagnosis, complete with exact torque specifications, wear thresholds, and component-level troubleshooting to silence your bike and restore optimal mechanical efficiency.
Step 1: The 'Cold' Inspection - Chain Wear and Cassette Engagement
Before turning a single pedal stroke, you must evaluate the consumable wear surfaces. The most common cause of a grinding or skipping road bike drivetrain is a stretched chain running on a worn cassette.
Measuring Chain Elongation
Modern 11-speed and 12-speed chains have incredibly tight pin and roller tolerances. Unlike older 9-speed chains that could run to 1.0% elongation, a modern road bike chain must be replaced at 0.5% wear to prevent catastrophic cassette wear. Using a calibrated tool like the Park Tool CC-4, measure the chain across multiple sections. If the tool drops in at 0.5%, the chain is condemned.
Cassette Lockring and Spider Torque
A loose cassette will creak under load and cause erratic shifting. Remove the wheel and verify the cassette lockring torque. For standard Shimano HG and SRAM XDR spline interfaces, the lockring must be torqued to exactly 40 Nm. If you are using a lightweight direct-mount carbon spider chainring, verify the chainring bolts are seated at 5-7 Nm (for direct mount) or 12-14 Nm (for standard 5-bolt 110mm BCD spiders). For comprehensive chain wear metrics, refer to the Park Tool Chain Wear Guide.
Step 2: Bottom Bracket and Crankset Bearing Preload
If the noise manifests as a rhythmic creak or clunk that correlates with pedal cadence (specifically at the 12 o'clock and 6 o'clock positions), the bottom bracket (BB) or crankset interface is the primary suspect.
Press-Fit vs. Threaded Interfaces
Press-fit bottom brackets (like BB86 or PF30) are notorious for creaking due to micro-movements between the composite frame and the BB shell. If you suspect BB creak, drop the cranks and inspect the interface. Threaded BSA bottom brackets remain the gold standard for noise-free operation. If reinstalling a press-fit BB, use a retaining compound like Loctite 609 or a specialized anti-creak paste rather than standard grease.
Crankset Torque Specifications
Incorrect bearing preload will cause both noise and premature bearing death. Follow these exact manufacturer specifications:
- Shimano Hollowtech II: The left crank arm pinch bolts must be torqued to 12-14 Nm. The plastic preload cap should only be tightened to 1-2 Nm (finger-tight plus a quarter turn with the TL-FC16 tool). Over-tightening the cap will crush the bearings and cause a grinding noise.
- SRAM DUB: The 8mm crank bolt requires a massive 54 Nm of torque. Use a calibrated torque wrench; guessing this spec will result in a creaking spline interface.
- Bottom Bracket Cup Torque: Standard threaded BB cups require 35-50 Nm depending on the manufacturer. Always use fresh waterproof grease (e.g., Shimano Premium Grease) on the threads.
Step 3: Derailleur Geometry, Limit Screws, and B-Tension
A persistent clicking or metallic rubbing noise that changes with gear selection points directly to the rear derailleur. With 12-speed electronic drivetrains, the margin for error is virtually zero.
Setting the B-Tension Gap
The B-tension screw dictates the gap between the upper jockey wheel and the largest cassette cog. On older mechanical systems, a visual 5-6mm gap was standard. However, modern Shimano 12-speed Di2 systems (like the RD-R9250) require a precise 14mm gap when aligned with the largest cog. Shimano provides a specific plastic alignment tool for this. If the gap is too tight, the chain will rumble and grind against the cassette; if too wide, shifting will be sluggish and noisy under load. Consult the Shimano Dealer Manual for model-specific alignment procedures.
Limit Screws and Micro-Adjustments
If the noise occurs only in the highest (smallest cog) or lowest (largest cog) gears, the H (High) and L (Low) limit screws are misadjusted. Back off the limit screw by a quarter turn until the chain runs silently, then tighten it back just until the noise returns, and back it off an eighth of a turn. For electronic groupsets, use the micro-adjust mode via the junction box or mobile app to center the derailleur cage perfectly over each cog, eliminating chain rub.
Step 4: Pulley Wheel Bearings and Chain Lubrication Tribology
Sometimes the road bike drivetrain noise is a high-pitched squeal or dry rattle, which points to friction in the pulley wheels or improper chain lubrication.
Pulley Wheel Maintenance
Stock steel pulley wheel bearings are often heavily greased from the factory, which creates viscous drag and attracts grit. If you are running aftermarket ceramic oversized pulley wheels (OSPW), they require specific low-viscosity oils. Remove the pulley wheels, degrease the bearings in an ultrasonic cleaner, and re-lubricate with a lightweight synthetic oil like Phil Wood Tenacious Oil or Tri-Flow. Ensure the pulley bolts are torqued to 3-4 Nm using a drop of blue Loctite 243.
Wax vs. Wet Lube
By 2026, hot-melt immersion waxing (using formulas like Silca Secret Wax or Molten Speed Wax) has become the standard for elite road bike drivetrains. Wax keeps the chain entirely dry, eliminating the abrasive grinding paste that forms when wet lubes mix with road dust. If you must use a drip lube, apply it strictly to the inner rollers, let it penetrate for 12 hours, and thoroughly wipe the outer plates dry. A wet outer chain will attract grit and cause a noticeable grinding noise within 50 miles.
Step 5: Isolating False Positives (Pedals, Cleats, and Thru-Axles)
Before tearing down the bottom bracket, rule out the most common false positives in road bike drivetrain noise diagnosis.
- Thru-Axles: A loose rear thru-axle will allow the cassette to shift microscopically under pedaling load, mimicking a bottom bracket creak. Torque your rear thru-axle to the frame manufacturer's spec, typically 12-15 Nm.
- Cleats and Pedals: Dry cleat-pedal interfaces squeak rhythmically. Apply a dry PTFE spray or a specialized cleat wax to the contact points of your SPD-SL or Look Keo cleats.
- Seatpost Binder: A creak that happens when you pedal out of the saddle is often the seatpost clamp. Clean the post, apply carbon grip paste, and torque to 5-6 Nm.
Road Bike Drivetrain Noise Diagnostic Matrix
Use this structured diagnostic table to quickly identify the root cause of your drivetrain noise based on auditory feedback and riding conditions.
| Noise Profile | Riding Condition | Likely Culprit | Diagnostic Test & Resolution |
|---|---|---|---|
| Rhythmic Creaking | Under heavy load (climbing) | Bottom Bracket / Crank Spindle | Check DUB bolt (54 Nm) or Hollowtech pinch bolts (12-14 Nm). Inspect BB bearings for play. |
| Grinding / Rumble | All gears, constant | Worn Chain / Cassette | Measure chain with CC-4. Replace if >0.5% stretch. Verify lockring at 40 Nm. |
| Metallic Clicking | Specific gears only | Derailleur Hanger / B-Tension | Align hanger with DAG-2. Set B-gap to 14mm (Shimano 12s) or 6mm (mechanical). |
| High-Pitched Squeal | Dry conditions, high cadence | Dry Pulley Bearings / Chain | Ultrasonic clean pulleys. Re-lube with low-viscosity oil. Immersion wax the chain. |
| Clunking / Popping | Sprinting or out of saddle | Loose Thru-Axle / Pedals | Torque rear thru-axle to 12-15 Nm. Grease pedal threads and cleat contact points. |
Conclusion: Precision is the Ultimate Silencer
A silent road bike drivetrain is a fast drivetrain. By treating your bicycle with the same diagnostic rigor applied to automotive transmissions, you eliminate parasitic friction and extend the lifespan of expensive components. Always rely on a calibrated torque wrench, respect the 0.5% chain wear limit, and maintain exact derailleur geometry. For further reading on electronic shifting calibration and advanced SRAM setups, review the SRAM AXS Tech Guide. Keep your tolerances tight, your bearings preloaded correctly, and your drivetrain whisper-quiet.