The Beginner’s Dilemma: Fresh Gears and Puddles on the Floor
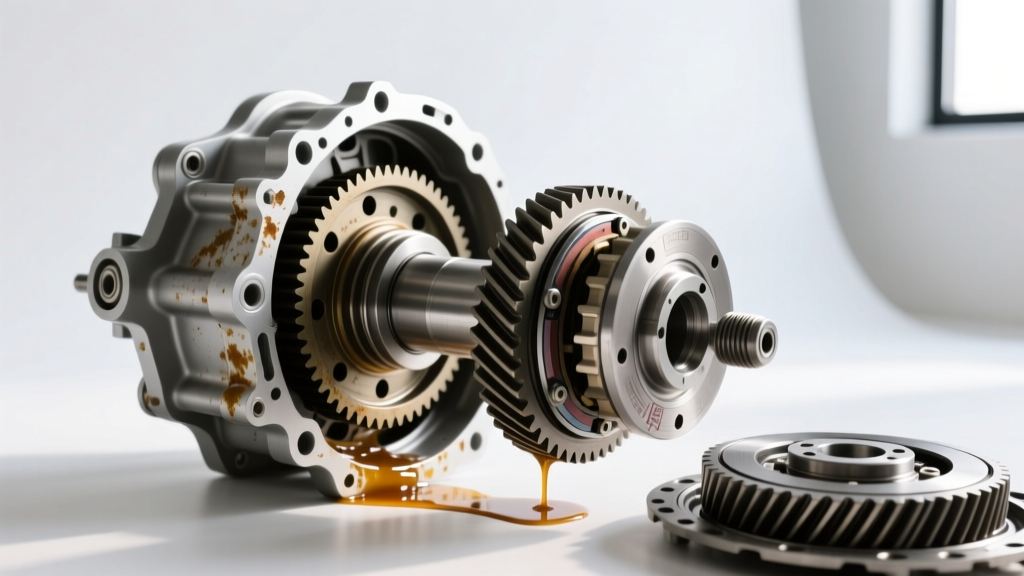
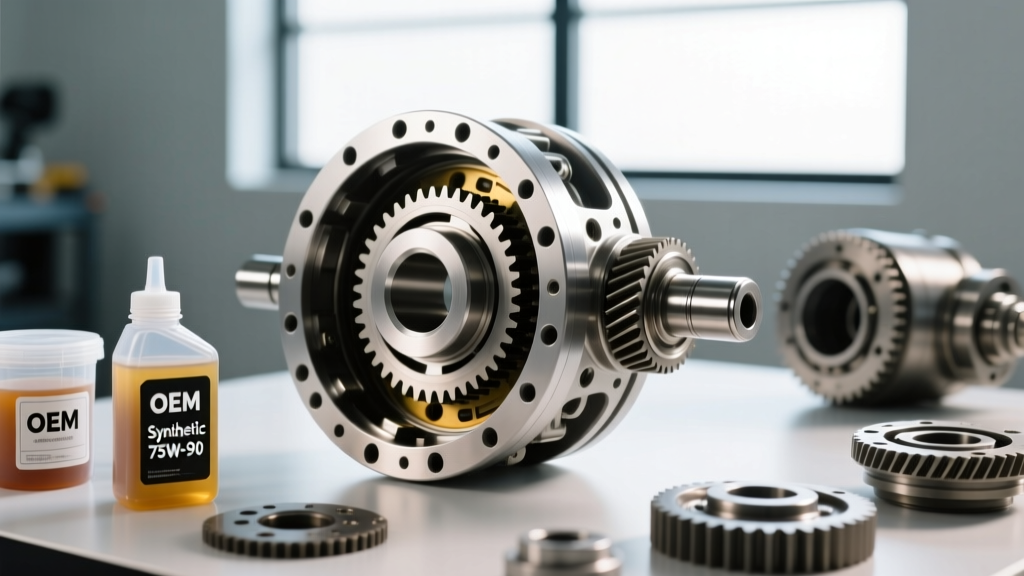
Setting up a new ring and pinion gear set is a rite of passage for any DIY mechanic or off-road enthusiast. Whether you are upgrading to a 4.56 ratio in a Jeep Wrangler’s Dana 44 or installing a 3.73 gear set in a Mustang’s Ford 8.8-inch axle, the process demands patience, precision, and specialized tools. But what happens when you finish the build, fill the differential with fresh 75W-90 or 75W-140 synthetic gear oil, and wake up the next morning to find a puddle of oil under the pinion yoke?
Panic sets in. Many beginners immediately jump online and search for a differential leak sealer, hoping a $30 bottle of chemical additive will save them from tearing the axle back apart. As an automotive drivetrain expert, I am here to tell you that using a chemical leak sealer on a freshly rebuilt differential is not just a waste of money—it is a fundamental misunderstanding of how axle seals work. In this beginner-friendly explainer, we will break down the anatomy of a ring and pinion setup, explain why chemical sealers fail, and show you the proper mechanical steps to guarantee a leak-free axle.
The Anatomy of a Ring and Pinion Setup
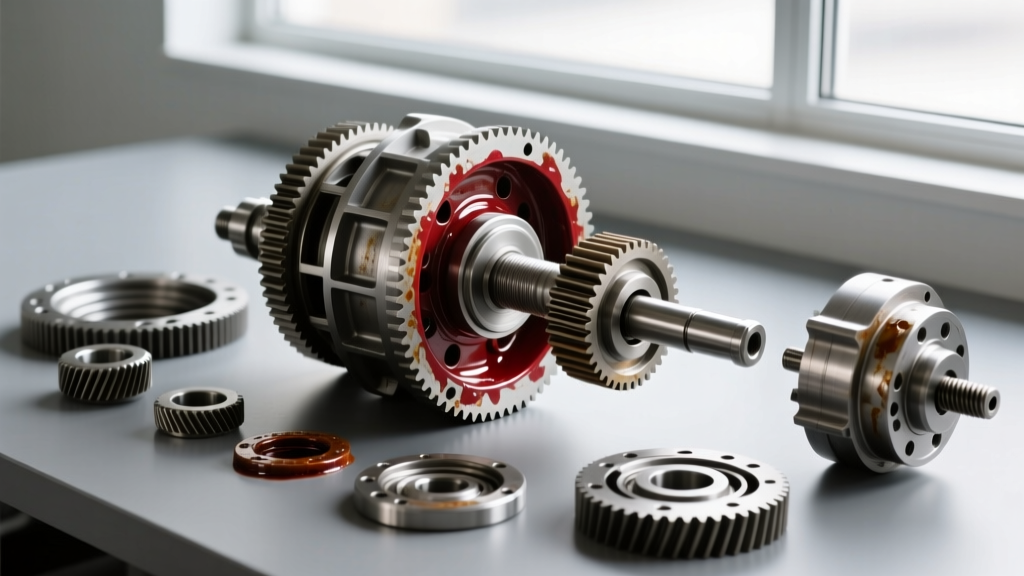
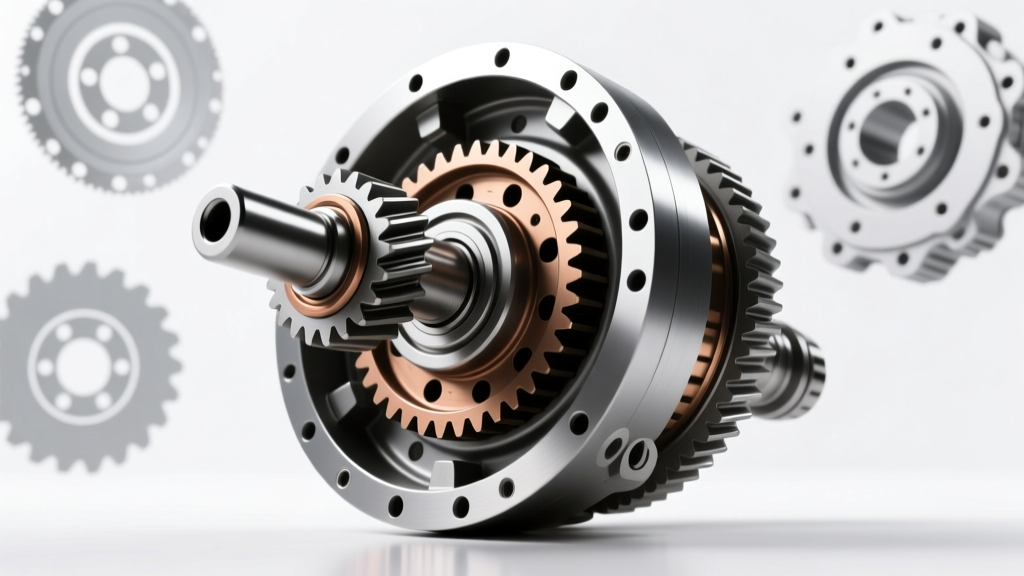
Before diagnosing a leak, you must understand the components you just assembled. A standard hypoid gear set consists of several critical pieces:
- The Ring Gear: The large, circular gear bolted to the differential carrier. It is driven by the pinion and transfers torque to the axle shafts.
- The Pinion Gear: The smaller, elongated gear connected to the driveshaft via the pinion yoke.
- Pinion Bearings and Shims: These support the pinion shaft and dictate its exact depth relative to the ring gear.
- The Crush Sleeve or Solid Spacer: Located between the pinion bearings, this component is used to set the rotational bearing preload.
- The Pinion Seal: A rubber and metal lip seal pressed into the differential housing that keeps gear oil inside and contaminants out, riding against the smooth surface of the pinion yoke.
When a leak occurs immediately after a gear swap, the failure is almost always tied to one of these mechanical interfaces, not the chemical composition of the gear oil.
Why "Differential Leak Sealer" is a Beginner's Trap
Chemical differential leak sealers and stop-leak additives are designed for one specific scenario: aging, hardened, and shrunken rubber seals on high-mileage, neglected vehicles. These products contain plasticizers and swelling agents that temporarily recondition old rubber, causing it to expand and close minor gaps.
However, if you just performed a ring and pinion setup, your seals are brand new. A fresh leak is a mechanical assembly error, not a case of dry rot. Pouring a chemical sealer into your fresh synthetic gear oil will not fix a pinched seal lip, a scored yoke surface, or misapplied RTV silicone. Worse, some cheap sealers can alter the viscosity of your gear oil or interfere with the friction modifiers required for limited-slip differentials (like Ford's XL-3 additive), leading to chattering clutches and premature wear.
Expert Insight: Never use a chemical differential leak sealer to mask an assembly error. If a newly installed pinion seal is leaking, the root cause is physical damage, improper installation, or incorrect bearing preload. Fix the hardware, do not dope the fluid.
Step-by-Step Ring and Pinion Setup: Avoiding Leaks from the Start
To ensure your differential remains sealed and operates quietly, you must follow a strict setup procedure. Here is how the professionals do it.
1. Setting Pinion Depth
Pinion depth determines how deeply the pinion gear meshes into the ring gear. This is adjusted using shims located behind the inner pinion bearing. If the depth is incorrect, your gears will whine, overheat, and destroy themselves within a few hundred miles. Beginners should use a pinion depth gauge tool or rely on the marking compound method to verify the exact factory specification (often stamped on the head of the pinion gear, e.g., "+2" or "-1").
2. Bearing Preload: Crush Sleeve vs. Solid Spacer
Bearing preload is the amount of friction required to spin the pinion shaft without the seal installed. Factory setups use a crush sleeve—a hollow metal tube that collapses as you torque the pinion nut. Warning: If you over-tighten the nut and crush the sleeve too much, you must throw it away, pull the pinion bearing, and start over with a new sleeve. For 2026 builds, many experts recommend upgrading to a solid spacer kit (like those from Ratech), which uses precision shims to set preload and eliminates the risk of over-crushing.
3. Setting Backlash
Backlash is the microscopic amount of "slop" or rotational play between the ring and pinion teeth. Using a magnetic dial indicator mounted to the housing, measure the movement at the ring gear's outer edge. Most street and trail setups require between 0.006 and 0.010 inches of backlash. This is adjusted by moving the carrier side bearings left or right using threaded adjusters or carrier shims.
4. Reading the Gear Pattern
Apply a thin coat of yellow gear marking compound to the ring gear teeth. Rotate the assembly under moderate braking pressure and inspect the pattern:
- Ideal Pattern: Centered evenly between the top (face) and bottom (flank) of the tooth, and centered between the toe (inner edge) and heel (outer edge).
- High Flank / Low Face: Indicates the pinion depth needs adjustment or backlash is out of spec.
The Sealing Phase: Where Leaks Actually Happen
Once the gear pattern is perfect and the carrier is torqued down, it is time to seal the assembly. This is where the battle against leaks is won or lost.
The Pinion Yoke and Speedi-Sleeves
The rubber lip of the pinion seal rides directly on the machined surface of the pinion yoke. Over tens of thousands of miles, the old seal wears a microscopic groove into the steel yoke. If you install a brand-new pinion seal over a grooved yoke, it will leak immediately. The Fix: Inspect the yoke with your fingernail. If you feel a ridge, you must either replace the yoke or install a SKF Speedi-Sleeve—a razor-thin stainless steel cylinder that slips over the yoke, providing a pristine, factory-smooth sealing surface for pennies on the dollar.
Proper Seal Installation
Never hammer a pinion seal directly into the housing. The metal casing can warp, or the rubber lip can be cut by the housing splines. Always use a dedicated seal driver tool that matches the outer diameter of the seal. Furthermore, pack the void between the rubber sealing lips with high-temperature wheel bearing grease before installation. This prevents the seal from running dry and burning up during the first few miles of driving.
RTV vs. Paper Gaskets
Different axles require different housing seals. A Ford 8.8-inch axle typically uses no paper gasket; instead, it requires a continuous bead of high-quality RTV silicone (like Permatex Ultra Black). Apply a consistent 3mm bead, ensuring you circle all bolt holes. Let it tack up for 10 minutes before mating the cover. Conversely, a classic Dana 44 often uses a pre-cut rubber or cork gasket, which should be installed dry or with a very light tack spray to hold it in place during bolt tightening.
Torque Specifications and Setup Data
Referencing accurate torque specifications is non-negotiable. Below is a reference table for three of the most common axles worked on by DIY enthusiasts. Always verify with your specific manufacturer's service manual, as variations exist based on the exact year and model.
| Axle Type | Ring Gear Bolt Torque | Pinion Nut Torque (Approx.) | Target Rotational Preload | Fluid Capacity |
|---|---|---|---|---|
| Ford 8.8" (Super 8.8) | 70 - 85 lb-ft (w/ Loctite) | 200 - 250 lb-ft | 15 - 25 in-lbs (used bearings) | 2.5 - 3.0 Quarts |
| Dana 44 (Standard) | 55 - 65 lb-ft | 150 - 220 lb-ft | 15 - 25 in-lbs (used bearings) | ~ 2.0 Quarts |
| GM 14-Bolt 10.5" | 120 - 130 lb-ft | 250 - 300+ lb-ft | 20 - 35 in-lbs (used bearings) | ~ 3.5 Quarts |
Note: Pinion nut torque is highly variable. You are torquing to achieve the specified rotational preload (measured in inch-pounds with an inch-lb torque wrench), not to hit a specific foot-pound number on the nut itself.
Troubleshooting Post-Setup Leaks
If you have followed all the steps above and still notice gear oil dripping, do not reach for the differential leak sealer. Instead, systematically check these three common culprits:
- The Differential Breather Vent: As the differential heats up during driving, the air and fluid inside expand. The breather vent (usually a small hose or cap on the top of the axle tube) allows this pressure to escape. If your breather is clogged with mud or debris, internal pressure will build up and force gear oil out through the path of least resistance—usually the pinion seal. Always clean or replace the breather during a gear swap.
- Axle Shaft Seals: Beginners often confuse a leaking axle shaft seal with a pinion leak. If oil is dripping from the inside of the brake rotors or drum backing plates, your axle shaft seals are compromised. This frequently happens if the C-clips or axle shaft splines nicked the seal lip during reinstallation.
- Overfilling: The correct fluid level on most solid axles is exactly at the bottom of the fill plug hole. If you overfilled the differential, the churning ring gear will aerate the fluid and push it out of the breather tube, creating a mess that mimics a severe leak.
Final Thoughts
A successful ring and pinion gear setup is a rewarding project that transforms the performance of your truck, SUV, or sports car. However, it requires respect for mechanical tolerances and proper sealing techniques. Chemical differential leak sealers have their place in maintaining aging, high-mileage fleet vehicles, but they have absolutely no business in a fresh, precision-built axle. Invest in the right seal drivers, inspect your yoke surfaces, follow the torque specs, and your differential will stay sealed and whisper-quiet for the next 100,000 miles.