Why Accurate Axle Identification Dictates Rebuild Success
Rebuilding a General Motors solid axle is a masterclass in precision mechanical assembly. Whether you are refreshing a classic GM 10-bolt (8.5-inch or 8.625-inch) or overhauling a heavy-duty 14-bolt 10.5-inch full-floater, the margin for error is measured in thousandths of an inch. Before you ever touch a wrench, your first and most critical step is utilizing an identification Chevy rear differential diagram to decode your specific axle assembly. Ordering the wrong pinion shim kit, misidentifying a Gov-Loc carrier, or misreading the ring gear bolt thread pitch can instantly derail a rebuild project and cost you hundreds of dollars in wasted machine shop time.
In this comprehensive 2026 step-by-step guide, we will walk through the complete teardown, measurement, and assembly procedures for GM rear differentials, emphasizing the exact torque specs, shim calculations, and fluid requirements needed for a quiet, long-lasting axle.
Step 1: Decoding the GM Axle Identification Diagram
The GM Service Parts Identification (SPI) label, typically found in the glovebox or center console, is your primary roadmap. When cross-referencing your identification Chevy rear differential diagram, look for the following Regular Production Option (RPO) codes to determine your internal carrier type and gear ratio:
- GU5: 3.23 Ratio
- GU6: 3.42 Ratio
- GT4: 3.73 Ratio
- GT5: 4.10 Ratio
- G80: Eaton Gov-Loc (Mechanical Locking Differential)
- G86: Limited Slip Differential (Clutch-type)
Additionally, locate the axle tube stamping on the passenger side, usually facing forward or upward. This stamping provides the exact gear ratio, build date, and assembly plant code. For example, a stamp reading "V 3.73" confirms a 3.73 ratio, which dictates whether you need a standard open carrier, a thick-ring-gear carrier (for ratios numerically higher than 3.08 on the 8.5-inch 10-bolt), or a specific locker drop-in.
Step 2: Teardown and Component Inspection
Once the axle is secured on a bench or the vehicle is safely supported on jack stands, drain the existing gear oil into a pan. Inspect the drained fluid for excessive glitter (normal wear) or large metallic chunks (indicative of catastrophic bearing or thrust block failure).
Extracting the Axleshafts (Semi-Floating 10-Bolt)
- Remove the differential cover and clean the mating surface.
- Rotate the carrier until the cross-pin lock bolt is accessible. Remove the 5/16-inch lock bolt.
- Push the cross-pin out and rotate the axleshafts inward to access the C-clips.
- Use a specialized C-clip removal tool or a small magnetic pick-up to extract the clips, then slide the axleshafts out of the housing tubes.
Removing the Carrier and Pinion
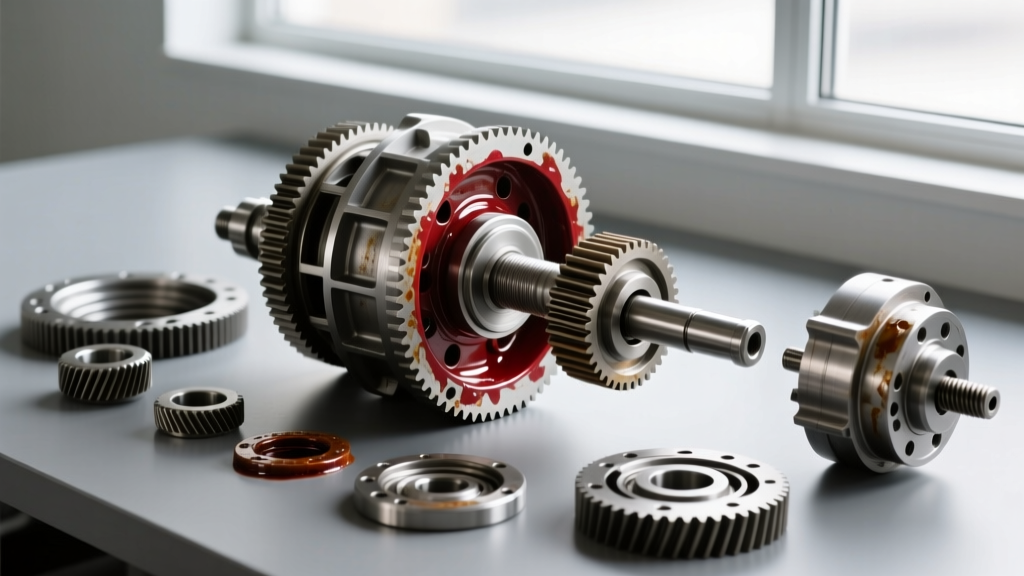
Mark the bearing caps and housing saddles with a punch or paint pen—never mix up the left and right caps, as they are line-bored at the factory. Remove the cap bolts, use a brass pry bar to gently pop the carrier out, and remove the pinion nut (using an impact wrench or a heavy-duty flange holder). Press the pinion gear out through the differential housing using a hydraulic press.
Step 3: Pinion Depth and Bearing Preload Setup
Setting the pinion depth is the most critical measurement in any differential rebuild. The target distance from the pinion head face to the axle centerline is typically around 2.625 inches for a GM 8.5-inch 10-bolt, but you must adjust based on the variance etched onto the pinion head (e.g., "+2" or "-1").
Pro-Tip: Do not press on your final Timken inner pinion bearing for test fitting. Instead, purchase or fabricate a "setup bearing" by honing out the inner diameter of an old Timken bearing on a brake lathe. This allows you to slide the pinion in and out by hand while testing different shim thicknesses.
Once the correct depth shim (usually between 0.020" and 0.040") is established and the gear pattern is verified, press on the final bearing. Install the crush sleeve (or solid spacer shim kit) and the outer pinion bearing. Tighten the pinion nut incrementally, checking rotational drag with an inch-pound torque wrench. As of 2026, most master kits from Summit Racing recommend 12-18 in-lbs of rotational preload for used bearings, and 20-25 in-lbs for brand-new bearings.
Step 4: Carrier Installation and Backlash Adjustment
Bolt the ring gear to the carrier using new 7/16"-20 ring gear bolts. Apply Red Loctite 271 to the threads and torque them in a star pattern. Mount the carrier into the housing saddles with the outer races and your calculated side shims.
Reading the Gear Pattern
Apply yellow gear marking compound to three or four teeth on the ring gear. Apply rotational resistance to the ring gear with a gloved hand while turning the pinion yoke. According to setup guides from Drivetrain America (Ring-Pinion.com), a perfect pattern exhibits:
- Drive Side: Centered from top to bottom, slightly biased toward the toe (inner edge).
- Coast Side: Centered from top to bottom, slightly biased toward the heel (outer edge).
If the pattern is too high on the face, add pinion shims to move the pinion deeper. If the backlash is out of spec (target is 0.006" to 0.010" for GM 10-bolts), shift the side shims from left to right without changing the total shim thickness to maintain carrier bearing preload.
Step 5: Final Assembly and Torque Specifications
With the pattern verified and backlash locked in, install the bearing caps in their original marked orientations. Below is the definitive torque specification table for the most common Chevy rear differentials:
| Component | GM 8.5" / 8.625" 10-Bolt | GM 10.5" 14-Bolt (Full Float) |
|---|---|---|
| Ring Gear Bolts | 70 ft-lbs (with Red Loctite) | 120-140 ft-lbs (with Red Loctite) |
| Carrier Bearing Cap Bolts | 55-65 ft-lbs | 90-110 ft-lbs |
| Pinion Nut (Final Torque) | 150-250 ft-lbs (Crush Sleeve) | 250-300 ft-lbs (Crush Sleeve) |
| Axleshaft Retainer Nuts | N/A (C-Clip Retained) | 50-60 ft-lbs |
| Differential Cover Bolts | 15-20 ft-lbs | 25-30 ft-lbs |
Step 6: Fluid Selection and Break-In Protocol
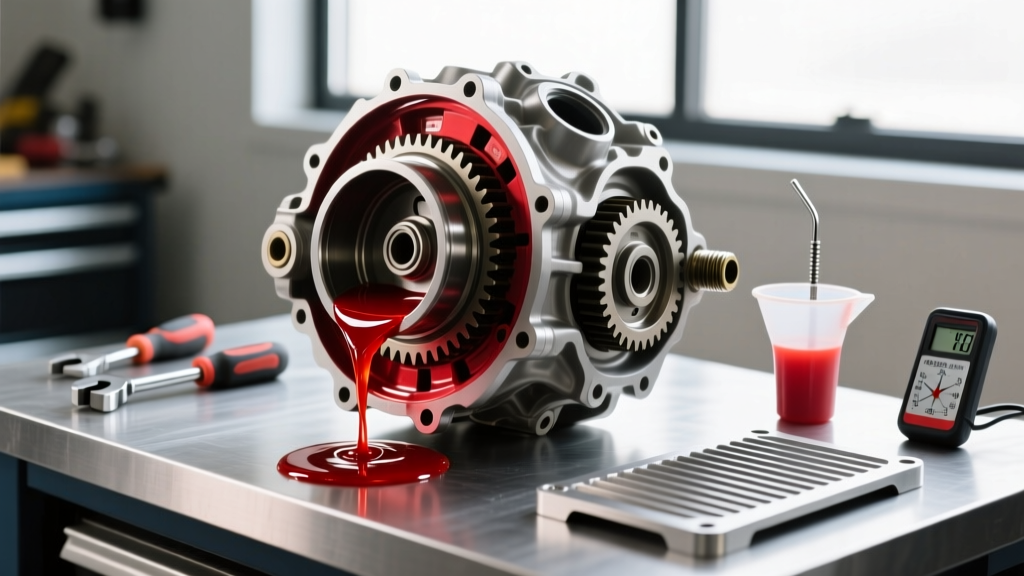
The final step in the rebuild procedure is filling the axle with the correct lubricant. For standard open differentials and clutch-type limited slips, a high-quality 75W-90 GL-5 synthetic gear oil (such as Amsoil Severe Gear or Mobil 1) is the 2026 industry standard. Expect to use approximately 2.5 to 3.0 pints for a 10-bolt, and up to 4.0 pints for a 14-bolt full-floater.
The G80 Gov-Loc Fluid Warning
If your identification Chevy rear differential diagram confirmed an RPO G80 Eaton Gov-Loc, do not add standard limited-slip friction modifiers. The Gov-Loc is a mechanical flyweight locker, not a clutch pack. Adding GM EOS (Limited Slip Additive) or aftermarket friction modifiers will cause the locking mechanism to slip, overheat, and eventually grenade the carrier. Fill the G80 with standard GL-5 75W-90 synthetic gear oil only.
The 500-Mile Break-In Procedure
New ring and pinion gears generate immense friction and heat during the initial bedding process. To prevent thermal shock and oil breakdown:
- Drive the vehicle for 15-20 minutes at speeds under 45 MPH.
- Stop and let the axle housing cool completely to ambient temperature (approximately 45 minutes).
- Repeat this heat cycle 3 to 4 times.
- Avoid heavy towing or sustained highway speeds exceeding 65 MPH for the first 500 miles.
After the 500-mile break-in, drain the break-in fluid to remove the microscopic metallic paste generated by the gear lapping process, and refill with fresh 75W-90 synthetic. For deeper insights into bearing tolerances and advanced shim math, consult the engineering resources at Timken Automotive. By strictly adhering to these rebuild procedures and leveraging your axle's identification diagram, your GM differential will deliver decades of whisper-quiet, bulletproof performance.