Demystifying the Ring and Pinion Gear Setup
For many DIY mechanics and automotive enthusiasts, setting up a ring and pinion gear set feels like dark magic. You hear horror stories of whining differentials, destroyed gear teeth, and catastrophic axle failures just miles after a rebuild. However, the secret to a quiet, durable differential does not rely on guesswork. It relies entirely on precision measurement and the strategic use of differential shims.
Whether you are regearing a Jeep Wrangler Dana 44 for 37-inch tires or rebuilding the rear axle of a Ford Mustang 8.8-inch for track duty, understanding how shims dictate gear geometry is the most critical skill you can develop. In this beginner-friendly explainer, we will break down exactly what differential shims do, where they go, and how to use them to achieve the perfect gear contact pattern.
What Are Differential Shims?
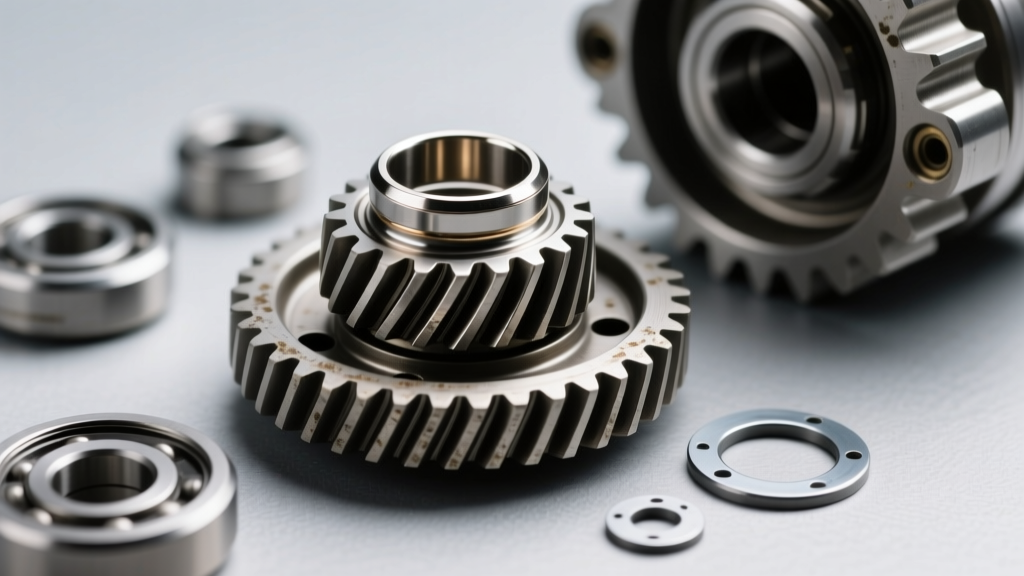
Differential shims are precision-machined, hardened steel washers used to fill microscopic gaps and adjust the spatial relationship between moving components inside the axle housing. They typically range in thickness from 0.001 inches up to 0.050 inches.
Because axle housings are cast from iron or aluminum, they suffer from slight manufacturing variances. Furthermore, aftermarket ring and pinion gears have their own unique machining tolerances. You cannot simply bolt a new gear set into an old housing and expect it to align perfectly. Differential shims act as the customizable bridge that compensates for these variances, ensuring the gears mesh exactly as the engineers intended.
The Two Critical Shim Locations
When performing a ring and pinion setup, you will deal with two distinct types of shims, each controlling a completely different axis of gear movement.
1. Pinion Depth Shims (The Vertical Axis)
Pinion depth shims control how deeply the pinion gear penetrates into the centerline of the ring gear. Depending on the axle design, these shims are located either between the inner pinion bearing and the pinion head (common in Dana 30/44 axles) or inside the bearing cup pressed into the housing (common in Ford 8.8 and GM 10-bolt axles).
- Too Deep: The pinion is pushed too far into the ring gear. The contact pattern will shift toward the root (flank) of the ring gear teeth, causing severe binding and heat.
- Too Shallow: The pinion is pulled away from the ring gear. The pattern shifts toward the top (face) of the teeth, leading to sheared tooth tips under heavy load.
2. Carrier / Backlash Shims (The Horizontal Axis)
Backlash is the amount of rotational "slop" or clearance between the mating teeth of the ring and pinion before they make contact. Carrier shims are pressed onto the carrier bearings (the bearings that hold the ring gear assembly) and sit between the carrier and the axle housing bearings caps.
By adding shim thickness to the left side and removing it from the right (or vice versa), you move the entire ring gear side-to-side without altering the carrier bearing preload. This side-to-side movement dictates your backlash measurement, which should typically fall between 0.006" and 0.010" for most street-driven passenger and light truck applications.
Essential Setup Specifications & Real-World Costs
Before tearing into your differential, you need the right tools and parts. Below is a reference table for common light-duty axles, showcasing the specifications and costs you should anticipate in 2026.
| Specification / Component | Dana 44 (Jeep/Truck) | Ford 8.8 (Mustang/F-150) | Estimated Cost (2026) |
|---|---|---|---|
| Master Shim Kit Part # | Yukon SK 10004 | Motive Gear 1301 | $18 - $35 |
| Target Backlash | 0.006" - 0.008" | 0.008" - 0.012" | N/A |
| Pinion Bearing Preload | 15 - 25 in-lbs (New) | 8 - 14 in-lbs (New) | N/A |
| Ring Gear Bolt Torque | 70 - 85 ft-lbs | 70 - 85 ft-lbs | N/A |
| Pinion Nut Torque (Crush Sleeve) | 150 - 250 ft-lbs | 160 - 280 ft-lbs | N/A |
Note: Always use a high-strength threadlocker, such as Permatex Red Loctite 272, on ring gear bolts. The shear forces generated during hard launches will easily back out untreated bolts, destroying the ring gear and differential case.
Reading the Contact Pattern: The Ultimate Test
You cannot measure a perfect gear setup with a micrometer alone. You must "read" the pattern using a specialized yellow or white gear marking compound (like Summit Racing Gear Marking Compound). You paint three or four teeth on the ring gear, apply load to the pinion using a brake rotor or rag, and rotate the gears to transfer the pattern.
The Anatomy of a Gear Tooth
To understand the pattern, you must know the terminology of the ring gear tooth:
- Toe: The inner edge of the tooth (closest to the center of the ring gear).
- Heel: The outer edge of the tooth (closest to the outside perimeter).
- Face: The top of the tooth (the convex side).
- Flank: The bottom/root of the tooth (the concave side).
Adjusting the Pattern with Shims
A perfect pattern will sit squarely in the middle of the tooth, slightly favoring the toe and extending evenly from the face to the flank. Here is how you use differential shims to fix a bad pattern:
- Pattern is too high (on the Face): The pinion is too shallow. Fix: Add pinion depth shims to push the pinion deeper into the ring gear.
- Pattern is too low (on the Flank): The pinion is too deep. Fix: Remove pinion depth shims to pull the pinion away from the ring gear.
- Pattern is too far toward the Toe: Backlash is too tight. Fix: Adjust carrier shims to move the ring gear slightly away from the pinion to increase backlash.
- Pattern is too far toward the Heel: Backlash is too loose. Fix: Adjust carrier shims to move the ring gear closer to the pinion to decrease backlash.
The Golden Rule of Gear Setup: Always let the gear marking pattern dictate your final shim selection. Never rely solely on the factory pinion depth numbers etched into the pinion head. Those numbers assume a "perfect" axle housing, which does not exist in the real world. Follow the pattern, not the numbers.
Common Beginner Mistakes to Avoid
Even with a perfect shim stack, your differential will fail if you ignore the supporting components. Avoid these costly beginner errors:
Reusing the Crush Sleeve
The pinion nut secures the pinion yoke and provides bearing preload by crushing a hollow steel sleeve. Once a crush sleeve is compressed, it can never be reused. If you over-tighten and exceed your target preload (e.g., 25 in-lbs), you must throw that sleeve away, install a new one, and start the torquing process over. Pro-Tip: Consider upgrading to a solid pinion spacer kit (approx. $45-$60), which uses shims to set preload and can be reused infinitely.
Ignoring Carrier Bearing Runout
If the ring gear is not mounted perfectly true to the carrier, it will wobble as it spins. This wobble causes backlash to tighten and loosen dynamically during rotation, resulting in a whining noise and premature tooth wear. Always use a dial indicator to check ring gear runout before finalizing your carrier shims. Runout should be less than 0.003 inches.
The Break-In and Fluid Connection
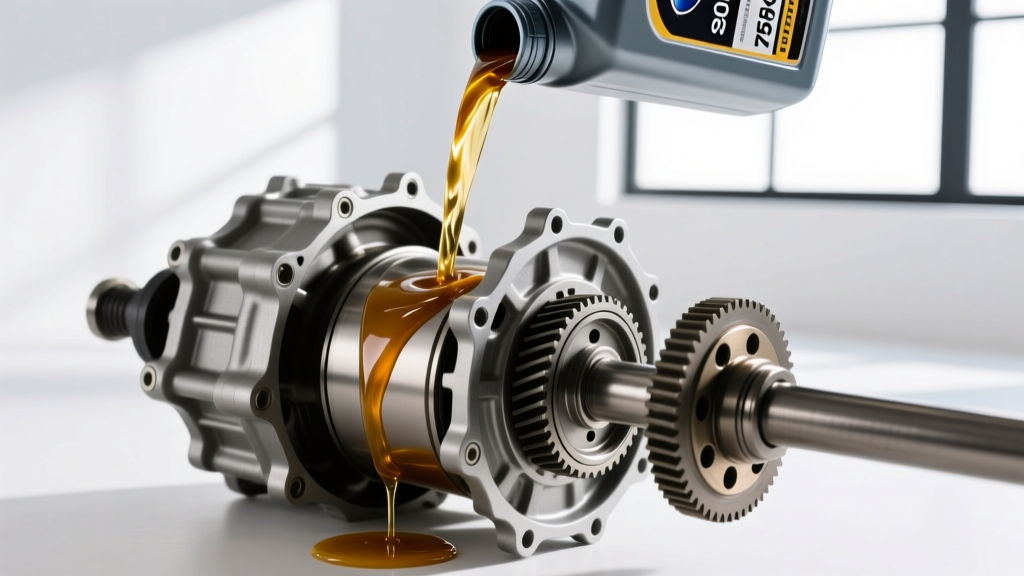
Once your differential shims are perfectly dialed in and the cover is bolted back on, the setup process transitions into the fluid domain. The initial break-in of a new ring and pinion generates immense friction and heat as the microscopic peaks of the gear teeth wear into one another.
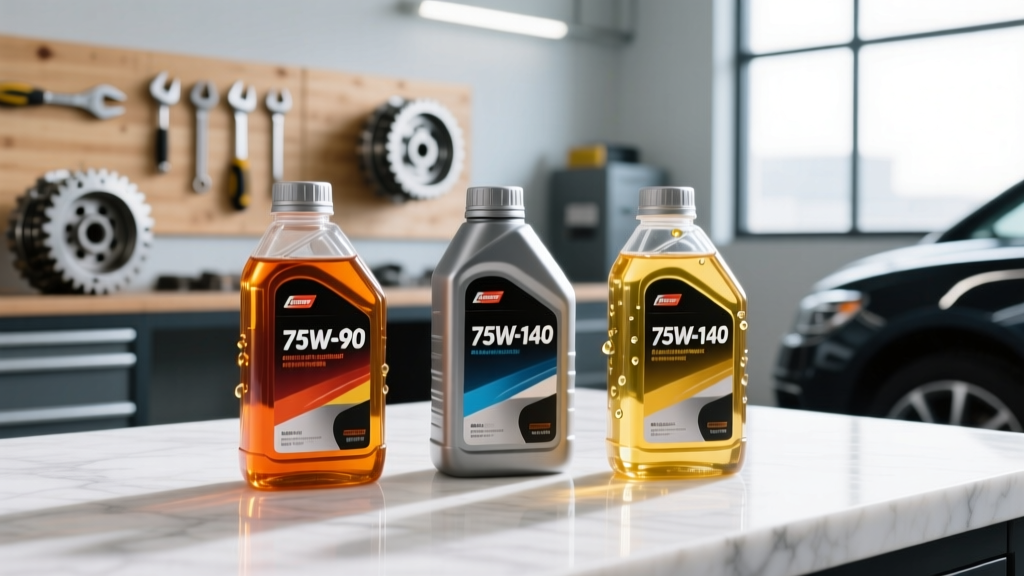
Filling the axle with the correct 75W-90 or 75W-140 GL-5 synthetic gear oil is non-negotiable. High-end fluids like Amsoil Severe Gear or Red Line Synthetic contain extreme pressure (EP) additives designed to prevent the gear teeth from welding together under high thermal loads.
The 500-Mile Drain Rule
During the first 100 to 500 miles, the gears and bearings will shed microscopic metallic particles as they seat. If left in the housing, this metallic paste will act like lapping compound, accelerating wear. You must drain the break-in fluid at the 500-mile mark, inspect the differential cover for excessive metal chunking (a fine metallic glitter on the drain plug magnet is normal), and refill with fresh gear oil. If your vehicle is equipped with a clutch-type limited-slip differential, do not forget to add the required friction modifier additive during this final fill to prevent chatter and binding during cornering.
Final Thoughts
Mastering the use of differential shims transforms ring and pinion setup from a frustrating guessing game into a logical, rewarding science. By understanding the distinct roles of pinion depth and carrier backlash shims, investing in quality measuring tools, and strictly following the gear marking pattern, you can build an axle that is whisper-quiet and capable of handling massive horsepower. Take your time, measure twice, and let the shims do the heavy lifting.