The Beginner's Blueprint to Ring and Pinion Gear Setup
Building a rear end from scratch or replacing worn gears is one of the most rewarding projects a driveway mechanic can tackle. Whether you are upgrading a classic GM 10-bolt 8.5-inch, a Ford 8.8-inch, or a heavy-duty Dana 60, the ring and pinion gear setup requires patience, precision, and a methodical approach. As a beginner, the terminology can seem intimidating, but the underlying physics are straightforward: you are simply managing the geometric relationship between two meshing gears to ensure they operate quietly and efficiently under extreme torque loads.
However, a flawless gear setup is only half the battle. Once the carrier is assembled and the cover is bolted on, the differential relies entirely on its lubrication to survive. In this guide, we will break down the core concepts of setting up your gears and then transition into the critical, often-overlooked final step: understanding how to check differential fluid level to guarantee your new drivetrain components survive their break-in period and beyond.
Essential Tools for the Job
Before touching a wrench, you need the right measuring instruments. Guesswork will result in catastrophic gear failure within the first ten miles.
- Dial Indicator with Magnetic Base: Required for measuring backlash to the thousandth of an inch.
- Inch-Pound Torque Wrench: Crucial for setting pinion bearing preload. Do not confuse this with a standard foot-pound torque wrench.
- Gear Marking Compound: A yellow or white paste (like part # 44-0101) used to visualize the contact patch on the gear teeth.
- Collapsible Spacer & New Pinion Nut: Never reuse a crushed pinion spacer or a staked pinion nut.
Pinion Depth and Bearing Preload
Pinion depth dictates how far the pinion gear sits into the ring gear. This is adjusted using precision shims located behind the inner pinion bearing cup. If the pinion is too deep, the gears will bind and generate excessive heat; if it is too shallow, the gears will clash and strip teeth. According to Randy's Ring & Pinion Technical Library, pinion depth shims typically range from 0.020 to 0.040 inches, depending on the specific axle housing and gear manufacturer.
Once depth is established, you must set the pinion bearing preload. This is achieved by tightening the pinion nut to crush the collapsible spacer between the inner and outer pinion bearings. For new bearings, you are generally looking for a rotational torque of 15 to 25 inch-pounds. Achieving this often requires upwards of 150 to 250 foot-pounds of torque on the pinion nut itself, which is why a high-quality breaker bar and a reliable inch-pound dial wrench are mandatory.
Setting Backlash
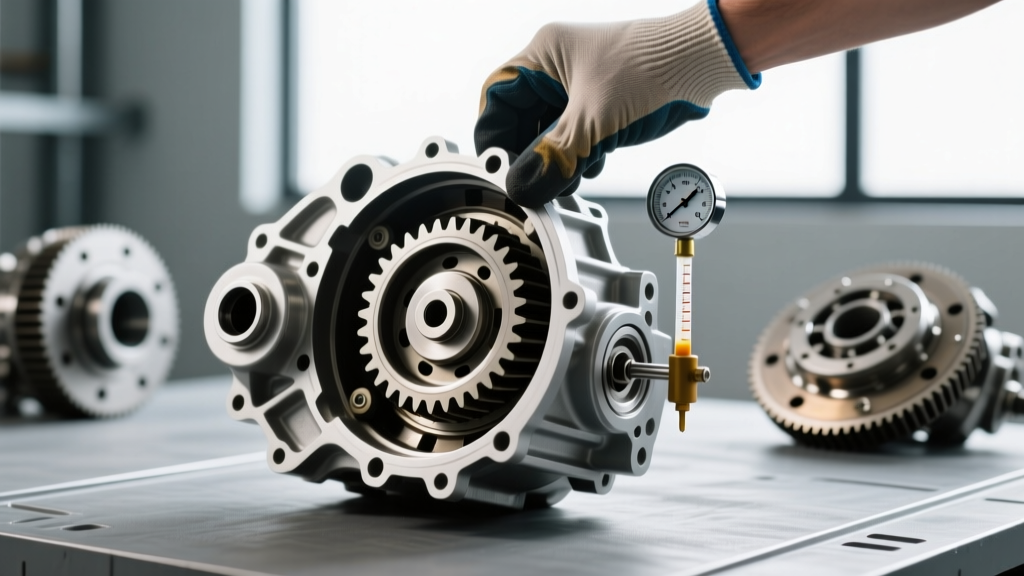
Backlash is the rotational play between the ring gear and the pinion gear. It allows for thermal expansion and the formation of a hydrodynamic oil wedge between the gear teeth. To measure it, lock the pinion yoke in place and mount your dial indicator perpendicular to the face of a ring gear tooth. Rotate the ring gear back and forth. For most street-driven passenger vehicles, such as the Ford 8.8-inch, the target backlash specification is between 0.008 and 0.012 inches. You adjust this by moving the carrier side shims or turning the adjuster nuts on the differential carrier bearings.
Reading the Gear Pattern
Numbers on a dial indicator are only half the story; the visual gear pattern confirms your setup. Apply a thin layer of yellow marking compound to three or four teeth on both the drive (convex) and coast (concave) sides of the ring gear. Rotate the gears under moderate resistance. As explained by Dana Spicer Drivetrain Products, a perfect pattern will sit centered on the tooth face, slightly biased toward the heel (the inner edge of the ring gear). If the pattern runs off the top edge (flank), your backlash is too tight or the pinion is too deep. If it runs off the bottom edge (root), your backlash is too loose or the pinion is too shallow.
Why Fluid is the Ultimate Make-or-Break Step
You have spent hours pressing bearings, measuring shims, and reading gear patterns. The differential cover is sealed with RTV silicone or a new gasket. Now comes the most critical step for longevity. New ring and pinion gears experience extreme friction and localized heat generation during their initial mating phase. Without the correct volume and viscosity of gear oil, the hypoid sliding action will instantly wipe away the boundary lubrication layer, leading to micro-welding, galling, and total axle failure.
Furthermore, if your axle is equipped with a clutch-type Limited Slip Differential (LSD), such as Ford's Trac-Loc or GM's Posi-Traction, you must add a specific friction modifier (typically 4 to 6 ounces) before filling with gear oil. Failing to do so will result in severe chatter and permanent damage to the clutch packs during tight turns.
How to Check Differential Fluid Level: Step-by-Step
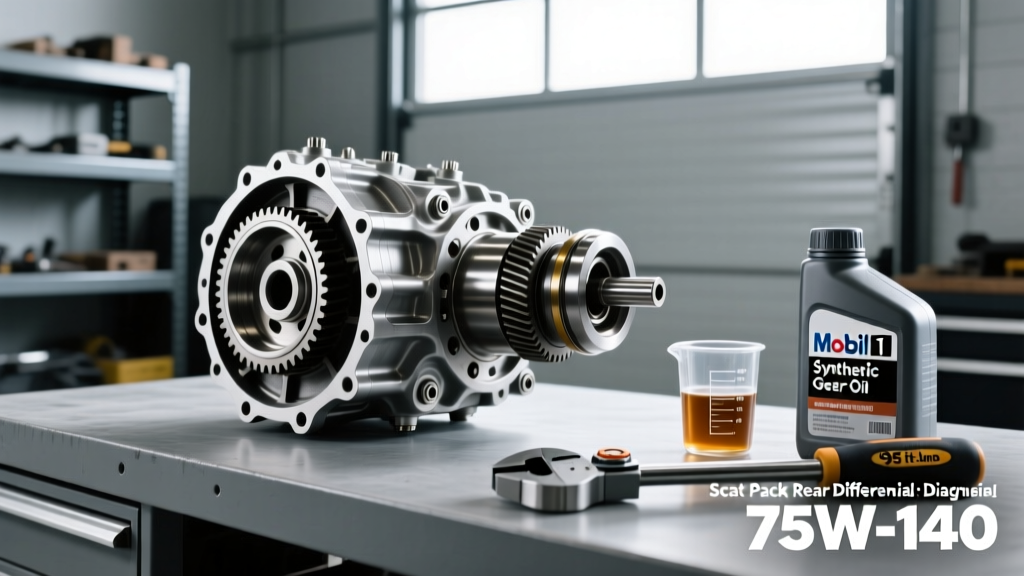
Unlike an engine oil pan, a differential does not have a dipstick. Learning how to check differential fluid level requires understanding the 'weep hole' principle. The fill plug on the differential cover or housing is positioned exactly at the maximum safe fluid line. Here is the professional, foolproof method to ensure your axle is properly lubricated:
Pro-Tip: ALWAYS remove the fill plug before removing the drain plug. If you drain the fluid first and then discover the fill plug is seized or stripped, your vehicle is stranded and the differential is bone dry.
- Level the Vehicle: The vehicle must be on a perfectly level surface. If the vehicle is tilted on jack stands, the fluid will pool to one side, giving you a false reading and potentially leaving the upper pinion bearing starved of oil.
- Clean the Area: Wipe away road grime from around the fill plug (usually a 3/8-inch square drive or a large hex bolt) to prevent debris from falling into the housing.
- Remove the Fill Plug: Use the appropriate tool to break the plug loose. Set it aside with its sealing washer.
- Pump in the Gear Oil: Using a hand-pump or a squeeze bottle, feed your chosen gear oil (e.g., 75W-90 or 75W-140 Full Synthetic GL-5) into the fill hole.
- Observe the Weep Point: You know the differential fluid level is correct the exact moment the oil begins to weep or dribble out of the bottom lip of the fill hole. Stop pumping immediately.
- Reinstall and Torque: Clean the threads, apply a small amount of thread sealant if specified by the manufacturer, and torque the fill plug to spec (typically 25 to 35 lb-ft).
Independent Rear Suspension (IRS) Variations
If you are working on a modern IRS setup (like the GM Alpha platform or Ford Mustang IRS), the differential is often mounted at an angle or integrated into a transaxle. In these cases, checking the fluid level might require a specialized check-plug located on the side of the aluminum casing, and filling may require a specialized adapter tube to navigate around the half-shafts. Always consult the factory service manual for IRS-specific fluid level check procedures, as overfilling can cause fluid to blow past the axle seals into the wheel hubs.
Common Axle Specifications and Fluid Capacities
Use the table below as a quick-reference guide for popular solid-axle differentials. Always verify with your specific gear manufacturer, as aftermarket housings may have altered capacities.
| Axle Model | Target Backlash | Fluid Capacity | Fill Plug Torque | Recommended Viscosity |
|---|---|---|---|---|
| GM 8.5' 10-Bolt | 0.006' - 0.010' | 2.1 Quarts | 25 lb-ft | 75W-90 Synthetic GL-5 |
| Ford 8.8' (Solid) | 0.008' - 0.012' | 2.5 Quarts | 30 lb-ft | 75W-140 Synthetic GL-5 |
| Dana 60 (Front) | 0.006' - 0.010' | 3.0 Quarts | 35 lb-ft | 80W-90 GL-5 |
| Chrysler 8.75' | 0.008' - 0.014' | 2.3 Quarts | 25 lb-ft | 75W-90 Synthetic GL-5 |
The 500-Mile Break-In Procedure
Knowing how to check differential fluid level is just as important after the break-in period as it is on day one. When new ring and pinion gears mesh for the first time, they undergo a lapping process. Microscopic high spots on the forged steel are worn away, generating significant heat and leaving a fine, metallic paste suspended in the gear oil. If left unchanged, this abrasive paste will accelerate wear on the carrier bearings and pinion seals.
According to the experts at Currie Enterprises Tech Center, you should drive the vehicle conservatively for the first 500 miles. Avoid sustained highway speeds over 65 MPH and do not tow heavy loads. During this period, stop every 15 miles to let the axle cool down, preventing the gear oil from exceeding its thermal breakdown point. At the 500-mile mark, drain the fluid, inspect the differential cover magnet for abnormal metal chunks (a fine grey sludge is normal; jagged shards are not), and refill using the exact weep-hole method outlined above. By combining a meticulous ring and pinion gear setup with disciplined fluid maintenance, your differential will provide thousands of miles of quiet, bulletproof service.