Is the Rear Differential Part of the Powertrain? Understanding the Driveline
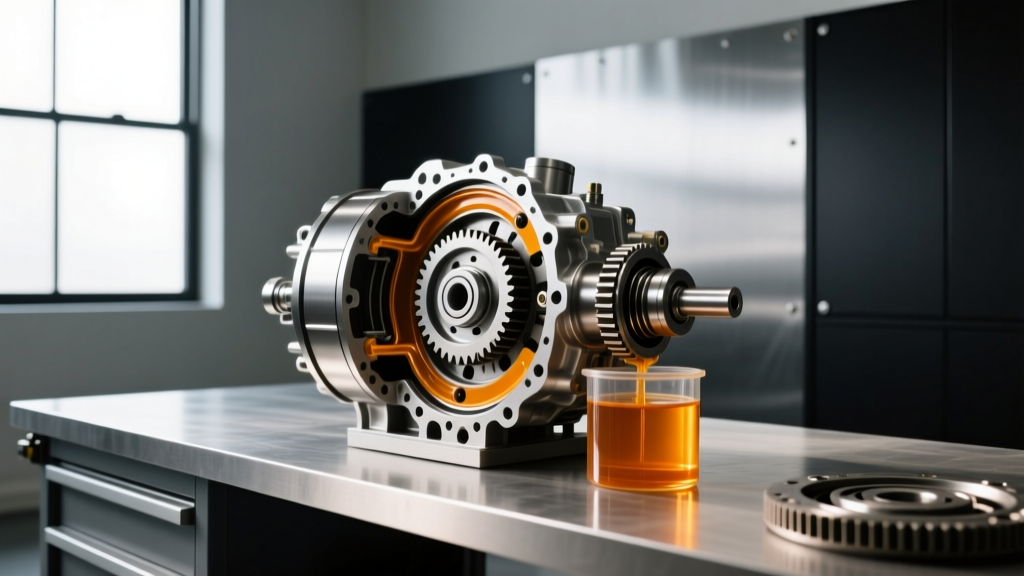
When vehicle owners experience a whining axle or a catastrophic gear failure, the first question they ask their service advisor is: is the rear differential part of the powertrain? The definitive answer is yes. The rear differential is a critical powertrain component responsible for transferring rotational torque from the transmission and driveshaft to the rear axles, while simultaneously allowing the wheels to rotate at different speeds during cornering. Because it is classified under the powertrain umbrella, a failing differential on a newer truck or SUV might be covered by a 5-year/60,000-mile powertrain warranty.
However, for out-of-warranty vehicles, classic cars, or heavily modified trucks, dealership replacement quotes for a complete rear axle assembly frequently exceed $3,500 in 2026. Fortunately, performing a differential rebuild yourself is highly achievable with the right tools, precision measuring instruments, and a methodical approach. In this step-by-step how-to guide, we will break down the exact differential rebuild procedures for one of the most common and robust axles on the road: the Ford 8.8-inch rear differential, found in millions of Mustangs, F-150s, and Rangers.
Diagnosing Differential Failure vs. General Powertrain Noise
Before tearing into the axle, you must confirm the differential is actually the culprit. Driveline vibrations and whines are often misdiagnosed. Here is how to isolate the failure:
- Pinion Bearing Whine: A continuous howl that changes pitch precisely with vehicle speed (not engine RPM) and is most prominent during deceleration (coast side) indicates a worn pinion bearing or incorrect pinion depth.
- Ring and Pinion Wear: A rhythmic clunking or severe whining under heavy load (acceleration) points to excessive backlash or chipped gear teeth.
- Carrier Bearing Noise: A low-pitched rumble that sounds like driving over rough pavement usually indicates pitted carrier bearings.
- U-Joint / Driveshaft Vibration: If the vibration pulses at specific speeds (e.g., 55-65 mph) and disappears when you shift into neutral, the issue is likely in the driveshaft or U-joints, not the differential internals.
Required Tools and Parts for the Ford 8.8 Rebuild
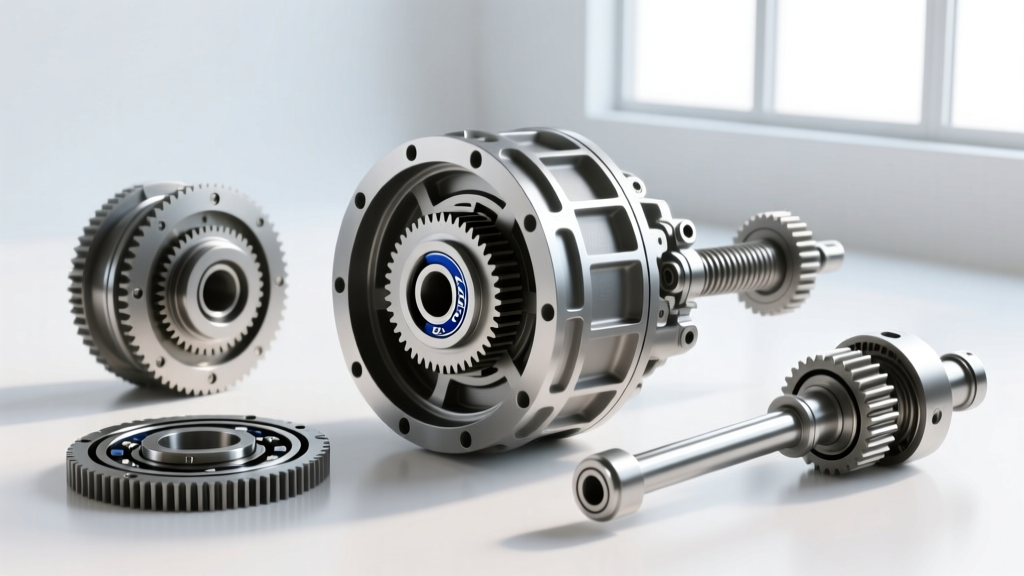
A successful rebuild requires precision. Do not attempt this with standard open-end wrenches and a guess-and-check methodology. Below is the essential bill of materials and tooling required for a 2026-spec rebuild.
| Component / Tool | Part Number / Spec | Estimated Cost (2026) |
|---|---|---|
| Master Rebuild Kit (Bearings, Seals, Shims) | Yukon Gear YK F8.8-REAR | $185.00 |
| Ring & Pinion Set (3.73 Ratio) | Motive Gear F8.8-373 | $240.00 |
| Solid Pinion Spacer Upgrade (Eliminates Crush Sleeve) | Ratech 4119 | $35.00 |
| Synthetic Gear Oil (75W-140) | Mobil 1 104361 (3 Quarts) | $55.00 |
| Dial Indicator with Magnetic Base | OTC 7198 or equivalent | $45.00 |
| Beam-Style Inch-Pound Torque Wrench | 0-100 in-lbs range | $60.00 |
Note: Always source high-quality Timken or Koyo bearings included in premium kits like Yukon Gear. Cheap offshore bearings will fail prematurely under high torque loads.
Step 1: Teardown and Case Inspection
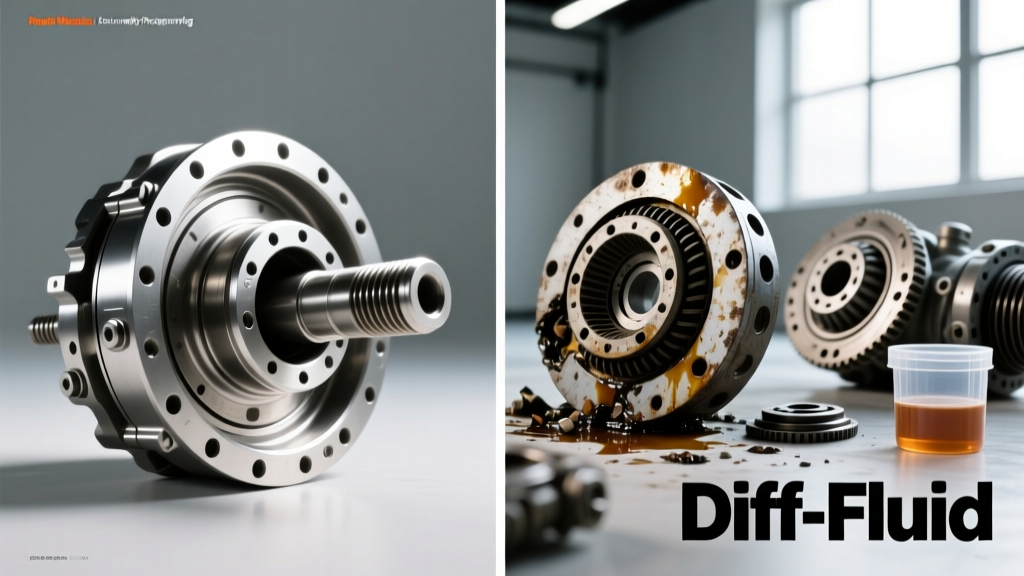
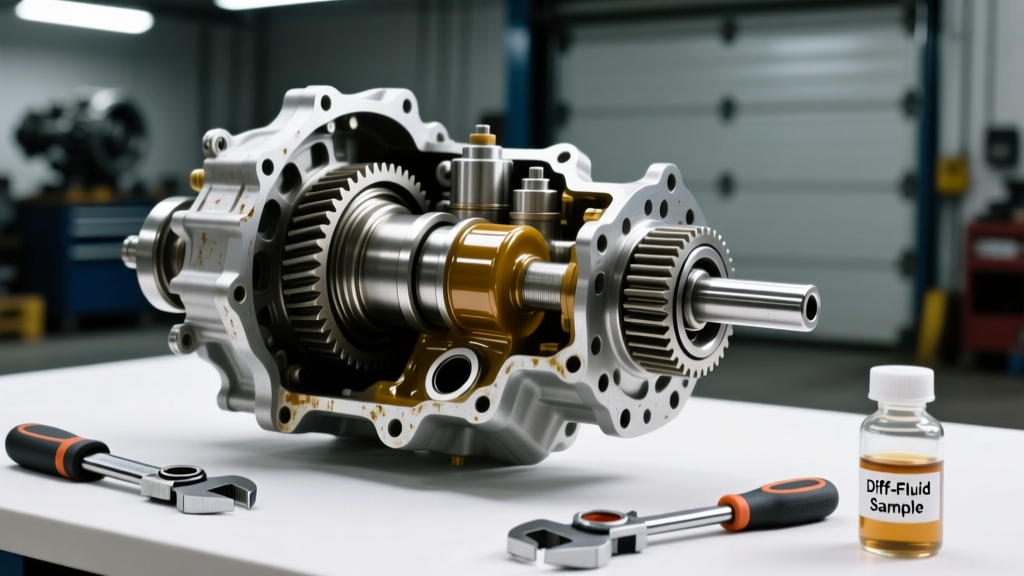
Begin by draining the differential fluid and removing the rear cover. Inspect the fluid for metallic glitter; a high concentration of shiny metal flakes confirms bearing failure, while chunky magnetic debris indicates gear tooth spalling.
- Mark the Bearing Caps: Use a brass punch to mark the left and right bearing caps and their corresponding sides on the housing. These caps are line-bored at the factory and are not interchangeable.
- Remove the Carrier: Unbolt the bearing caps (70-85 lb-ft spec) and carefully pry the carrier assembly out using a pry bar. Keep the carrier shims organized; label them "Left" and "Right."
- Extract the Pinion: Remove the driveshaft and mark the pinion flange to the driveshaft yoke for reassembly balance. Use an impact wrench to remove the pinion nut. Pull the flange with a specialized 3-jaw puller, then drive the pinion gear out from the back of the housing using a brass drift.
Step 2: Setting Pinion Depth (The Most Critical Step)
Pinion depth dictates how deeply the pinion gear meshes into the ring gear. Incorrect depth will destroy a $240 gear set in under 500 miles. The Ford 8.8 uses a shim pack located behind the rear pinion bearing race.
Look at the head of your new pinion gear. You will see a variance number etched into the metal (e.g., +0.002 or -0.001). This number tells you how much to deviate from the factory baseline depth. If your original pinion was 0.000 and your new pinion is +0.002, you must add 0.002 inches of shim thickness behind the rear bearing race.
Press the rear bearing onto the pinion, install the depth setting tool (or use the old bearing slipped slightly to allow for easy removal), and measure the distance from the pinion face to the axle centerline using a machined straight edge and micrometer. Adjust the shim pack until the measurement perfectly matches the factory specification plus/minus the etched variance.
Step 3: Establishing Pinion Bearing Preload
Factory Ford 8.8 axles use a "crush sleeve" to establish pinion bearing preload. Once crushed, they cannot be reused, and overtightening them requires pressing the pinion bearing off to start over. For a superior, street-and-track durable rebuild, we highly recommend installing a solid pinion spacer kit with precision shims.
- Install the front pinion bearing, the solid spacer, and your selected shim pack.
- Install the pinion seal and flange.
- Using a foot-pound torque wrench, tighten the pinion nut while frequently checking the rotating torque with your inch-pound beam torque wrench.
- For new bearings, target a rotating preload of 16 to 29 in-lbs. For used bearings, target 8 to 14 in-lbs.
- Once the correct preload is achieved, torque the pinion nut to 160-220 lb-ft and stake the nut or apply a heavy bead of Red Loctite 272 to the threads.
Step 4: Ring Gear Mounting and Backlash Adjustment
Clean the carrier and ring gear mating surfaces with brake cleaner. Bolt the new ring gear to the carrier using new ring gear bolts. Apply a drop of Red Loctite to each bolt and torque them to 70-85 lb-ft in a star pattern to ensure the gear seats perfectly flat without warping.
Press the new carrier bearings onto the assembly and reinstall it into the housing. Now, you must set the backlash—the microscopic gap between the ring and pinion gear teeth.
- Mount your dial indicator to the housing so the plunger rests perpendicular to the face of a ring gear tooth.
- Hold the pinion flange completely stationary and rock the ring gear back and forth.
- The Ford 8.8 specification for backlash is 0.006" to 0.010".
- Adjust the backlash by swapping the side shims (located behind the carrier bearings). Adding shim to the right side pushes the ring gear closer to the pinion (decreasing backlash); moving shim to the left increases it.
Step 5: Reading the Gear Contact Pattern
Backlash alone does not guarantee a quiet, long-lasting differential. You must verify the gear contact pattern using yellow gear marking compound. Paint three or four teeth on both the drive (convex) and coast (concave) sides of the ring gear.
Apply heavy rotational resistance to the ring gear using a rag wrapped around it, and rotate the pinion flange to force the gears to mesh under load. Wipe the pattern clean and inspect:
- Ideal Pattern: The marking should be centered vertically on the tooth face, slightly biased toward the toe (the inner edge of the ring gear) under no load, which will center out under real-world torque deflection.
- Too Deep (Pinion too close): The pattern is pushed to the heel (outer edge). Fix: Remove pinion depth shims.
- Too Shallow (Pinion too far): The pattern is pushed to the toe (inner edge). Fix: Add pinion depth shims.
- Backlash Too Tight: Pattern is biased to the top land of the tooth. Fix: Increase backlash via side shims.
Patience is mandatory here. You may need to pull the carrier, adjust pinion depth shims, and re-press the bearings two or three times to achieve a textbook pattern. Refer to the setup guides provided by Ring & Pinion for visual pattern examples.
Step 6: Final Assembly and Differential Fluid Service
Once the pattern and backlash are verified, reinstall the bearing caps, ensuring your alignment marks match perfectly. Torque the cap bolts to 70-85 lb-ft. Install a new differential cover gasket (RTV silicone is acceptable if the surface is perfectly clean, but a rubber or cork gasket is preferred for easier future servicing).
The Ford 8.8 requires approximately 3.0 pints (1.5 quarts) of gear oil. For modern rebuilds, especially in trucks or vehicles seeing high loads, a full synthetic 75W-140 gear oil is recommended over the traditional 75W-90 to maintain film strength at elevated operating temperatures. If your axle is equipped with a Trac-Lok (limited-slip) differential, you must add 4 ounces of a friction modifier additive (like Ford XL-3) to prevent clutch pack chatter during tight turns.
Conclusion: Powertrain Longevity Through Precision
So, is the rear differential part of the powertrain? Absolutely. It endures the full multiplication of engine torque multiplied by the transmission's first gear ratio and the axle's ring and pinion ratio. By mastering these differential rebuild procedures, you not only save thousands of dollars in dealership labor and parts markup, but you also ensure your driveline is built to handle the rigors of the road for the next 150,000 miles. Take your time, trust your dial indicator, and never compromise on bearing quality.