The Microscopic World of Axle Gears
When beginners ask me how precise a ring and pinion gear setup needs to be, I often borrow a concept from advanced manufacturing: cleanroom differential pressure. In semiconductor fabrication plants, strict air pressure differentials are maintained between rooms to ensure microscopic contaminants cannot enter sensitive environments. In the automotive drivetrain, we aren't managing air pressure, but we are managing microscopic physical tolerances—measured in thousandths of an inch. If your gear setup isn't held to a standard of precision rivaling cleanroom differential pressure monitoring, microscopic misalignments will quickly escalate into catastrophic, metal-shredding failure.
Setting up a differential is not about brute force; it is about extreme finesse. Whether you are rebuilding a classic Ford 9-inch, a GM 10-bolt, or a modern Dana 44, the principles remain identical. This beginner-friendly explainer will demystify the process, giving you the exact specifications, tool requirements, and foundational knowledge needed to approach your first gear setup with confidence in 2026.
What is a Ring and Pinion Gear Setup?
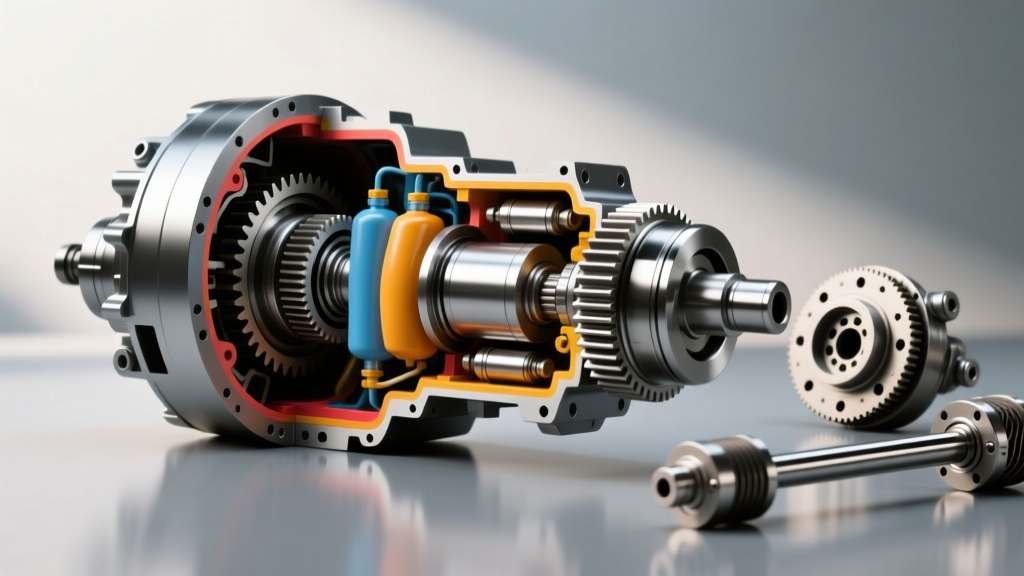
The ring and pinion gearset is the heart of your vehicle's differential. The pinion gear (the smaller, driven gear connected to the driveshaft) transfers rotational force to the ring gear (the larger gear bolted to the differential carrier), which then turns the axles. Because these gears are cut on a hypoid angle—meaning the pinion centerline sits below the ring gear centerline—the teeth do not just roll together; they slide against one another under immense friction and load.
This sliding action is what necessitates such rigorous setup tolerances. If the gears are too tight, they will overheat and seize. If they are too loose, they will hammer against each other, resulting in the dreaded 'drivetrain clunk' and eventual tooth shearing.
The Four Pillars of Precision
To achieve a flawless gear pattern and silent operation, a technician must balance four distinct measurements. Think of these as the four legs of a table; if one is off, the entire structure wobbles.
1. Pinion Depth
Pinion depth dictates how far the pinion gear protrudes into the differential housing relative to the ring gear's centerline. This is adjusted using precision shims placed either under the pinion head bearing or between the pinion head and the bearing cone. A variance of just 0.001 inches can drastically alter the contact pattern on the gear teeth, moving it too close to the toe or the heel.
2. Backlash
Backlash is the amount of rotational 'slop' or free movement between the ring and pinion teeth before they make contact. It is measured using a dial indicator. As gears heat up and expand under load, a specific amount of backlash must be maintained to prevent the gears from binding. For most street-driven axles, the target is between 0.006 and 0.010 inches.
3. Pinion Bearing Preload
Preload is the rotational resistance of the pinion bearings. It ensures the bearings are tight enough to support the massive thrust loads generated during acceleration and deceleration, but loose enough to spin freely without generating excess heat. This is typically measured in inch-pounds of rotational torque using a specialized beam-style torque wrench.
4. Side Bearing Preload (Carrier Preload)
The differential carrier, which holds the ring gear, must also be preloaded within its housing. This prevents the carrier from flexing under heavy torque loads, which would alter your meticulously set backlash. Depending on the axle design, this is achieved via threaded adjusters (like on Dana axles) or by using a case spreader to insert shims behind the carrier bearings (common on GM and Ford axles).
Tolerance Comparison Chart
To truly grasp the level of precision required, compare automotive gear tolerances to everyday objects. This is why we say a proper setup requires an obsession with microscopic variables.
| Measurement | Tolerance Range | Real-World Equivalent |
|---|---|---|
| Average Human Hair | ~0.003 inches | Baseline Reference |
| Gear Backlash | 0.006 - 0.010 inches | 2 to 3 human hairs |
| Pinion Depth Variance | 0.001 inches | 1/3 of a single human hair |
| Ring Gear Runout | Max 0.003 inches | Thickness of a human hair |
Essential Tools and 2026 Pricing
You cannot eyeball a gear setup. Attempting to do so will result in thousands of dollars in ruined parts. According to current pricing from suppliers like Randys Worldwide and automotive tool manufacturers, here is the baseline investment required for a DIY setup:
- Dial Indicator with Magnetic Base: $80 - $150 (e.g., Mitutoyo or Fowler). Essential for measuring backlash and ring gear runout.
- Inch-Pound Torque Wrench: $120 - $220. A standard foot-pound wrench cannot accurately measure the 15-25 in-lbs of rotational drag required for pinion preload.
- Setup Bearings: $35 - $60. These are slightly honed-out bearings that slip on and off the pinion easily, allowing you to adjust shims without destroying your brand-new, tight-fitting final bearings.
- Gear Marking Compound: $10 - $15 (e.g., Permatex 80081 Prussian Blue or Yellow). Used to paint the teeth and read the contact pattern.
- Shim Kits: $40 - $80 (e.g., Yukon Gear & Axle SK SS-01). A comprehensive set of pinion and carrier shims in varying thicknesses.
Real-World Walkthrough: GM 8.5-Inch 10-Bolt
Let's apply this to one of the most popular axles in the hot-rodding and off-road world: the GM 8.5-inch 10-bolt. Suppose you are installing a Motive Gear 10-1243-1 ring and pinion set (3.73 ratio).
Step 1: Pinion Depth and Preload
Using your setup bearings and shim kit, you install the pinion into the housing. You torque the pinion nut to roughly 150-250 ft-lbs to crush the sleeve (or compress the solid spacer) until your inch-pound torque wrench reads exactly 18 in-lbs of rotational resistance. You then apply marking compound to the ring gear, rotate the assembly, and inspect the pattern. If the pattern is biased toward the toe, you must add shims to push the pinion deeper. If it's biased toward the heel, you remove shims. This iterative process can take a dozen attempts.
Step 2: Mounting the Ring Gear
The ring gear must be bolted to the carrier using high-strength fasteners. For the GM 10-bolt, the ring gear bolts require exactly 85 ft-lbs of torque. Crucially, you must apply a high-strength threadlocker like Loctite 272 (Red) to the threads. If a ring gear bolt backs out under load, it will act like a woodchipper inside your axle housing.
Step 3: Setting Backlash and Carrier Preload
With the carrier installed, you mount your dial indicator perpendicular to a ring gear tooth. Using a case spreader, you shim the side bearings until you achieve a total rotational preload (carrier drag) while simultaneously hitting your target backlash of 0.008 inches. You then check the ring gear runout; if it exceeds 0.003 inches, the ring gear must be unbolted, rotated 90 degrees on the carrier, and re-torqued to find the 'sweet spot' where manufacturing variances cancel each other out.
The Role of Differential Fluid in Gear Survival
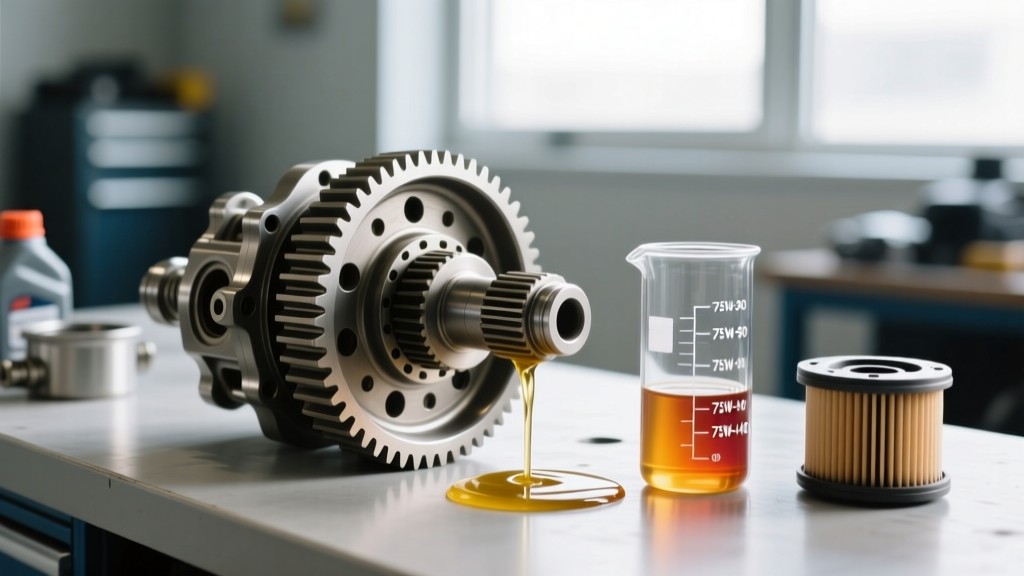
Because the category of differential maintenance heavily involves fluids, it is vital to understand how your gear setup directly impacts fluid dynamics. Hypoid gears rely on a microscopic hydrodynamic wedge of gear oil to prevent metal-on-metal contact. If your pinion depth is off by even 0.002 inches, the localized friction will instantly burn through the fluid film, leading to galling.
For a freshly set-up axle, always use a high-quality, GL-5 rated synthetic fluid with robust Extreme Pressure (EP) additives. Products like Amsoil Severe Gear 75W-90 or Lucas Oil 80W-90 are formulated to withstand the intense shearing forces of hypoid gears. Furthermore, if your vehicle is equipped with a clutch-type limited-slip differential, you must add the appropriate friction modifier (e.g., GM part number 88900338) to prevent the clutches from chattering during low-speed cornering, which can otherwise send harmonic shockwaves back into your newly set ring and pinion.
Final Thoughts on Drivetrain Precision
Setting up a ring and pinion is a rite of passage for any serious automotive enthusiast. It requires patience, a methodical approach, and a willingness to tear everything down and start over if the pattern isn't perfect. By treating your axle housing with the same reverence for microscopic tolerances that an engineer applies to cleanroom differential pressure environments, you will build a drivetrain that is whisper-quiet, incredibly durable, and ready to handle whatever horsepower you throw at it.
For further reading on axle specifications and torque charts, always consult the official engineering manuals provided by Spicer Parts or Yukon Gear & Axle before beginning your build.