The Hidden World of Gear Mesh
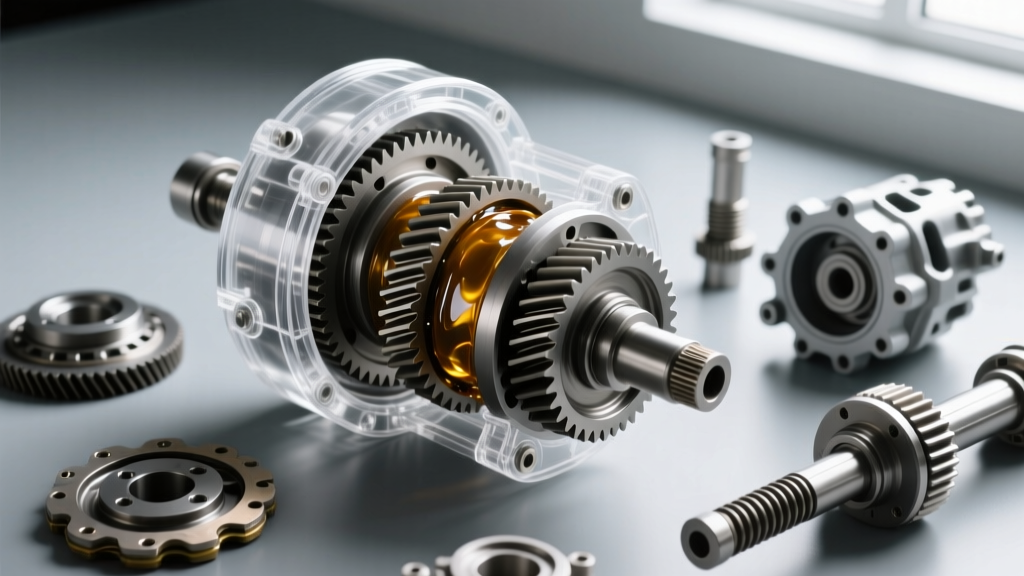
For automotive beginners, setting up a ring and pinion gearset is often viewed as a dark art. You are dealing with tolerances measured in thousandths of an inch, hidden entirely inside a heavy cast-iron or aluminum housing. This is where modern training aids, specifically clear differential covers made from high-impact acrylic, revolutionize the learning curve. By utilizing a transparent housing in a bench-top training environment, tech students and novice mechanics can actually watch the gear mesh, observe the transfer of marking compound, and understand the physics of backlash without blindly pulling the carrier assembly in and out of the housing a dozen times.
While you won't be driving down the highway with an acrylic differential cover bolted to your truck, using one on a training axle or a cutaway bench model is the single best way to demystify the setup process. In this 2026 beginner's guide, we will break down the core concepts of ring and pinion setup, decode contact patterns, and outline the exact torque specs and fluid requirements needed for a successful rebuild.
The Anatomy of a Ring and Pinion Setup
Before you can interpret what you see through a clear differential cover, you must understand the three primary adjustments that dictate gear longevity and noise levels:
- Pinion Depth: The distance between the centerline of the ring gear and the face of the pinion gear. This is adjusted via shims located behind the pinion bearing or inside the pinion head.
- Backlash: The rotational play between the ring gear and the pinion gear. Measured with a dial indicator, proper backlash allows for thermal expansion and a thin film of gear oil to prevent binding.
- Bearing Preload: The compressive load placed on the pinion and carrier bearings to eliminate deflection under heavy torque loads.
Decoding the Contact Pattern
When you apply yellow gear marking compound (like Permatex 80050) to the ring gear teeth and rotate the assembly, the pinion wipes away the compound to reveal a contact pattern. If you are using a clear differential cover on a training rig, you can watch this pattern form in real-time. Here is how to read the results:
| Pattern Location | What It Means | Required Correction |
|---|---|---|
| Toe Edge (Inner) | Pinion is too deep into the ring gear. | Decrease pinion depth shim thickness. |
| Heel Edge (Outer) | Pinion is too far away from the ring gear. | Increase pinion depth shim thickness. |
| Flank (Bottom) | Backlash is too tight (or pattern is low). | Increase backlash via carrier adjusters. |
| Face (Top) | Backlash is too loose (or pattern is high). | Decrease backlash via carrier adjusters. |
According to Yukon Gear & Axle technical documentation, a perfect contact pattern will sit squarely in the middle of the tooth face, slightly biased toward the toe under load, ensuring quiet operation and maximum tooth strength.
Step-by-Step Setup: Ford 8.8-Inch Axle Example
The Ford 8.8-inch rear end remains one of the most popular axles for beginners to learn on due to its straightforward carrier design and widespread availability. Let's look at the exact specifications you need to know.
1. Pinion Bearing Preload and Crush Sleeve
The pinion bearing preload is established by crushing a collapsible spacer sleeve. This is a one-time operation. If you over-tighten and crush the sleeve too much, you must replace the sleeve and start over.
Pro-Tip: Always use a new pinion nut and a fresh crush sleeve. The torque required to begin crushing the sleeve on a Ford 8.8 is typically between 200 and 250 lb-ft. Use an inch-pound torque wrench to verify the final rotational preload, which should read between 18 and 28 in-lbs for new Timken bearings.
2. Ring Gear Mounting
The ring gear must be bolted to the carrier with absolute precision. Clean all mating surfaces with brake cleaner to ensure zero runout. Apply a medium-strength threadlocker (such as Loctite 272 or equivalent) to the ring gear bolts. For the Ford 8.8, the factory torque specification for the ring gear bolts is 85 lb-ft in a star pattern.
3. Setting Backlash
Using a magnetic base dial indicator mounted to the housing, measure the rotational play at the ring gear bolt circle. The target backlash for most street-driven passenger vehicles and light trucks is between 0.006" and 0.010". Adjust the carrier side adjuster nuts (or shims, depending on the axle model) to achieve this measurement while maintaining carrier bearing preload.
Tools and Costs for Your First Rebuild
Setting up gears requires specialized measuring tools. As of 2026, here is a realistic budget and tool list for a beginner tackling a standard semi-floating axle:
- Dial Indicator & Magnetic Base: ~$60 - $120 (Mitutoyo or similar precision brand).
- Inch-Pound Torque Wrench: ~$45 - $80 (Beam-style is preferred for accuracy at low settings).
- Ring and Pinion Gearset: $280 - $380 (Brands like Motive Gear or Yukon; check Motive Gear Tech Info for ratio guides).
- Master Install Kit: $150 - $200 (Must include Timken or Koyo bearings, seals, and crush sleeves).
- Gear Marking Compound: ~$12 (Permatex or equivalent).
Investing in a bench-top training axle with clear differential covers (often found on eBay or through automotive school surplus sales for $200-$400) can save you hundreds of dollars in ruined bearings and crushed sleeves by allowing you to practice your shim calculations before touching your actual vehicle.
The Critical Role of Differential Fluid and Break-In
Because the category of axle maintenance is inextricably linked to lubrication, no gear setup guide is complete without addressing differential fluid. The first 500 miles of a new ring and pinion setup generate immense heat and microscopic metal shavings as the gears wear into their final mating pattern.
Choosing the Right Break-In Fluid
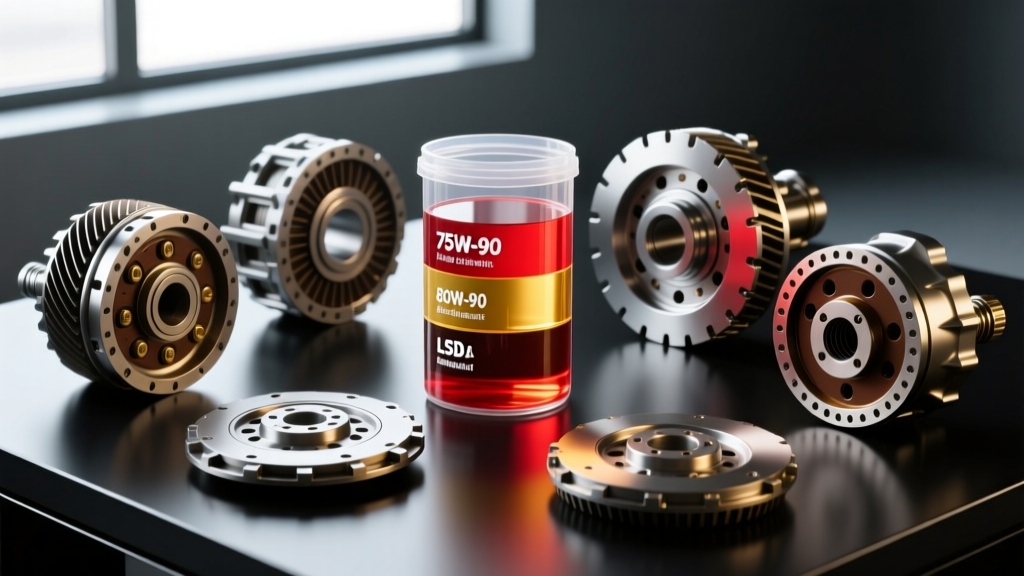
Do not use full-synthetic gear oil for the initial break-in period. Synthetics are too slippery and can prevent the gears from properly seating, leading to premature whining and failure. Instead, use a high-quality conventional mineral-based GL-5 gear oil, such as Lucas Oil 10048 SAE 80W-90 Break-In Gear Oil. This fluid is specifically formulated with high zinc and phosphorus content to protect the extreme pressure points of the gear teeth during the initial wear phase.
The Break-In Procedure
- Fill the axle housing to the bottom of the fill plug hole with the conventional 80W-90 break-in fluid.
- Drive the vehicle normally for 15-20 miles, then stop and allow the axle to cool completely to ambient temperature.
- Repeat this heat-and-cool cycle 3 to 4 times.
- At the 500-mile mark, drain the fluid. You will notice it is dark and contains fine metallic glitter—this is normal and expected.
- Refill the axle with your preferred full-synthetic long-life fluid (e.g., Amsoil Severe Gear 75W-90 or Royal Purple Max Gear 75W-90).
Note on Limited-Slip Differentials: If your axle features a clutch-type limited-slip differential (like the Ford Trac-Lok), you must add the manufacturer's specified friction modifier (usually 4 to 6 oz) to both the break-in fluid and the final synthetic fill to prevent chatter and clutch pack destruction.
Final Thoughts
Mastering the ring and pinion gear setup is a rite of passage for any drivetrain enthusiast. By leveraging educational tools like clear differential covers to visualize the mesh, adhering strictly to torque specifications, and respecting the vital break-in fluid protocols, you can achieve a quiet, durable axle build that will withstand years of abuse. Take your time, measure twice, and let the contact pattern be your ultimate guide.