The Core of the Axle: What is a Ring and Pinion?
Setting up a ring and pinion gear set is the ultimate rite of passage for any drivetrain enthusiast or aspiring mechanic. Whether you are regearing a Ford 8.8 for larger off-road tires or rebuilding a heavy-duty Dana 60 for towing, the fundamental physics remain identical. The ring and pinion are responsible for multiplying engine torque and transferring it 90 degrees to the axle shafts. However, achieving a quiet, durable gear mesh requires precision measurements down to the ten-thousandth of an inch. In this beginner-friendly explainer, we will break down the exact specifications, tools, and fluid dynamics required for a flawless setup in 2026.
Essential Tools and Real-World Costs
Before tearing into the differential housing, you must gather the correct precision instruments. Guessing your shim thickness will result in catastrophic gear whine or premature tooth shearing. Here is what you need and what it will cost:
| Tool / Component | Purpose | Estimated Cost (2026) |
|---|---|---|
| Dial Indicator with Magnetic Base | Measuring ring gear backlash and runout | $45 - $120 |
| Inch-Pound Torque Wrench | Setting pinion and carrier bearing preload | $80 - $150 |
| Bearing Puller / Press Kit | Removing and installing carrier and pinion bearings | $60 - $200 |
| Master Rebuild Kit (Timken) | Bearings, seals, shims, crush sleeve, pinion nut | $120 - $180 |
| Gear Marking Compound | Yellow ochre or specific gear paint for pattern reading | $15 - $25 |
For the gears themselves, a high-quality ring and pinion set from reputable manufacturers like Yukon Gear or Motive Gear typically ranges from $250 to $450 depending on the axle model and gear ratio. Always reference the Yukon Gear & Axle technical resources for model-specific shim charts and torque specifications before beginning.
Step-by-Step Beginner Setup Framework
1. Pinion Depth and Bearing Preload
The most critical measurement in the entire assembly is pinion depth. This dictates how far the pinion gear sits into the ring gear. Look at the face of your new pinion gear; you will see a number etched into it (e.g., +2 or -1). This number represents the variance in thousandths of an inch from the nominal factory depth. You must adjust the pinion depth shim behind the inner pinion bearing cup to match this exact specification.
Once the depth is set, you must establish pinion bearing preload. If your axle uses a crush sleeve (common on the Ford 8.8 and Chevy 10-bolt), you will slowly tighten the new pinion nut—often requiring up to 250 ft-lbs of torque—while frequently checking the rotational drag with your inch-pound torque wrench. You are aiming for 15 to 25 in-lbs of rotational preload on new bearings. Warning: If you over-crush the sleeve, you must discard it and start over with a new one. Never back off the pinion nut to reduce preload.
2. Carrier Installation and Backlash
With the pinion installed, mount the ring gear to the differential carrier. Use a high-strength thread locker (like Loctite 272) on the ring gear bolts and torque them to spec (usually 70-90 ft-lbs) in a star pattern. Next, install the carrier into the housing with your side shims or adjuster nuts.
Backlash is the amount of rotational freeplay between the ring and pinion gears. Mount your dial indicator to the housing so the plunger rests perfectly perpendicular to a ring gear tooth. Rock the ring gear back and forth while holding the pinion flange stationary. For most street-driven applications, you want a backlash reading between 0.006 and 0.010 inches. Adjust the side shims or carrier nuts equally to move the ring gear closer to or further from the pinion until you hit this sweet spot, ensuring carrier bearing preload is maintained.
Decoding the Gear Pattern
Numerical measurements only tell half the story. You must verify the physical contact pattern using gear marking compound. Apply a thin, even coat to three or four teeth on the ring gear, then apply rotational resistance to the carrier while turning the pinion flange. Inspect the resulting pattern against this diagnostic chart:
| Pattern Location | Meaning | Correction Required |
|---|---|---|
| Center of Face & Flank | Ideal Pattern | None. Assembly is correct. |
| High on the Tooth (Face) | Pinion is too deep | Decrease pinion depth shim. |
| Low on the Tooth (Root) | Pinion is too shallow | Increase pinion depth shim. |
| Toward the Heel (Inner) | Backlash is too tight | Move ring gear away from pinion. |
| Toward the Toe (Outer) | Backlash is too loose | Move ring gear closer to pinion. |
Always remember the golden rule of gear setup: Adjust pinion depth first for face/root placement, then adjust backlash for heel/toe placement.
Fluid Dynamics: Gear Oil and Advanced Pressure Monitoring
Once the mechanical setup is verified, the differential must be filled with the correct gear oil. For standard half-ton trucks and passenger SUVs, a high-quality 75W-90 synthetic gear oil is standard. However, for heavy-duty towing applications (like a Ram 3500 with an AAM 11.5 axle) or vehicles running massive off-road tires, stepping up to a 75W-140 synthetic fluid like Amsoil Severe Gear is critical to prevent film breakdown under extreme shear forces.
Industrial Bench Testing and Active Cooling
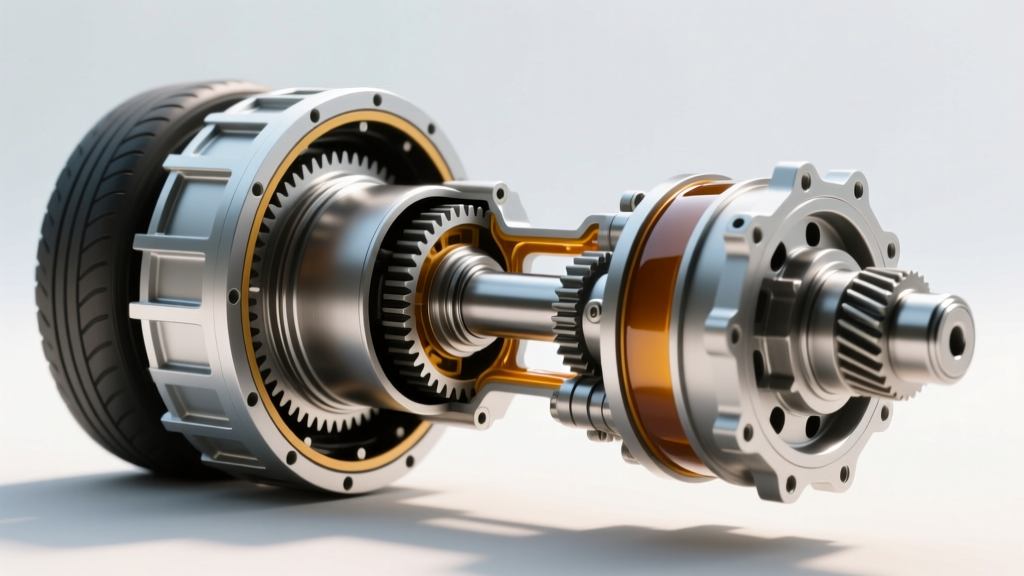
In modern 2026 heavy-duty, performance, and EV axle testing facilities, mechanical setup is only the first phase. Many advanced axles now feature active fluid cooling circuits and internal filtration to manage the immense heat generated by high-torque electric motors and turbo-diesel engines. Engineers must verify that thick 75W-140 synthetic gear oil is adequately flowing through these complex internal cooling galleries without starving the pinion bearings.
To measure the exact restriction and flow rate across the axle's internal filtration system during dyno testing, technicians often rely on industrial-grade sensors like a Dwyer differential pressure transmitter. By monitoring the precise pressure drop before and after the axle's fluid circuit, engineers can determine if the internal filter is clogging or if the cooling pump is failing to maintain adequate volume. While you won't use a Dwyer transmitter in your home garage, understanding that modern axle longevity relies on both perfect gear mesh and verified fluid pressure dynamics is a hallmark of true drivetrain expertise.
Common Setup Mistakes and Failure Modes
- Reusing the Crush Sleeve or Pinion Nut: These are one-time-use torque-to-yield components. Reusing them will result in the pinion nut backing off on the highway, leading to catastrophic pinion bearing failure and a destroyed housing.
- Ignoring Ring Gear Runout: Before setting backlash, check the ring gear for lateral runout. If it exceeds 0.003 inches, the gear will bind at certain rotational points and read loose at others. You must re-seat the ring gear on the carrier or replace it.
- Mixing Gear Oils: Never mix standard petroleum-based gear oils with synthetics, and never forget the limited-slip friction modifier additive if your axle utilizes a clutch-type positraction differential. Failure to do so will result in aggressive chattering and ruined clutch packs.
- Silicone Overuse: When sealing the differential cover, use a minimal bead of RTV silicone or a pre-cut gasket. Excess silicone will break off inside the housing, get sucked into the pinion bearing, and block the oil feed holes, causing rapid overheating.
Mastering the ring and pinion gear setup requires patience, clean working conditions, and a willingness to tear it down and start over if the pattern isn't perfect. Take your time, trust your dial indicator, and your axle will deliver miles of quiet, reliable service.