Diagnosing Clutch Master Cylinder Failure
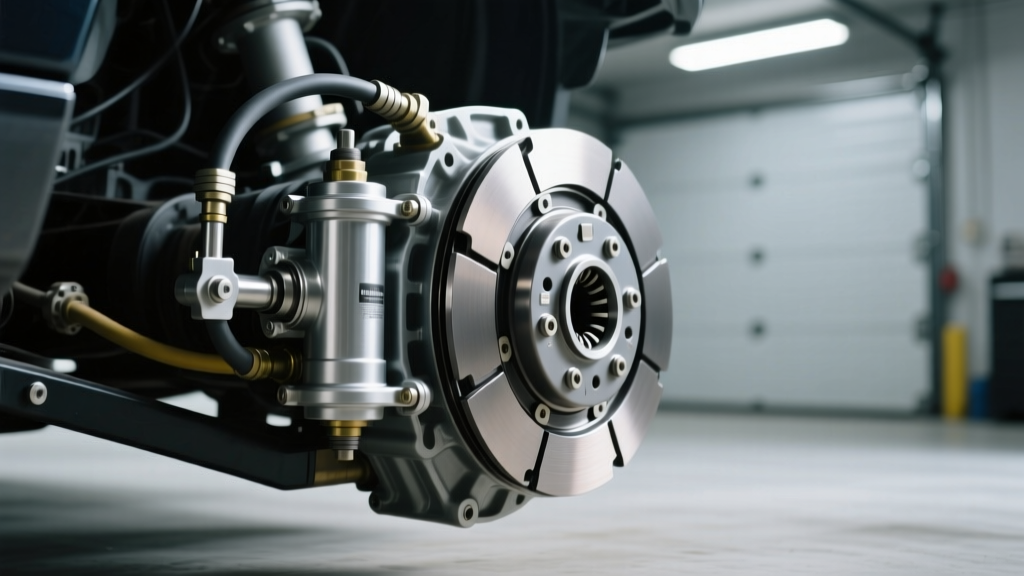
The clutch master cylinder is the critical interface between your left foot and the transmission's release bearing. When it fails, the hydraulic pressure required to disengage the clutch is compromised. Before tearing into the firewall, it is essential to understand the two primary failure modes of a clutch master cylinder:
- Internal Bypass (Primary Seal Failure): The pedal sinks to the floor under steady pressure, but there are no external fluid leaks. The fluid is bypassing the internal primary cup seal and returning to the reservoir.
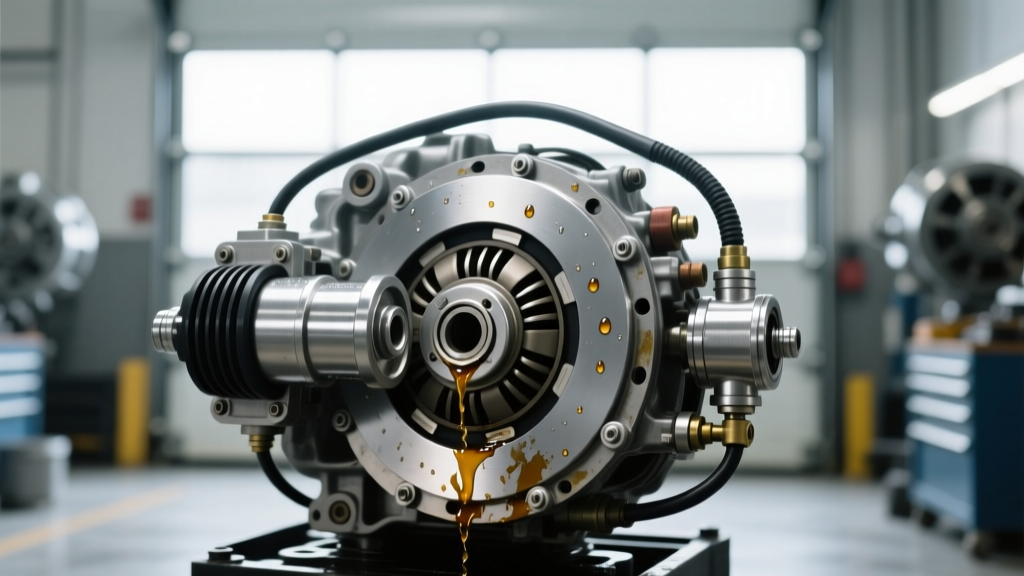
- External Leak (Secondary Seal Failure): Fluid pools on the driver's side floorboard or drips down the firewall. The secondary seal has failed, allowing pressurized fluid to escape past the pushrod boot.
If your vehicle exhibits a spongy pedal, difficulty shifting into first or reverse while stopped, or a visible fluid drop at the reservoir, a complete replacement is necessary. This guide details the exact procedures, torque specifications, and bench-bleeding protocols required for a successful clutch master cylinder replacement.
Tools, Parts, and Cost Breakdown
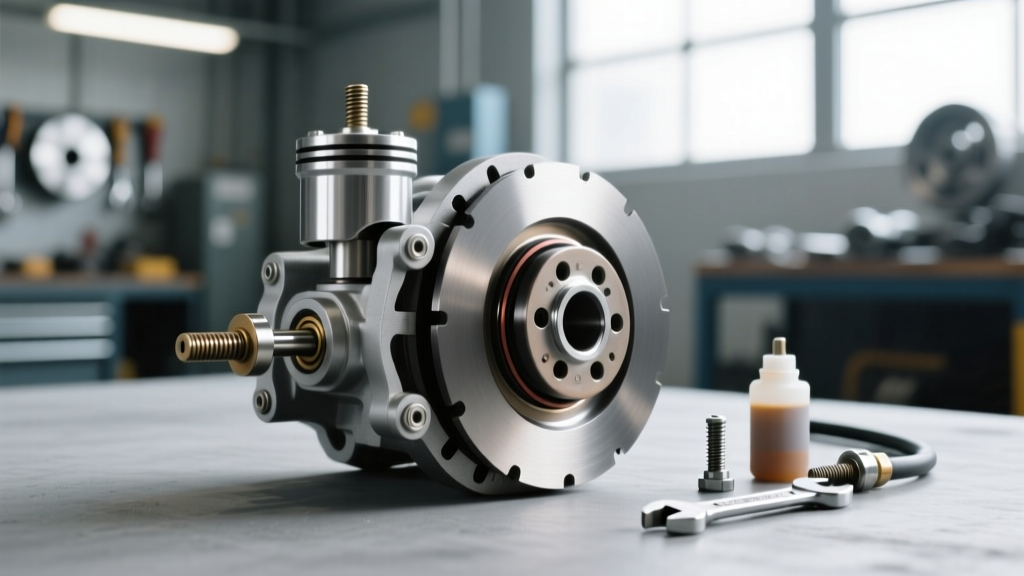
Investing in high-quality components is non-negotiable for hydraulic clutch systems. Budget aftermarket cylinders often suffer from poor bore honing and cheap EPDM rubber seals that degrade rapidly when exposed to modern high-temperature synthetic fluids.
| Component Tier | Typical Brands | Estimated Cost (USD) | Expected Lifespan |
|---|---|---|---|
| OEM / Dealer | Mopar, GM Genuine, Honda | $120 - $180 | 120,000+ miles |
| Premium Aftermarket | LuK, Sachs, Exedy, FTE | $65 - $95 | 80,000 - 100,000 miles |
| Budget / Economy | Generic White-Box, Duralast | $30 - $45 | 20,000 - 40,000 miles |
Note: For high-performance applications (e.g., track-driven vehicles with heavy-duty pressure plates), consider upgrading to a larger bore master cylinder (such as a 7/8-inch bore from Tilton or Wilwood), but be aware that increasing bore size decreases pedal travel and increases pedal effort.
Phase 1: Fluid Evacuation and Pedal Box Access
Safety and cleanliness are paramount. Clutch fluid (typically DOT 3 or DOT 4) is highly corrosive to automotive paint. Never use DOT 5 (silicone-based) fluid in a standard clutch system; its high compressibility results in a notoriously spongy pedal feel and poor heat transfer characteristics.
- Extract Reservoir Fluid: Use a fluid extractor pump or a clean turkey baster to remove as much fluid as possible from the clutch reservoir. If the reservoir is shared with the brake master cylinder (common in older European vehicles), only extract down to the clutch pickup nipple to avoid introducing air into the ABS module.
- Access the Pushrod: Slide under the dashboard. Locate the clutch pedal arm and the master cylinder pushrod. Remove the retaining clip (often a hairpin clip or a plastic push-retainer) and slide the clevis pin out of the pedal arm.
- Disconnect Electrical Connectors: Unplug the fluid level sensor connector located on the side or cap of the reservoir.
Phase 2: Firewall Disconnection and Line Removal
The connection between the master cylinder and the hydraulic line varies by manufacturer. According to FTE Automotive's technical documentation, modern systems predominantly use quick-connect fittings, while older platforms rely on SAE inverted flare or banjo fittings.
- GM / Ford Quick-Connects: Use a specialized hydraulic line disconnect tool (or carefully compress the internal white plastic collar with pick tools) to release the line. Pull the line straight out. Warning: Forcing the line without compressing the collar will snap the internal O-ring retainer.
- Inverted Flare Fittings: Use a 10mm or 12mm flare nut wrench (line wrench). Never use an open-end wrench, as the brass or soft steel fittings will round off immediately under torque.
- Banjo Bolts (Common on Porsche / Honda): Use a 14mm or 17mm socket. You will need two new copper or aluminum crush washers for reassembly.
Once the line is disconnected, use a 13mm deep socket or crowfoot wrench to remove the two M8x1.25 mounting nuts securing the master cylinder to the firewall from the engine bay side. Carefully pull the master cylinder out of the firewall bore.
Phase 3: Bench Bleeding the New Clutch Master Cylinder
Skip this step, and you will spend hours chasing air bubbles through the slave cylinder. Bench bleeding ensures the primary seal is properly seated and the compensation port is free of trapped air.
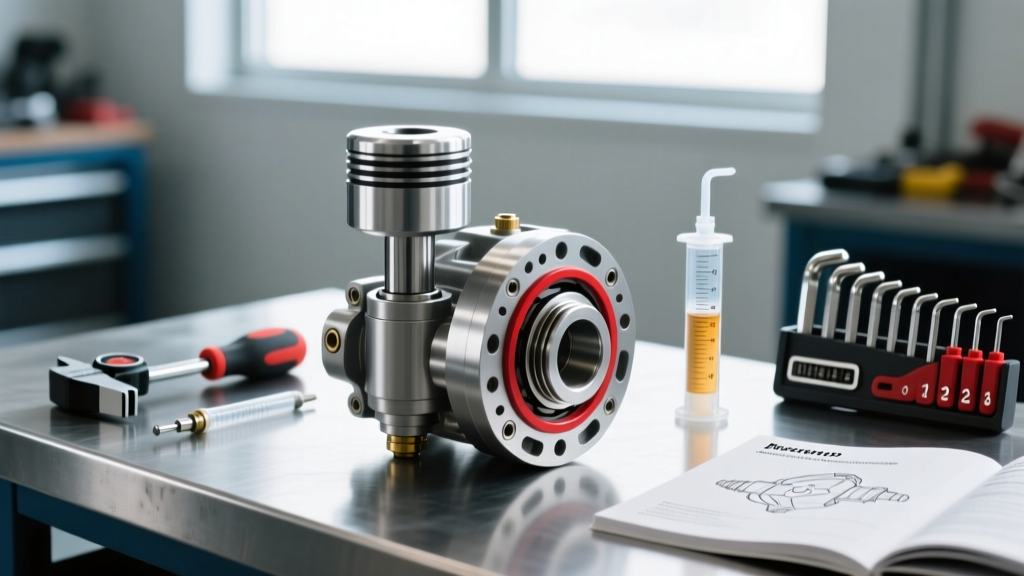
- Secure the new clutch master cylinder in a vise using soft jaws to prevent scoring the aluminum or cast-iron bore.
- Fill the reservoir (or the attached hose, if it uses a remote reservoir setup) with fresh DOT 4 fluid.
- Plug the outlet port with your finger or a specialized rubber bleeder cap.
- Use a blunt punch or dowel to slowly stroke the pushrod inward. Release it slowly. Repeat this 10 to 15 times until no air bubbles emerge from the fluid in the reservoir.
- Keep the cylinder perfectly level and full of fluid until the exact moment you install it to prevent fluid drain-back.
Phase 4: Installation and Torque Specifications
Proper torque is critical to prevent firewall flex, which translates directly into pedal sponginess. As outlined in the Schaeffler REPXPERT technical database, hydraulic components must be mounted rigidly to maintain volumetric efficiency.
- Firewall Mounting Nuts (M8x1.25): Torque to 18 - 22 Nm (13 - 16 lb-ft). Ensure the rubber isolation gasket is properly seated between the cylinder flange and the firewall.
- Flare Nut Hydraulic Line: Torque to 12 - 15 Nm (9 - 11 lb-ft). Do not overtighten, or you will crush the flare seat.
- Banjo Bolt (if applicable): Torque to 20 - 25 Nm (15 - 18 lb-ft) using fresh crush washers.
- Quick-Connect Fittings: Push the line in until you hear/feel a definitive 'click'. Pull back gently on the line to verify the internal collet has engaged the groove.
Reconnect the pushrod clevis pin to the clutch pedal and secure it with a new retaining clip. Reconnect the fluid level sensor.
Phase 5: Advanced System Bleeding Techniques
Gravity bleeding is rarely sufficient for modern clutch hydraulic systems due to the complex routing of the hard lines and the upward trajectory required to reach the slave cylinder (especially on rear-mounted transaxles like the Porsche 911 or mid-engine Corvettes).
Method A: Pressure Bleeding (Recommended)
Using a tool like the Motive Products Power Bleeder, pressurize the master cylinder reservoir to 10-15 PSI. Open the bleeder screw at the slave cylinder and allow fluid to flow until it is completely free of micro-bubbles. This method forces air upward and out of the system.
Method B: Reverse Bleeding
If air is trapped in the master cylinder's internal valving, reverse bleeding is the ultimate fix. Inject fluid upward from the slave cylinder bleeder screw using a large syringe, pushing the fluid and air backward through the hard line and up into the master cylinder reservoir. Brembo's hydraulic guidelines frequently recommend reverse bleeding for systems with long, convoluted hard lines.
Post-Installation Diagnostics and Free Play Adjustment
Once the system is bled and the reservoir is capped, you must verify the pushrod free play. There must be a slight amount of free play (typically 1.0mm to 2.5mm measured at the pedal pad) before the pushrod engages the master cylinder piston.
Why is this critical? If the pushrod is adjusted too tightly (zero free play), the master cylinder piston will not fully retract. This covers the compensation port, preventing fluid expansion as the system heats up. The resulting hydraulic pressure will partially engage the clutch, causing severe friction disc wear, glazing, and eventual transmission damage. If your new master cylinder features an adjustable pushrod, measure the depth of the piston bore and adjust the rod length accordingly before securing the locknut.
Finally, cycle the pedal 20 times by hand. Start the vehicle, depress the clutch, and verify smooth gear engagement in first and reverse. A properly installed and bench-bled clutch master cylinder will yield a firm, linear pedal feel and crisp, immediate shifts.