The Great Misdiagnosis: Accessory Drag vs. Transmission Release
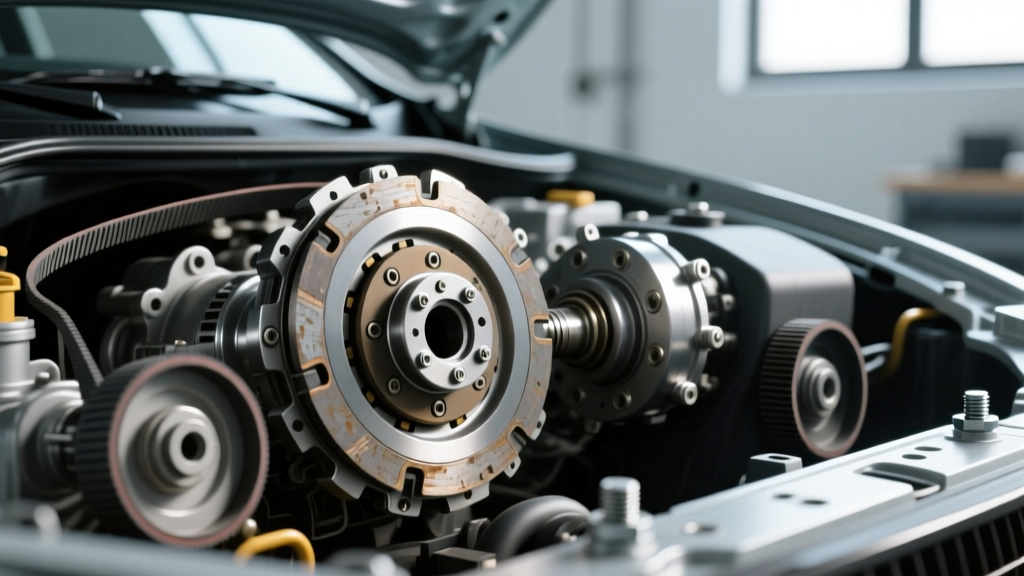
One of the most deceptive symptoms in modern automotive diagnostics is engine stall or severe RPM drop when the manual transmission clutch pedal is depressed. While a technician's first instinct might be to blame a failing transmission release bearing, a warped pressure plate, or a seized pilot bearing, the true culprit is often hiding in plain sight on the front of the engine: the air conditioning compressor. When a driver experiences what they describe as 'clutch drag' or 'release stalling,' a seized AC clutch bearing or a mechanically locked compressor creates massive parasitic rotational drag on the serpentine belt. As the 2026 diagnostic landscape evolves, isolating accessory drag from internal transmission clutch drag remains a critical skill for drivetrain specialists.
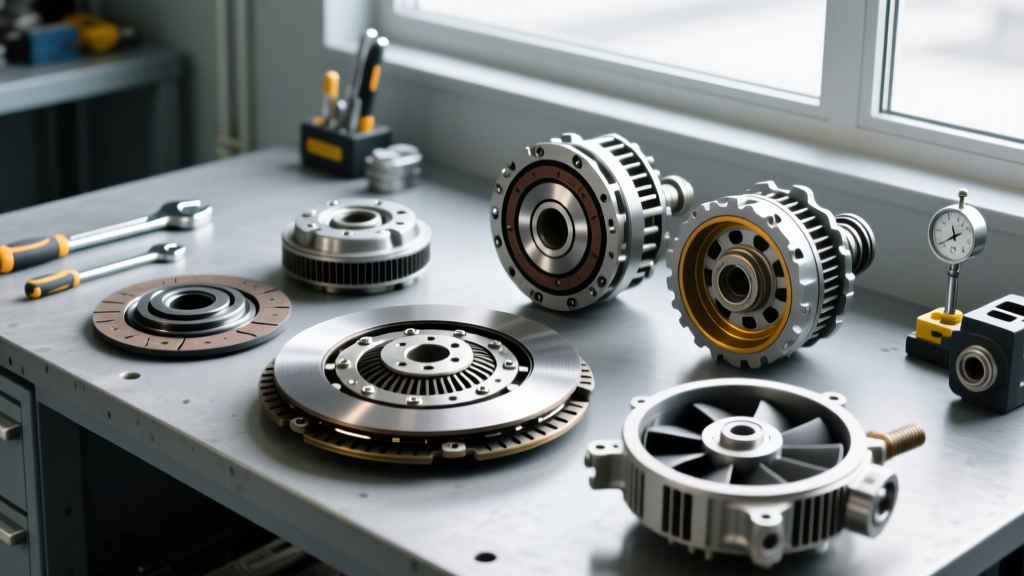
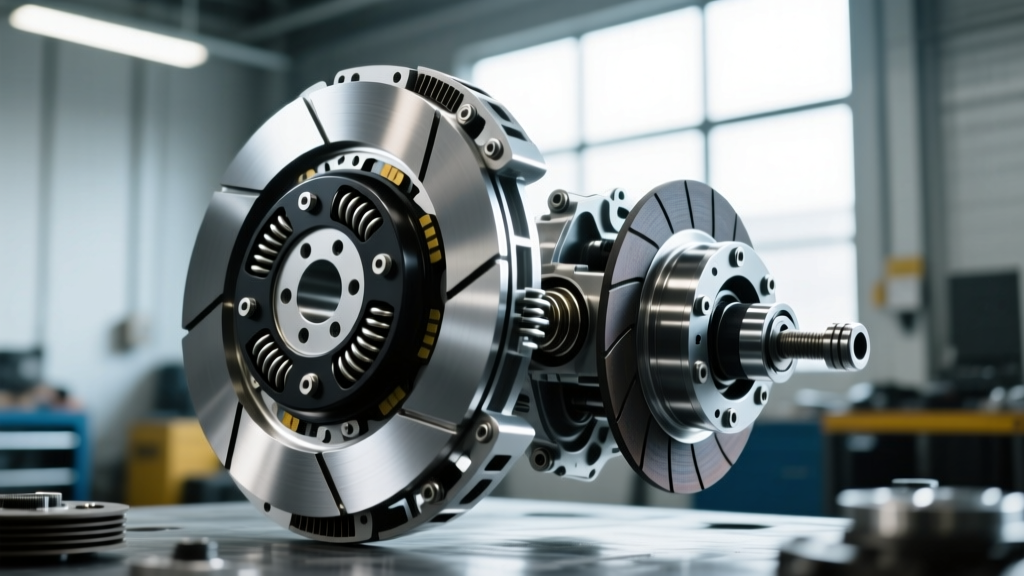
The process of removing the AC clutch assembly is not just an HVAC repair procedure; it is a vital isolation step in the clutch system diagnostic tree. By systematically dismantling the electromagnetic clutch, drive plate, and pulley bearing, you can definitively rule out accessory-induced drag and confirm whether the manual transmission's hydraulic release system or internal friction components are genuinely at fault.
Diagnostic Matrix: Identifying the True Source of Drag
Before unbolting a single component, use this diagnostic matrix to differentiate between a true transmission clutch release problem and an AC compressor accessory drag issue.
| Symptom Profile | Transmission Clutch Drag / Release Fault | AC Compressor / Clutch Bearing Drag |
|---|---|---|
| Pedal Feel | Spongy, inconsistent, or excessively stiff | Normal hydraulic resistance and travel |
| Gear Engagement | Grinding into 1st or Reverse at a stop | Smooth engagement, but engine RPM plunges |
| Noise Profile | High-pitched squeal or metallic scrape from bellhousing | Deep rotational growl or metallic chirp from engine front |
| Belt Behavior | Serpentine belt tracks normally | Belt may slip, smoke, or show glazing on ribs |
| Scan Tool Data | No relevant HVAC or engine load DTCs | Commanding AC relay OFF via bi-directional scan tool stops the stall |
Essential Tools for AC Clutch Removal
To perform this isolation test without causing collateral damage to the compressor nose cone or the crankshaft harmonic balancer, you must use the correct tooling. Forcing components with pry bars will warp the drive plate and ruin the air gap specification.
- Clutch Puller Set: OEMTOOLS 27031 or Lisle 45750 (includes specific thread adapters for GM Harrison HT6, Denso 10S17C, and Sanden SD7V16 compressors).
- Feeler Gauge Set: For measuring the critical 0.020' to 0.030' air gap upon reassembly.
- Snap Ring Pliers: Heavy-duty internal/external set (spiral rings are common on modern Denso units).
- Digital Multimeter: For testing the electromagnetic coil resistance.
- Inch-Pound Torque Wrench: Essential for the center hub retaining bolt.
Step-by-Step Guide: Removing the AC Clutch Assembly
Step 1: Preparation and Belt Isolation
Disconnect the negative battery terminal to prevent accidental engagement of the electromagnetic coil or engine cranking. Using the appropriate serpentine belt tensioner tool (usually a 15mm or 1/2-inch breaker bar), relieve tension and route the belt off the AC compressor pulley. This immediately removes the parasitic load from the crankshaft. Spin the compressor pulley by hand. If it grinds, binds, or refuses to spin, the clutch bearing or compressor internals are seized, confirming your drag diagnosis before you even begin removal.
Step 2: Extracting the Drive Plate (Hub)
The drive plate is the front-most component that bolts directly to the compressor shaft. Locate the center retaining bolt (typically 10mm, 13mm, or a 5/16' Allen head). Remove the bolt and washer. Thread the appropriate adapter from your puller set into the center of the drive plate. Critical Warning: Many Sanden and Denso compressors use fine metric threads (e.g., M10x1.25). Cross-threading the puller will destroy the compressor shaft. Once threaded, tighten the puller's center forcing screw until the drive plate pops free from the splined shaft. Inspect the splines for rust or shearing, which can also cause partial engagement and drag.
Step 3: Pulley and Bearing Extraction
With the drive plate removed, you will see a large snap ring securing the pulley and bearing assembly to the compressor nose cone. Use your snap ring pliers to remove this ring. Depending on the compressor model, the pulley may slide off by hand, or it may require a specialized jaw puller. If the bearing has overheated and welded itself to the nose cone, apply penetrating oil and use a three-jaw puller, ensuring you do not crack the aluminum compressor housing. Once removed, inspect the bearing race for bluing (heat damage) and check for axial play.
Step 4: Electromagnetic Coil Removal
The final component is the stationary electromagnetic coil (stator). It is held in place by a smaller, often spiral-style snap ring. Remove the ring and carefully slide the coil off the compressor housing. Note the routing of the electrical pigtail to avoid pinching it during reassembly. According to the Mobile Air Climate Systems (MACS) Association, a failing coil can sometimes draw excessive amperage before failing open, which can cause secondary electrical drag on the alternator, further confusing the diagnostic process.
Bench Testing: Coil Resistance and Bearing Play
Once the AC clutch is fully removed, bench-test the components to verify failure. Set your digital multimeter to the Ohms (Ω) setting. Probe the two terminals on the electromagnetic coil. For a standard 12-volt automotive system, a healthy coil will read between 3.5 and 4.5 ohms. A reading of infinite (OL) indicates an open circuit (internal wire break), while a reading near zero indicates a short. A shorted coil can blow the AC compressor relay or cause the PCM to register a voltage anomaly, leading to erratic idle control that mimics a transmission release stall.
Next, inspect the removed pulley bearing. It should spin freely with a slight viscous drag from the sealed grease. Any notchiness, lateral wobble, or metallic scraping confirms the bearing was the source of the rotational drag. Replacement clutch assemblies (coil, pulley, and drive plate) typically cost between $65 and $140, making this a highly cost-effective repair compared to dropping a transmission to chase a phantom clutch drag issue.
Reassembly and the Critical Air Gap Specification
If the components test well and you are reassembling (or installing a new clutch kit), the air gap between the drive plate and the pulley face is the most critical specification in the entire system. The industry standard air gap is 0.020' to 0.030' (0.5mm to 0.75mm). If the gap is too wide, the magnetic field cannot overcome the resistance, causing clutch slip and rapid friction surface wear. If the gap is too tight, the drive plate will drag against the pulley even when the coil is disengaged, recreating the exact rotational drag symptom you are trying to cure.
Use your feeler gauges to measure the gap at three equidistant points around the circumference. Adjust the gap by adding or removing the thin steel shims located on the compressor shaft beneath the drive plate. Once the gap is set, torque the center retaining bolt to the manufacturer's specification. For most GM LS/LT and Ford Coyote applications, this spec is 11 to 15 lb-ft (15 to 20 Nm). Over-torquing can strip the shaft threads or warp the drive plate, instantly ruining the air gap. For deeper electrical diagnostic procedures, AA1Car's comprehensive AC clutch diagnostic guide provides excellent wiring diagrams and voltage drop test methodologies.
When to Suspect the Transmission Instead
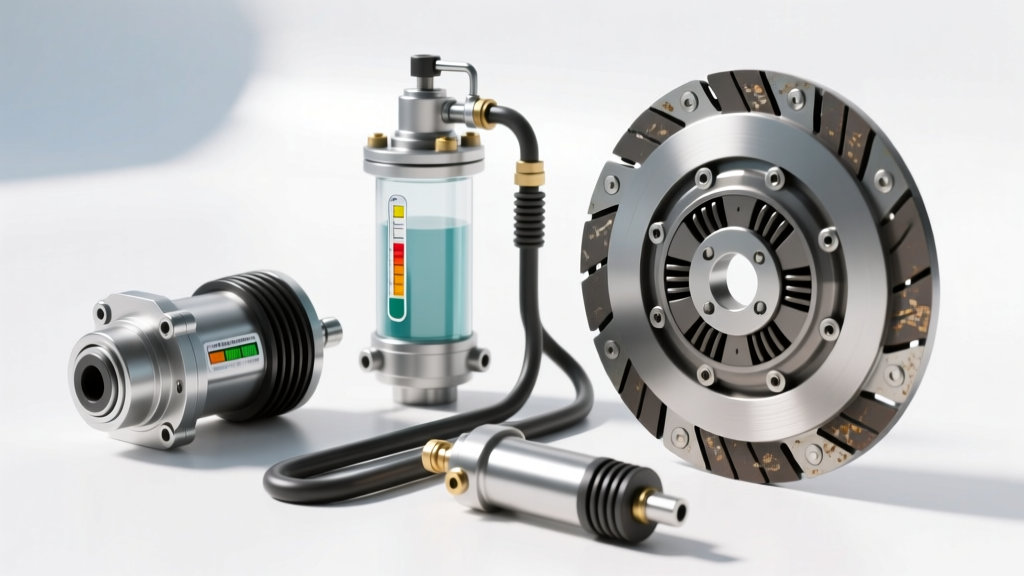
If you have successfully removed the AC clutch, verified that the compressor shaft spins freely by hand, and the engine still stalls or exhibits drag when the manual clutch pedal is depressed, you have definitively isolated the fault to the transmission. At this point, your diagnostic focus must shift entirely to the drivetrain. Investigate the hydraulic release system (master/slave cylinder bypassing), check for a seized pilot bearing in the crankshaft flange, or prepare to remove the transmission to inspect the clutch disc hub splines and pressure plate diaphragm fingers for warping. By mastering the removal of the AC clutch, you eliminate the most common 'ghost in the machine' and ensure your transmission diagnostics are built on a foundation of verified mechanical isolation.